• Skip to main content
  • Skip to header left navigation
  • Skip to header right navigation
  • Skip to after header navigation
  • Skip to site footer
  • Facebook
  • Twitter
  • Instagram
  • YouTube
  • About Me
  • Collaborate
  • Privacy Policy
Babs Projects

Babs Projects

Recipes & Crafts for all

  • Home
  • Blog
  • Home
  • Crafts/DIY
  • Recipes
    • Appetizers
    • Beverages
    • Cakes and Breads
    • Chutneys & Condiments
    • Egg Recipes
    • Seafood Recipes
    • Sweets & Desserts
    • Non-Vegetarian Recipes
    • Vegetarian
  • Reviews
    • Reviews
    • Sponsored Posts
  • Fashion
  • Travel
  • Others
  • My SHOP

Decoupaged Folding Table

May 17, 2011 by Babita

Last Updated on July 14, 2011 by Babita

This latest project is a borrowed one. I saw this DIY project in the April 2011 issue of Family Circle magazine. The author Suzonne Stirling, a blogger had restored an old folding table using gift wrap paper by decoupaging it over the table. I thought it was a brilliant idea, and was perfect for my “Recycle and Re-use” theme.

I have a folding table at home and I am not using it that much. It is in good condition, except for all the artistic doodling done by my kids.This is the BEFORE picture of the Folding table.

The first thing I did was apply primer. Instructions called for sanding it lightly before using primer. I skipped that part, because I did not have any sandpaper at home.

Next, the author instructed to use two coats of semi-gloss latex paint. I  have a confession to make. I did not find the color of my liking, so I chose to go with acrylic paint in chocolate color. I applied two coats of this paint, allowing it to dry between coats.

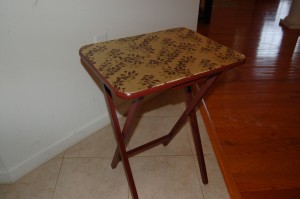
I spray painted it with an acrylic sealer and this is what it looked liked when it was all finished.

After the sealer had dried and as per the instructions, I applied Mod Podge to the top of the table and allowed it to dry again. After about 20 minutes I applied another thin layer of Mod Podge.

I had already measured and cut the gift wrap paper of my choice. All I had to do was slowly apply the paper on top of the table, pressing it firmly and making sure there were no air bubbles.

Finally, I applied 3 to 4 coats of Mod Podge on the newly covered tabletop, allowing it to dry in between coats. I sprayed it with the acrylic sealer to seal everything up. Below are the AFTER shots of the table.

My total cost for the project was around $10 for the Mod Podge, Acrylic paint and sealer.
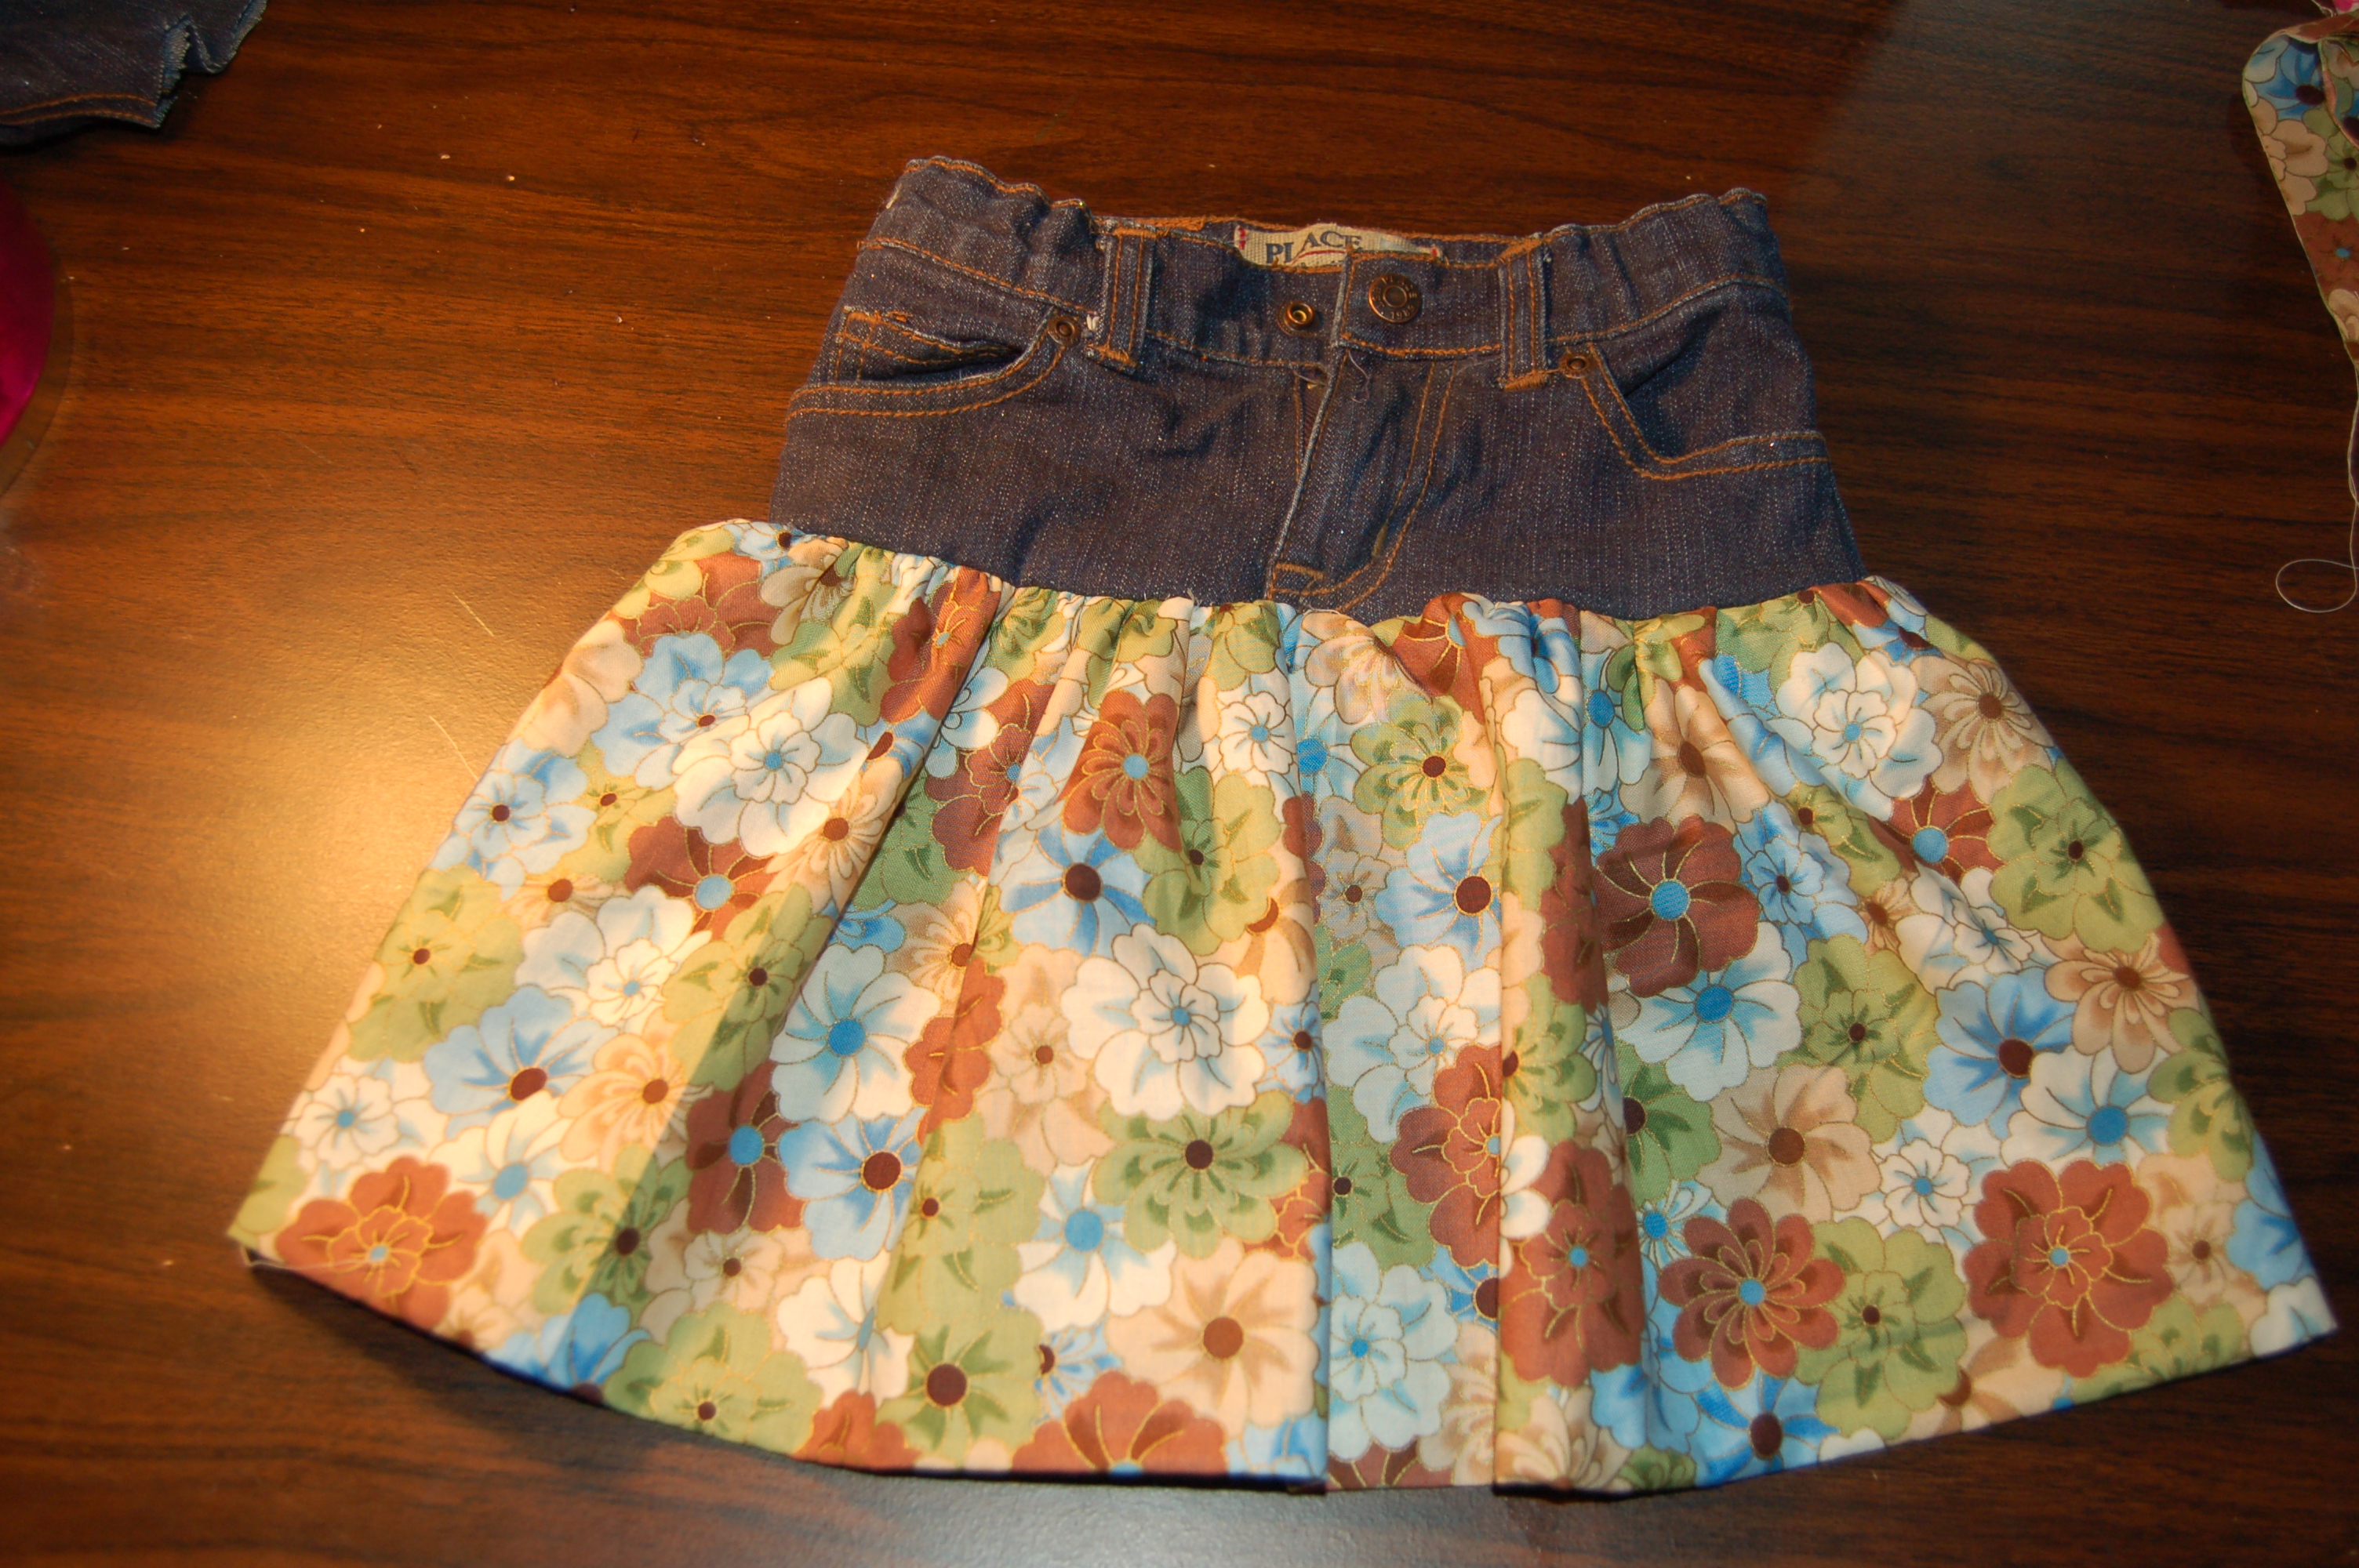
Spread the love
         
Category: DIY & CraftsTag: DIY, Recyle, Reuse

About Babita

Previous Post:Jeans Skirt
Next Post:Dupatta Dresstop

Reader Interactions

Leave a Reply Cancel reply

Your email address will not be published. Required fields are marked *

Sidebar

Welcome To Babs’ Projects

  I am Babita, an Indian-American mom with a passion for arts & crafts and do-it-yourself projects. Read More .....

BabsProjects.com is a participant in the Amazon Services LLC Associates Program, an affiliate advertising program designed to provide a means for sites to earn advertising fees by advertising and linking to amazon.com.

Popular Crafts

Decorative Cord Wrapped Christmas Vases – DIY

Grow Turmeric Plant Indoors in a Pot – Step by Step Pictures

Learn to Create these Easy and Cheap Food Photography Backdrops with Peel and Stick Vinyl Tiles

Photography Backdrop with Peel & Stick Vinyl Tiles – DIY

How to make Fabric Kundan Rangoli with Old Dupattas

DIY Coloring Hearts for Valentine’s Day

Decorate and Create Your Own Diwali Gift Boxes to Pack all the Sweet and Savory Snacks.

Create your Own Diwali Gift Boxes

MailChimp Pop-up

Inspiration

“Every day is another chance to get stronger, to eat better, to live healthier, and to be the best version of you.”

Recent Posts

Kimchi Rice with Fried Egg on Top
Rabdi Bites in Phyllo Cups on a White Platter
Mango Peda on a Black Platter
Close up Shot of Mango Modak Peda on a Black Platter
Close-up Picture of Mango Modak
Grilled-Tandoori-Mackerel

Copyright © 2025 · Babs Projects · All Rights Reserved ·

We use cookies to ensure that we give you the best experience on our website. If you continue to use this site we will assume that you are happy with it.Ok