Last Updated on May 25, 2016 by Babita
I have to be really honest, I am so glad I came across Curtain Caddy. If you don’t know what Curtain Caddy is you have to read this post. Last year I had painted TEE’s room and re-decorated it. As part of that re-decoration, I had wanted to change the curtains in the room. There was nothing wrong with the curtains. I loved the color and the print. Plus it matched with the color of her room. TEE wanted me to add a layer of sheer curtains behind the original ones. The only problem with that was, I would have to invest in brand new double curtain rods and remove the existing one. I did not want to do that because the existing rods were beautiful and I did want to trash it. So while searching for options, I came across Curtain Caddy. I contacted the owner Carolyn Butler and asked her if she was interested in review and giveaway of this product. She was more than happy and mailed me a set for review.
So what is a Curtain Caddy? It is an new accessory that hooks on to your existing curtain rod brackets. It allows you to add multiple layers of curtains without drilling a single hole in the wall. Check out the pictures below to get an idea of what I am talking about.
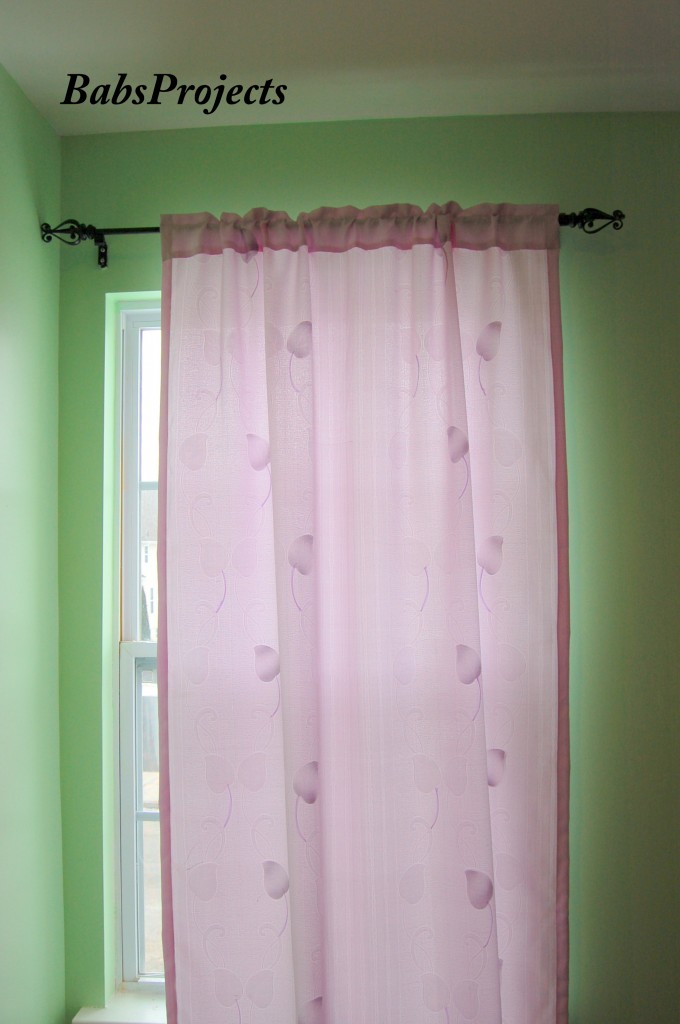
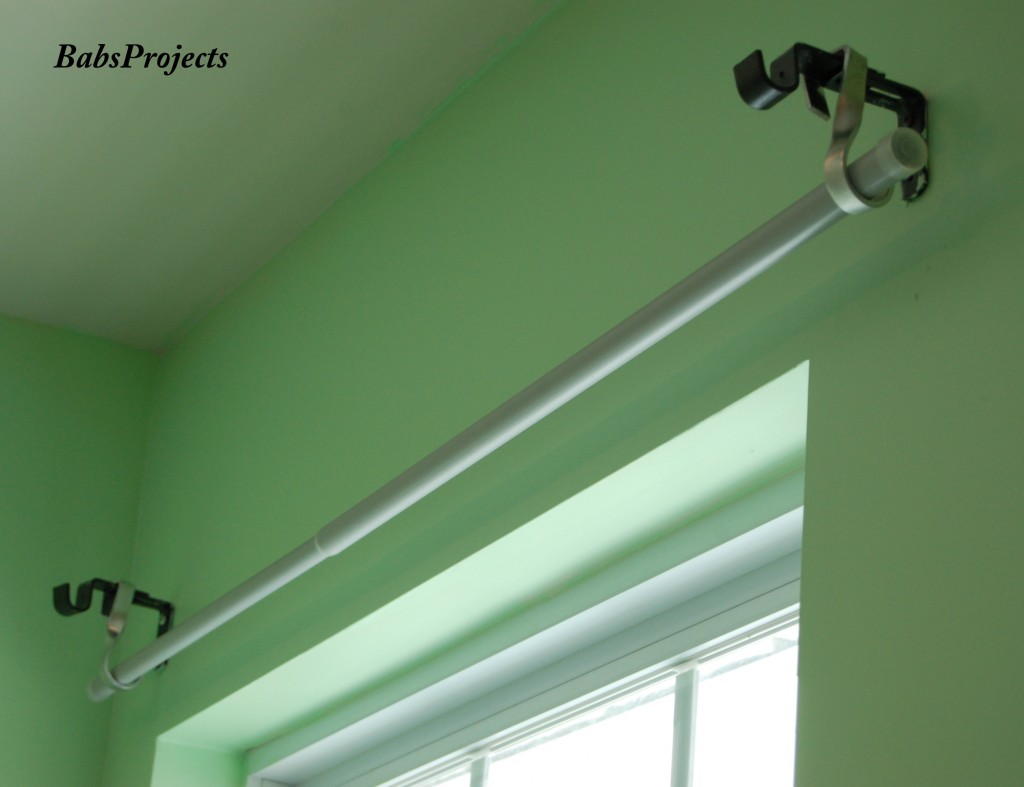
This is the window in TEE’s room where I wanted to add a sheer curtain. As you can the curtain rod is beautiful and I did not want to discard that and buy a new one. Plus I did not want to go through the hassle of drilling holes in the wall for installing a new rod.
Below you can see the picture of Curtain Caddy. I decided to use the 3″ hooks.

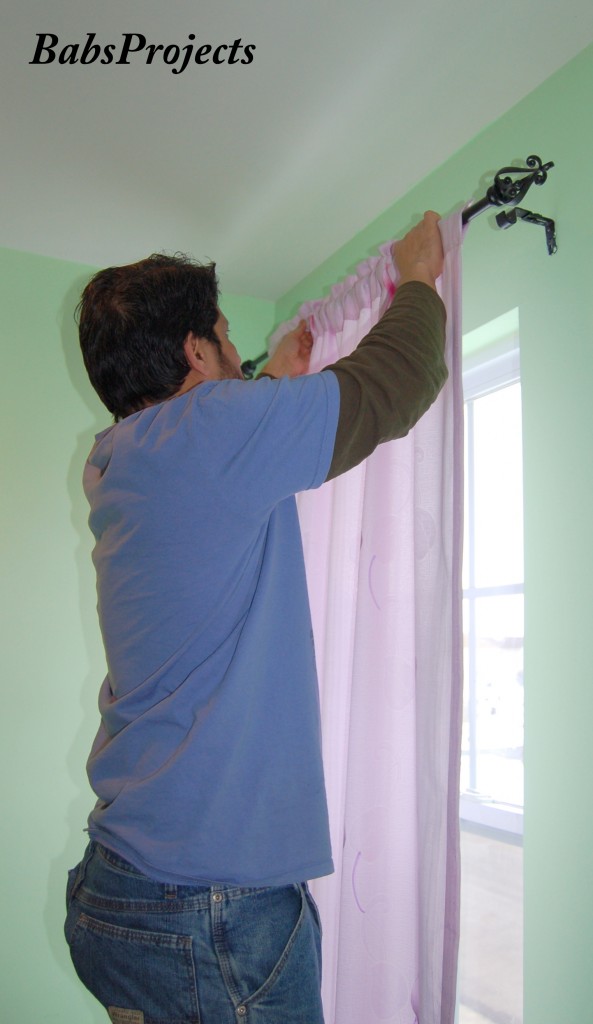
My DH was kind enough to assist me with this project. I really did not need any assistance because it is so easy to hook them up, but I wanted to take pictures, so he obliged. First he removed the existing rod along with the curtain.
He then attached the Curtain Caddy hooks to the existing brackets. It was that easy.
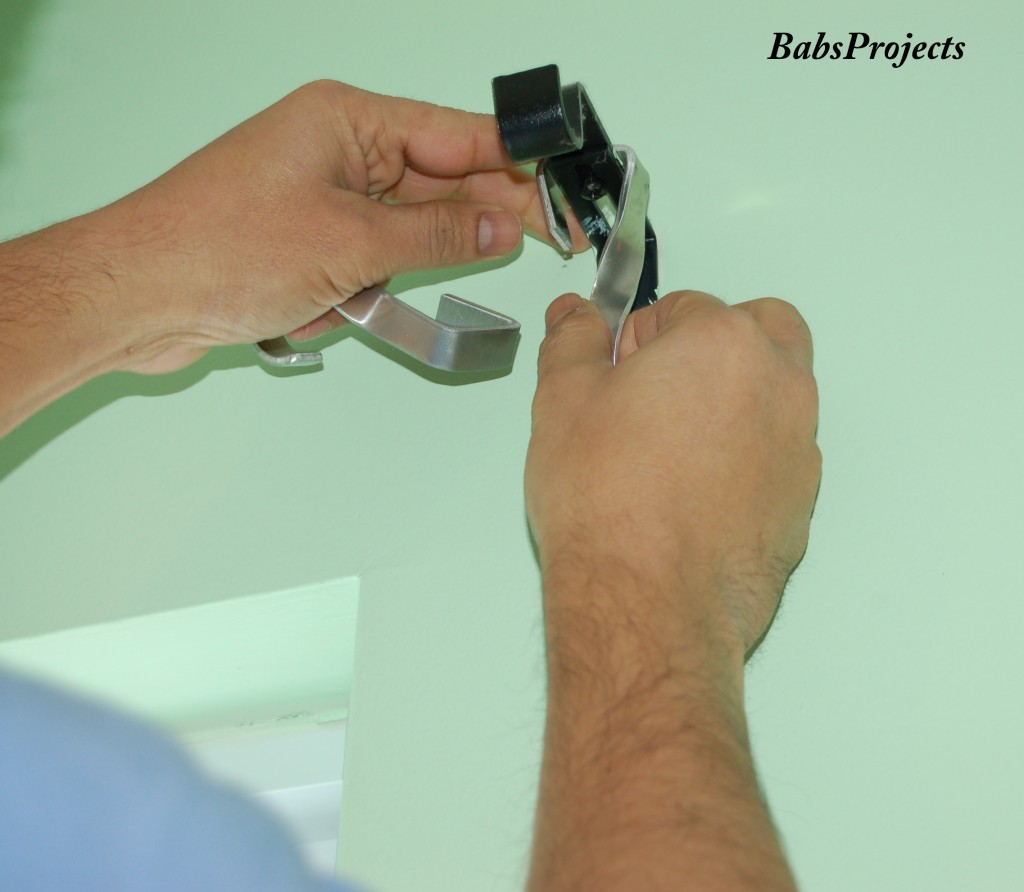
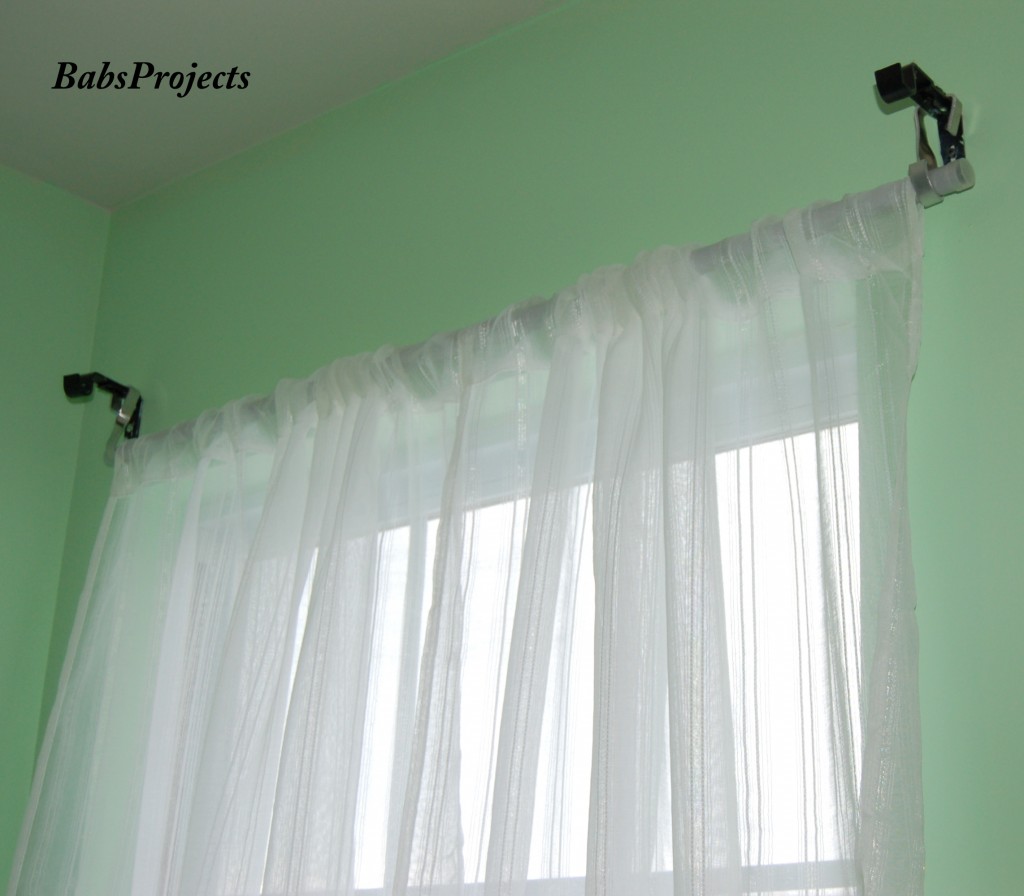
He attached the second rod over the hooks. As you can see the rod easily fits into the Curtain Caddy. For the purpose of this review, I used a grey rod to show contrast.
My DH then hung up the sheer curtain on the second rod.
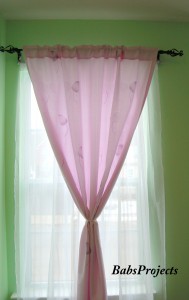
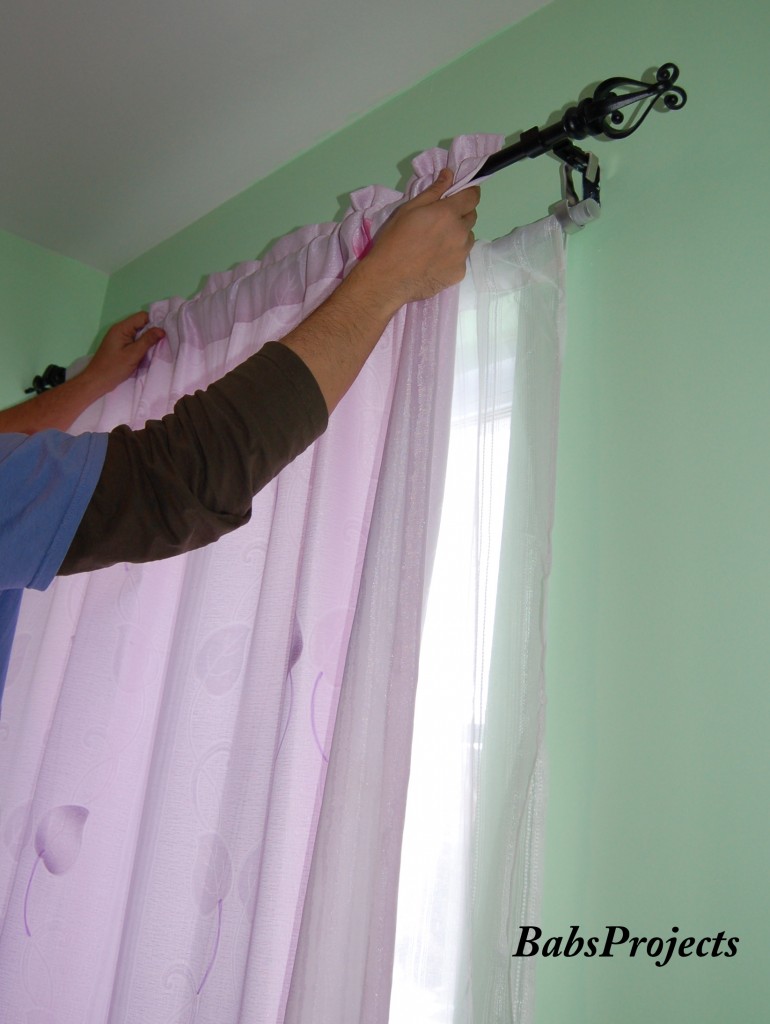
Finally he hooked on the purple curtain with black rod on top over the original black brackets.
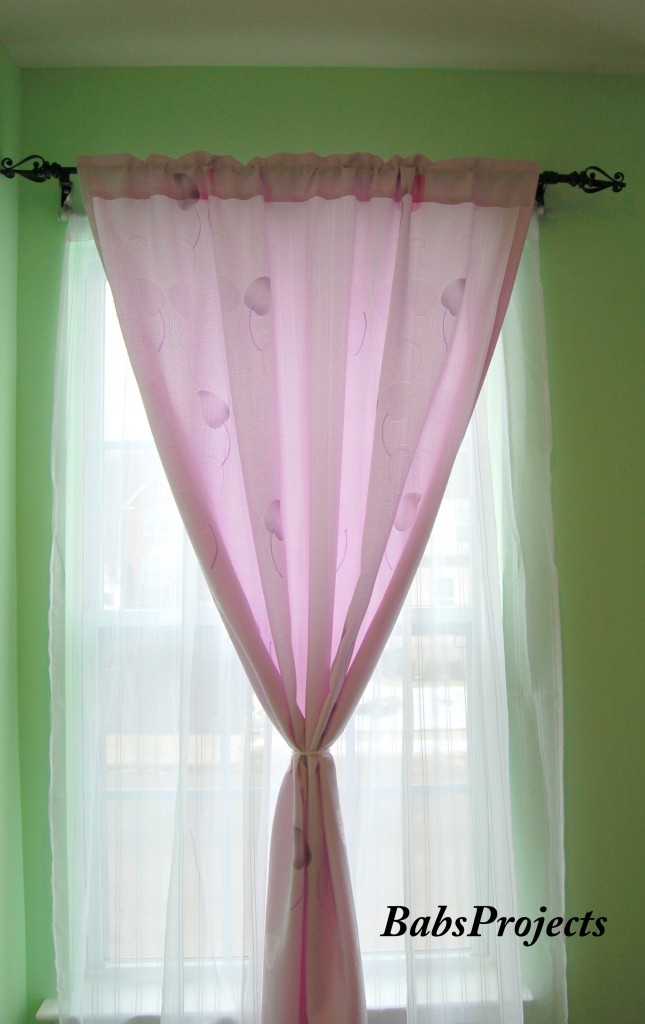
As you can see below the layering is complete, all without breaking a sweat. TEE was surprised when she came home from school. She was pretty impressed with the new look. Since we added the sheer curtain, there was more light coming through from this window and she was happy with the result. She also liked the fact that now she had the view of the outside which she always wanted.
My review:
I was pretty impressed with Curtain Caddy. It is such an easy product to use. I already had an existing rod with me, which I was not using but you can buy any inexpensive rod and use it with the Curtain Caddy. The only negative that I would like to point out which actually can be easily rectified is the color of the Curtain Caddy. I wish it was also available in black and other colors so that we have a choice to use it with colored curtain rods. I don’t think it such a huge deal because these hooks are basically hidden from view.
The Curtain Caddy is available at Curtain Caddy Website
Make sure you visit this website for more options. The hooks are available in 3″ and 5″ and are priced at $20 and $22. The owner Carolyn Butler is giving set of Curtain Caddy to one lucky visitor.
Make sure to enter the giveaway below.
Disclaimer: I was provided with a set of Curtain Caddy for review purpose. I was not provided any other compensation. All opinions and thoughts expressed here are my own.
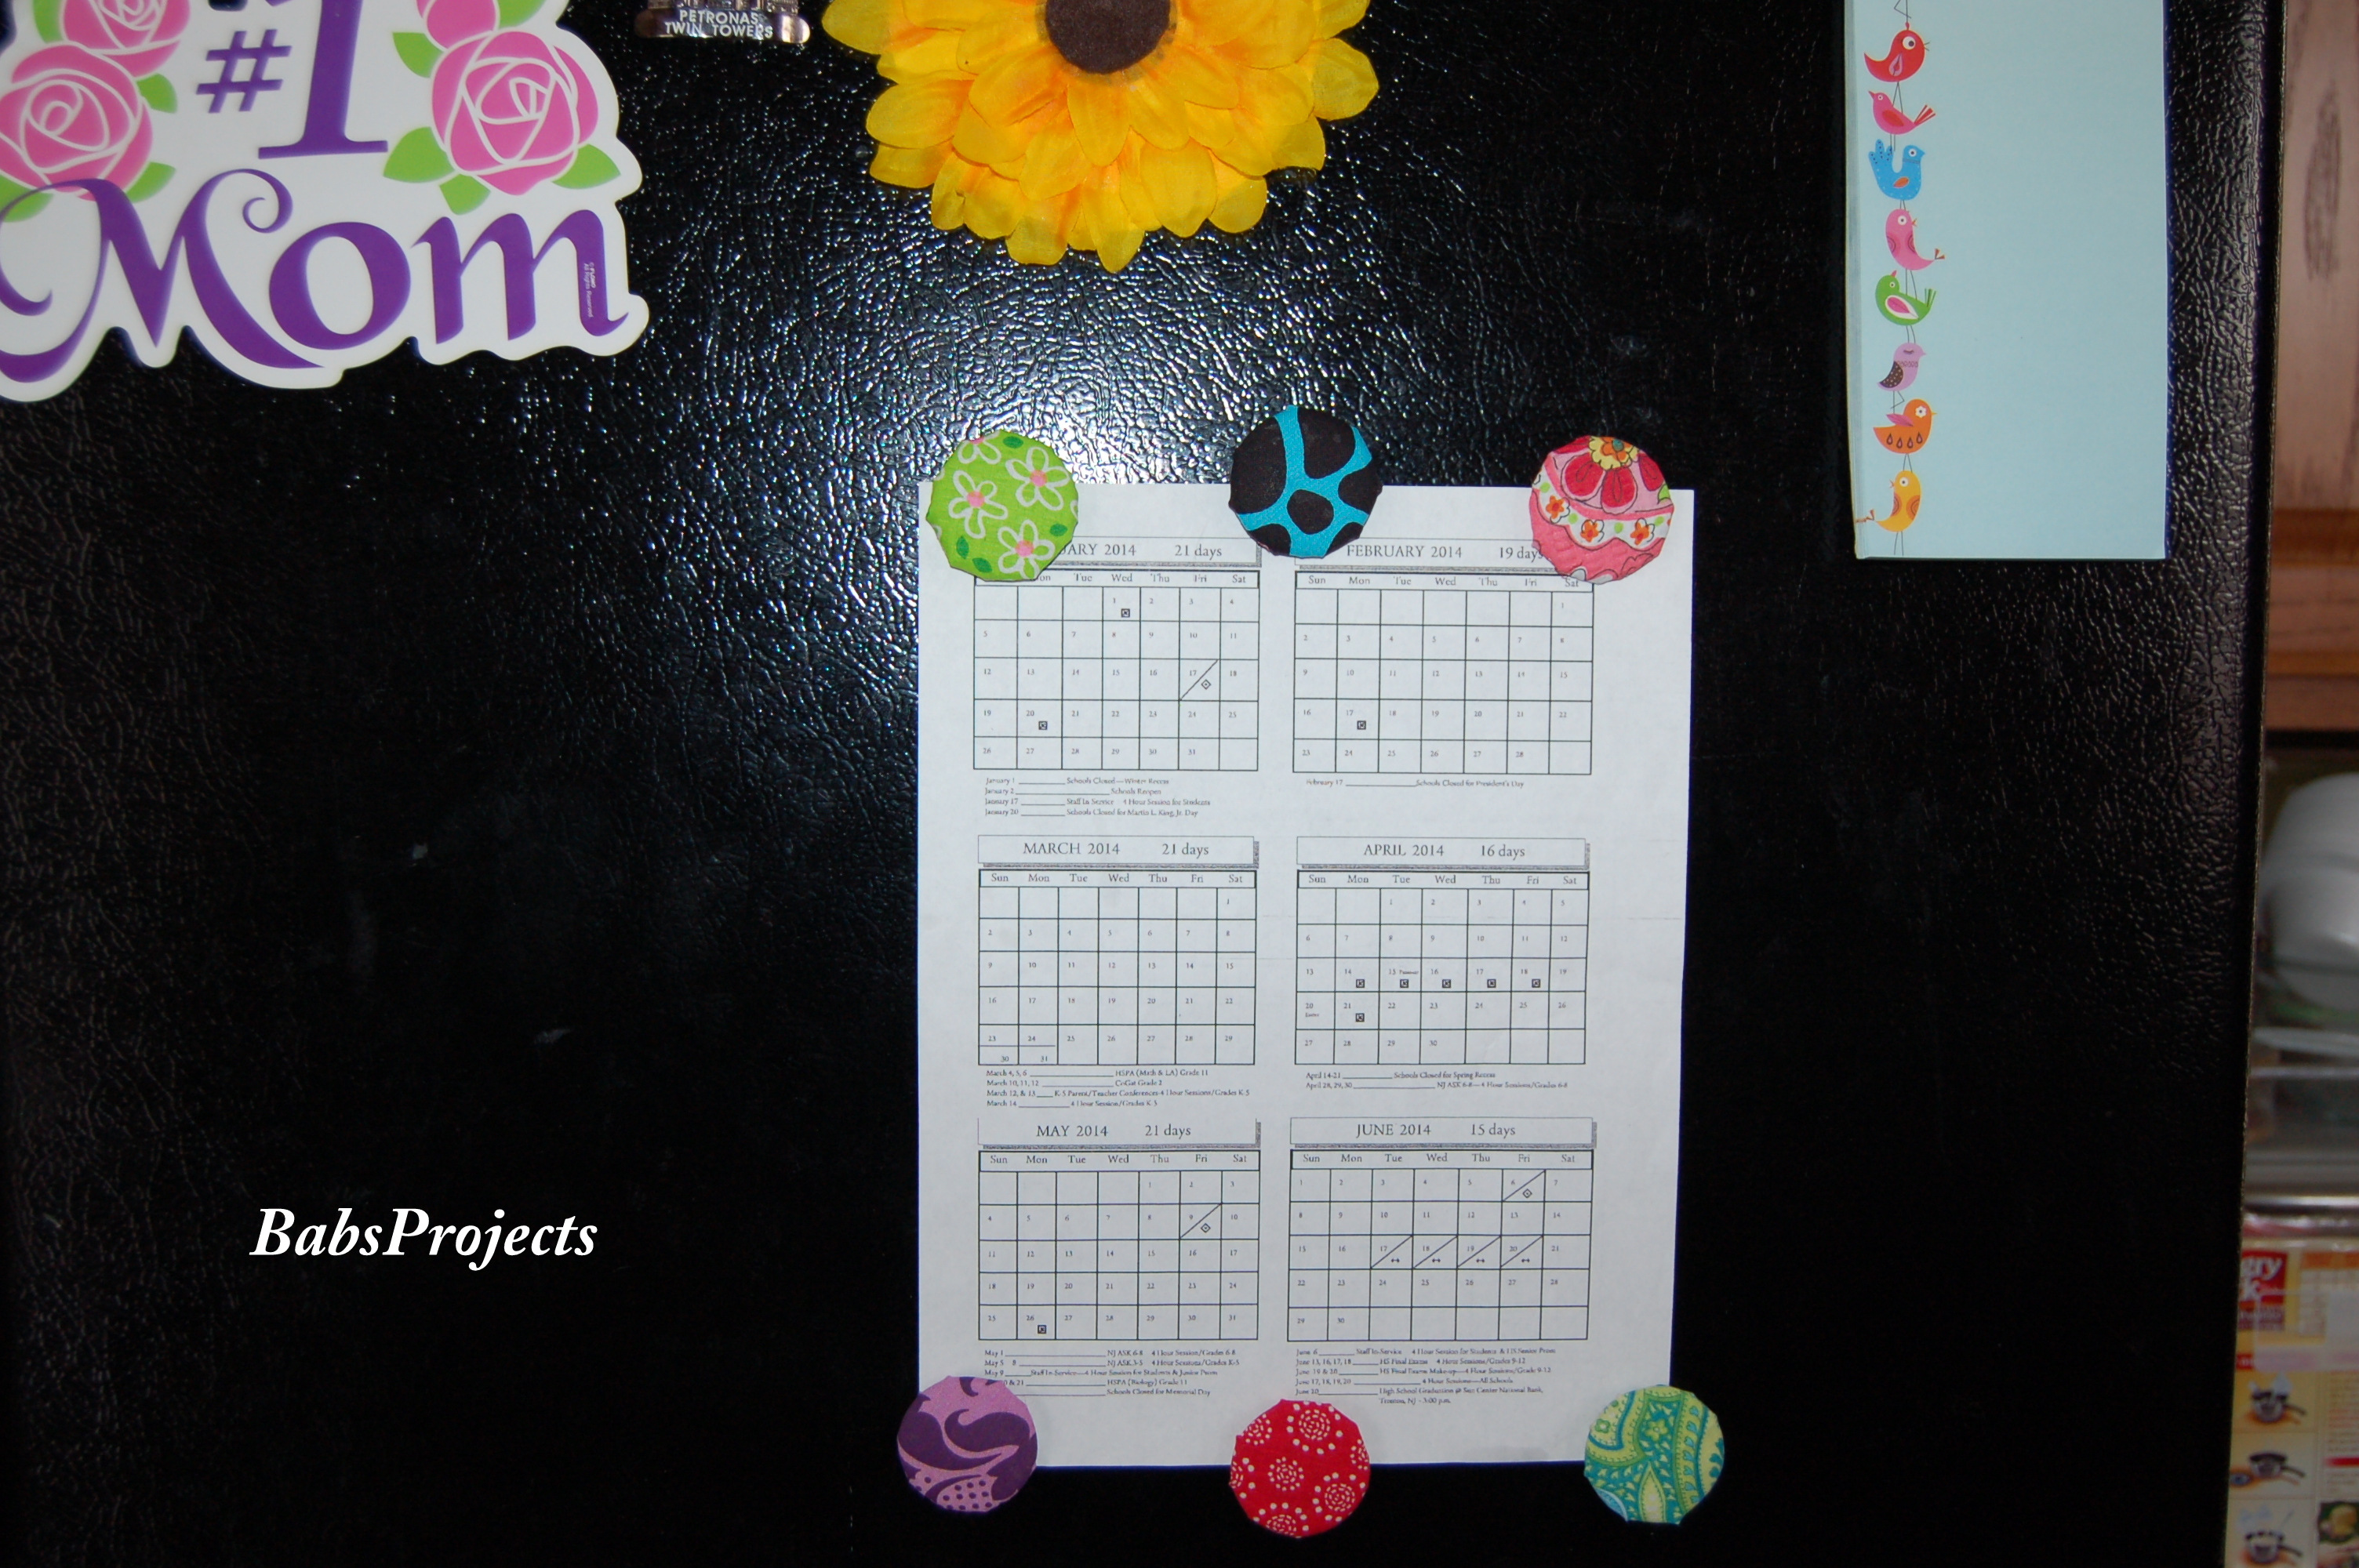 Fabric Covered Wooden Bead Refrigerator Magnets
So bummed I missed this giveaway! Love this! #SITSBlogging
that’s very pretty
great decorating idea for spring
I have a huge window in my living room…. I mean HUGE!! I need about 4 to 6 of these.
You do not need that many. 1 set will work if you use a piece of electrical conduit. You can go to hardware store and get a 10 Ft. section for approx. $3.00. It will not bend. I hope this helps you. This is what I did for my patio doors.
Thank you Carolyn for your tip. I think using electrical conduit is a great idea.
I always wondered if there was an easier way to put up 2 curtains! I will have to get one of these! Thanks!
This does look like it would make it easier to put up and take down curtains.
I love smart DIY projects and tools. This is not only great but satisfying to see the finished product. Love it.
Eliz
How cool is that! I hate drilling holes and I can never figure out how to make my curtains look better than they do. What an ingenious idea!
This looks like such an easy way to hang curtains! Your final product looks adorable!
That is a good idea.
Those holes are really hard to patch neatly. It’s nice to know there’s an easier, neater way to do things!
I try not to drill holes. They can make it look so ugly especially when you want to do something esle.
Oh wow… I hate drilling holes in my walls. I like this idea and think I can use it in my living room. I keep telling my hubs we need some sheers up.
What a great system! I’ve never thought about layering curtains so I had no idea the process! Super nice of your husband to help you too!
Hello to everyone!
I would like to let you know that the material the Curtain Caddy is made from is Aluminum. We made them out of this material so you can paint them in whatever color you want. I used a can of black spray paint, and it worked out well.
Thank you Carolyn for that great tip. I am going to take it out tomorrow and spray paint it black. That way it will match the black brackets.
Oh man I really need these! They look like they would be great for the kids room. I find it hard to get anything attached to the curtain rod and these would be perfect
Neat! I never would have thought of that. I love the layered look but I’m not into home remodel projects. I could do this with little or no hassle!
that is a cool invention and i love the look of the cutains after you hung they very nice
How great is this. I can think of many times over the years that I could have used this in different apartments and homes of ours and my kids. I will have to share this product with my sister because I know she would love to use it.
Your curtains turned out beautifully and I love that layered look.
I wasn’t sure what to expect when I started reading. I really like this little gadget/helper!
Those curtains are beautiful. I love the way you can transform a room just by changing the curtains.
That’s a great way to add a second layer for your curtains in an inexpensive way. Of course as an Interior Decorator, I typically do custom hardware for my clients, but this is a great way for a quick and easy update
I’m all entered in the giveaway. Thank you for hosting!
Thank you Rosey.
How neat and ingenious! I have wanted to hang double curtains in my kitchen window but did not want to be bothered with drilling a second set of holes in the wall. Glad to know something exists that will help me with that project.
I think that curtains dress up a window so nicely. You did a great job
That looks so easy, I want to do something like that for my front door and have it so there two layers would cover completely at night and I could pull one in to let in light during the day. I will have to check to see if they have something for the door.
What a neat idea – we have nets in the bedroom as it faces the road and I could see this being so useful for there 🙂 x
I like the way you did the curtain. I bet you could paint the curtain caddy to the color you would like.
That is totally cool. I just switched out our curtains and could have used that.
This is an awesome giveaway! If I owned a house I could definitely use the curtain caddy’s. We try not to hang curtains in our apartment.
its looks simple enough but I love the final look
Thanks for the giveaway
What an ingenious invention–it is one of those that makes you think-why didn’t I think of that! I will be going to check this site out thoroughly!