
Last Updated on February 21, 2012 by Babita
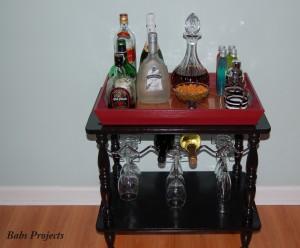
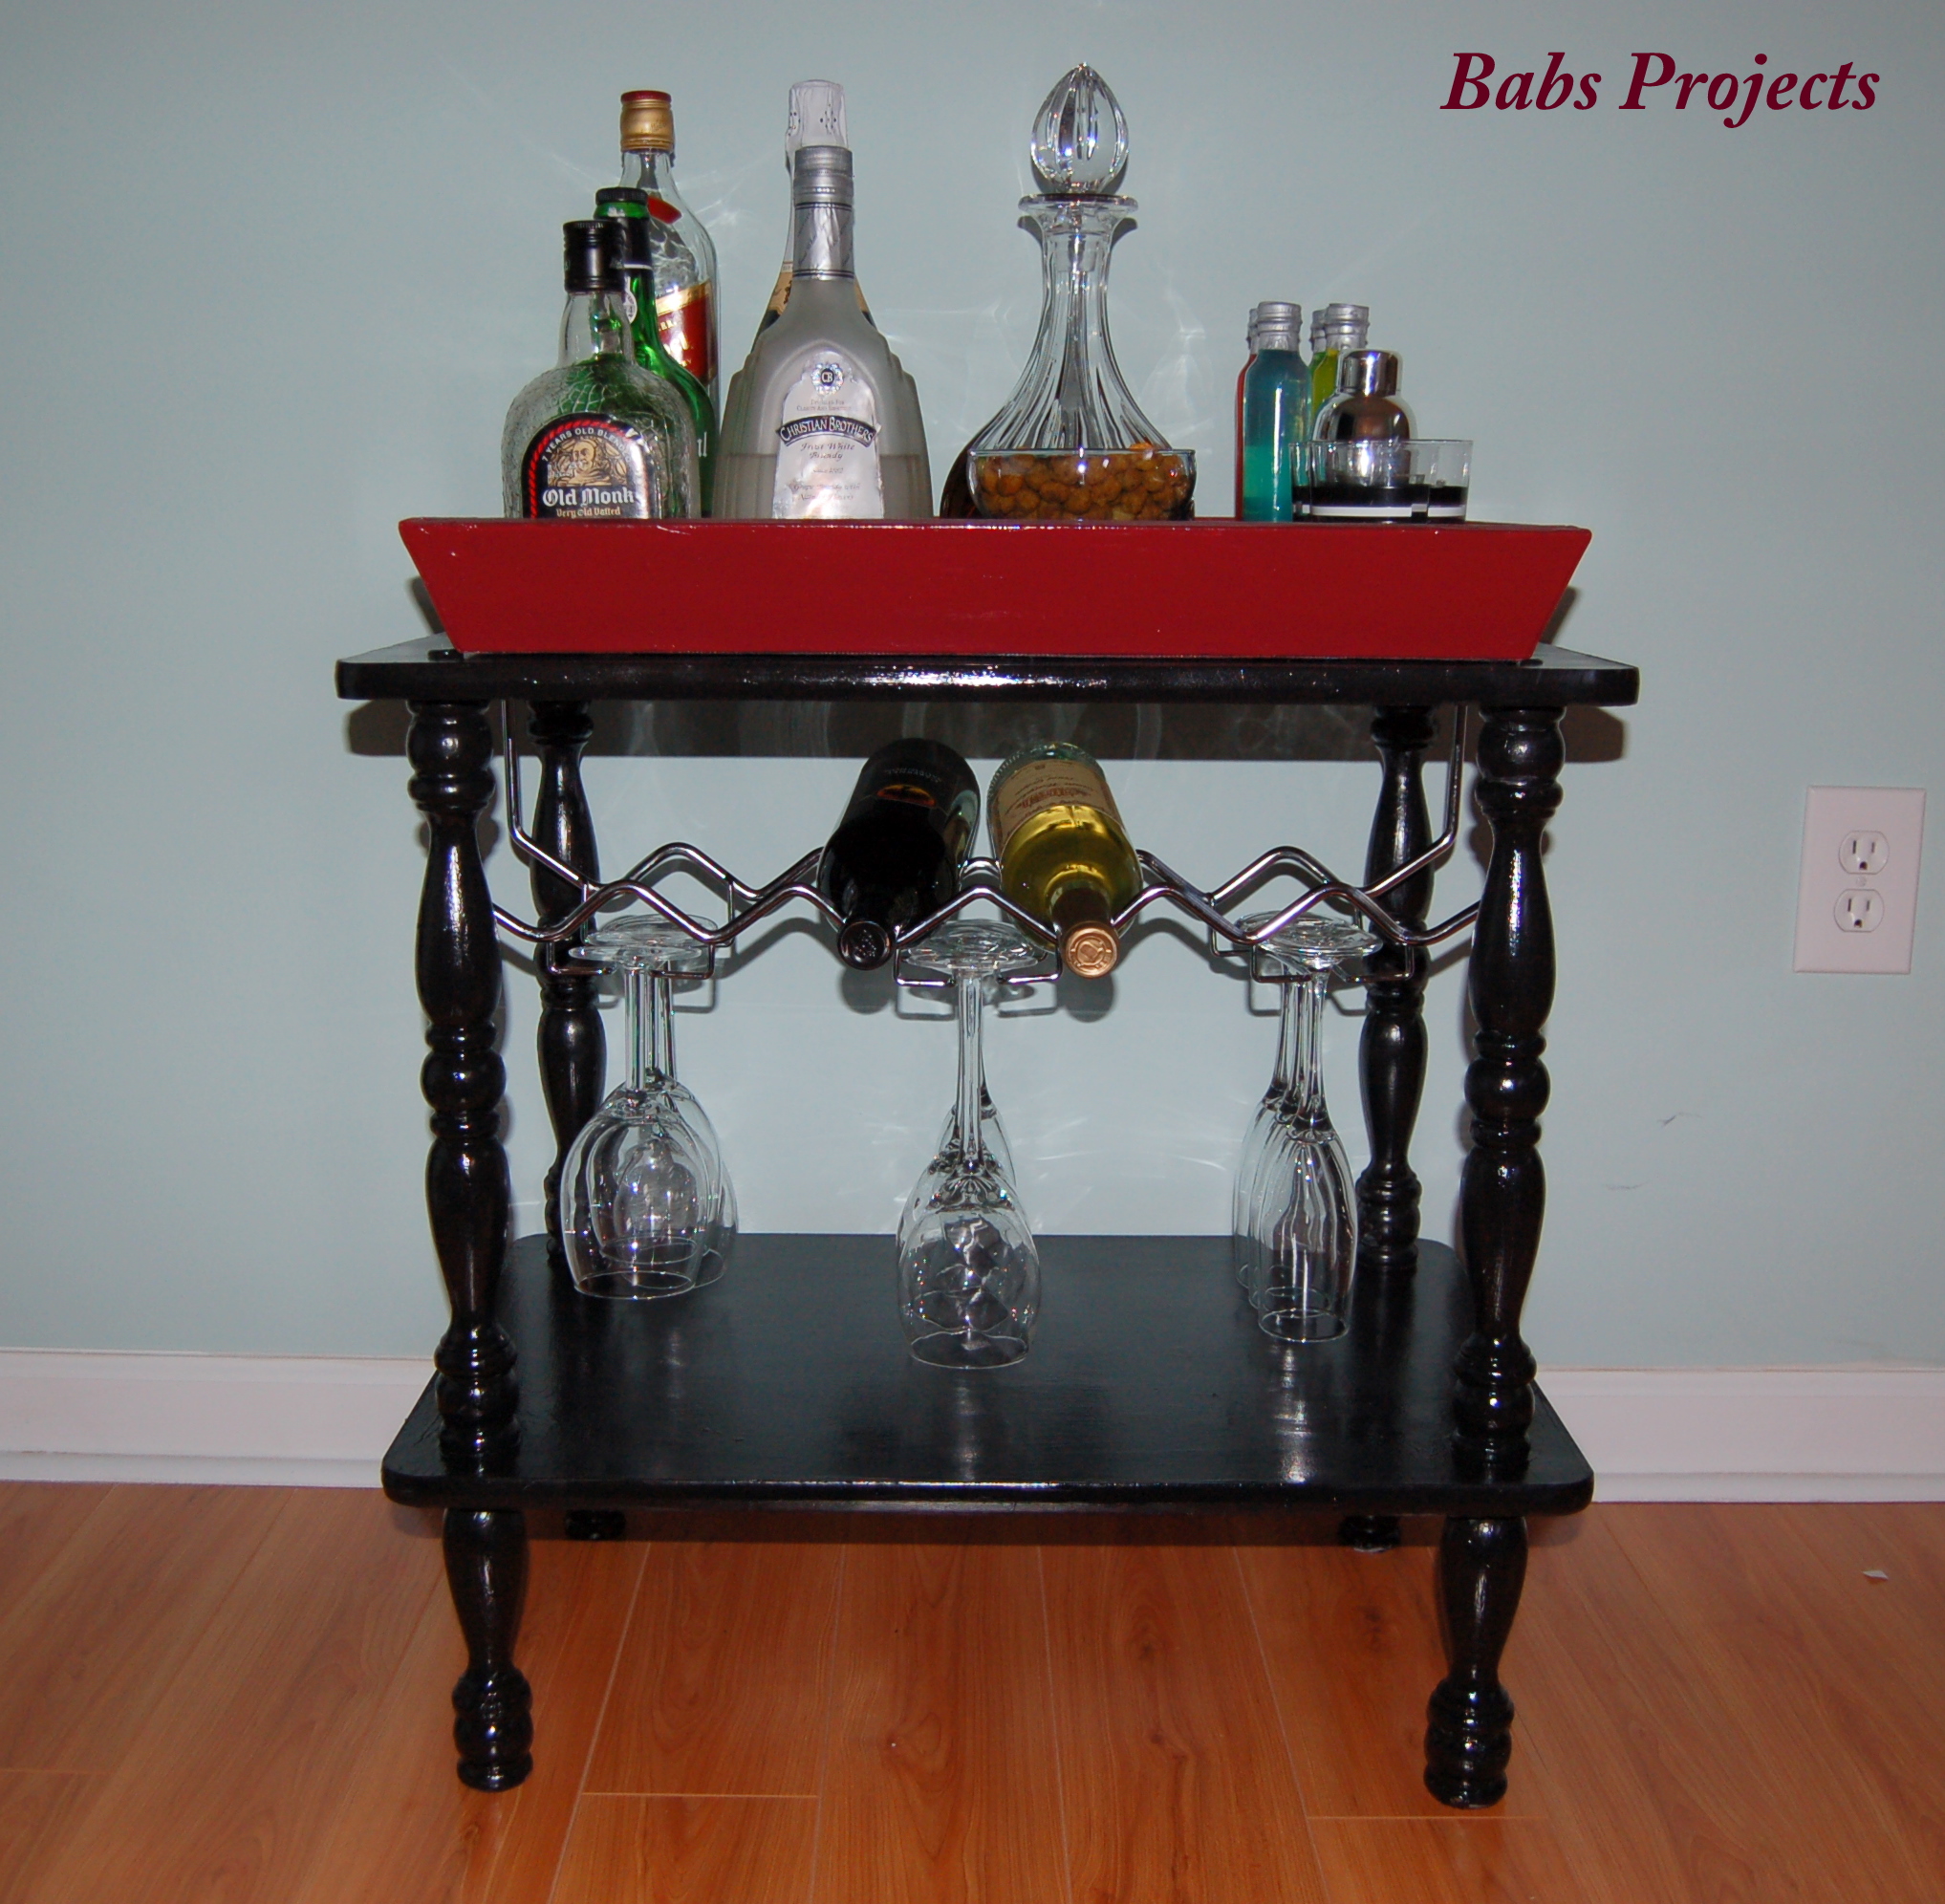
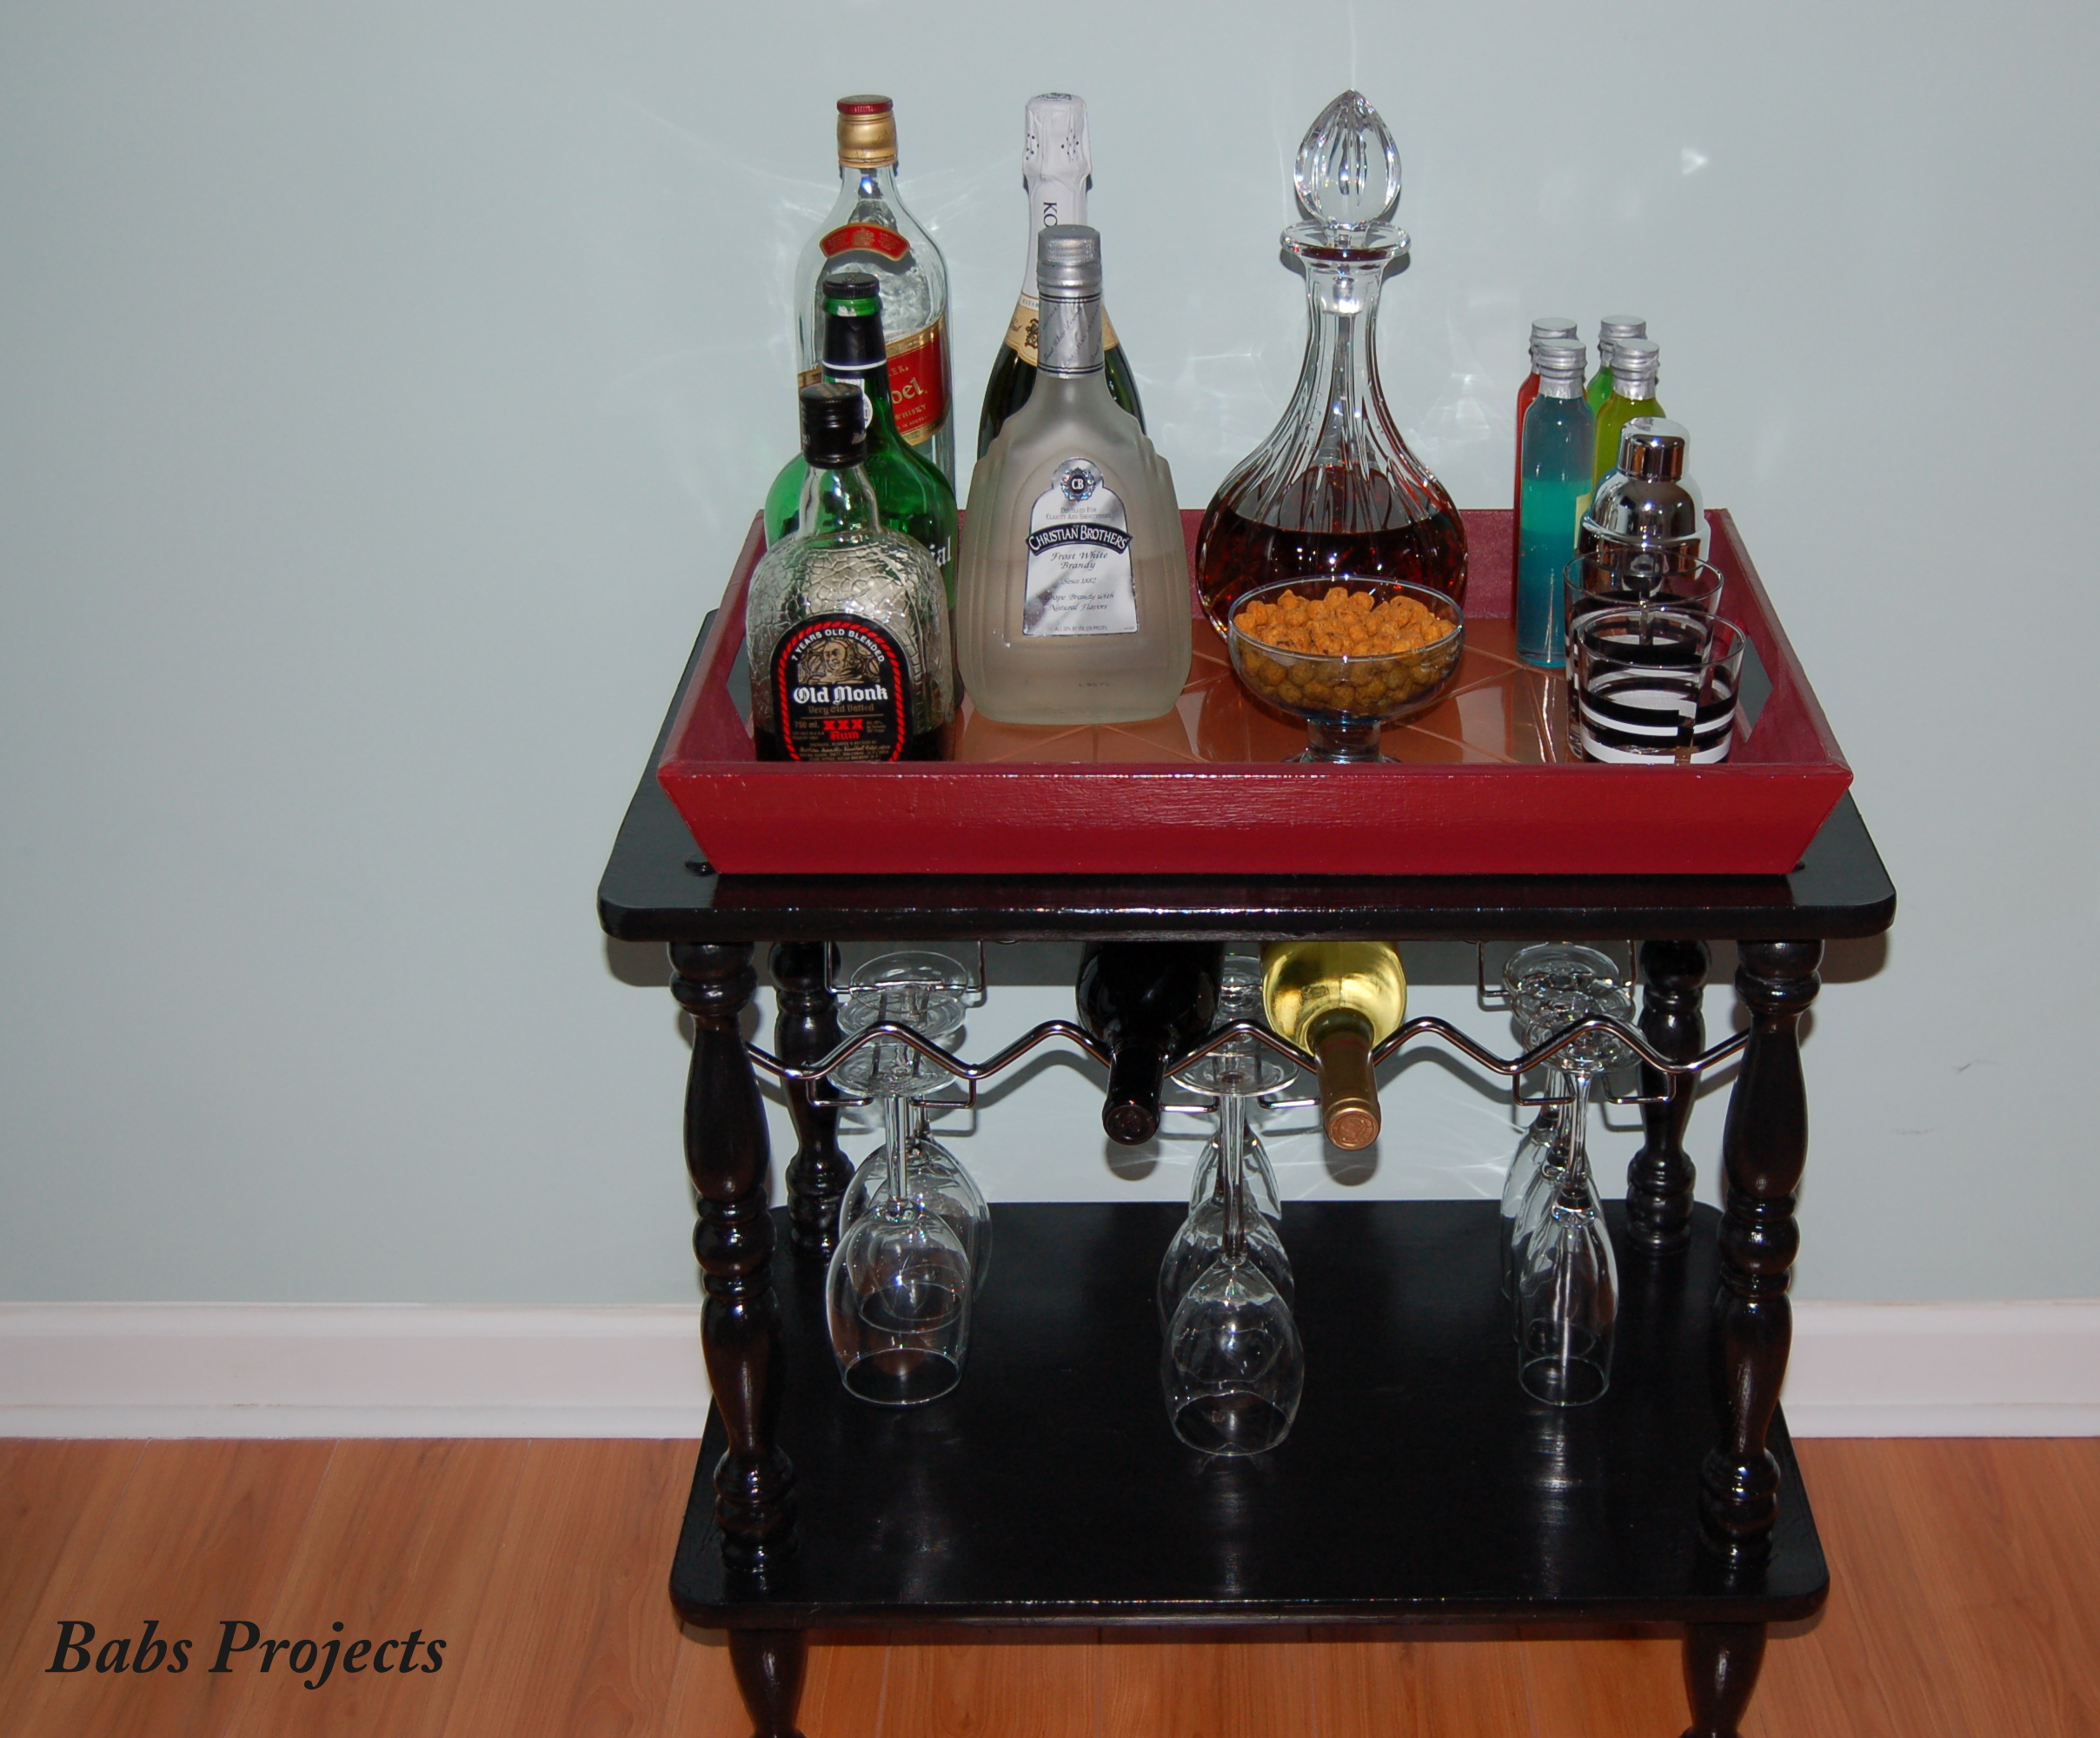
Remember this old Wooden Cart from my earlier post? I rescued it from a probable trip to the Goodwill after promising my husband that I would transform it into something functional. A week later I had a brilliant visual in my mind’s eye and that was to convert it into a Portable Mini Bar.
Why a Mini Bar? Well, after our basement was finished we were looking for bar furniture. Since we have space issues in the basement, my hubby and I wanted something compact to fit against one of the walls. Most of the bar furniture we were looking at were huge and would have taken up a lot of space. So when I had the idea of converting the old cart into a Mini Bar, it was a perfect alternative.
As you scroll down to check it out, I hope you guys enjoy it as much as I have enjoyed making it. As always comments will be hugely appreciated.
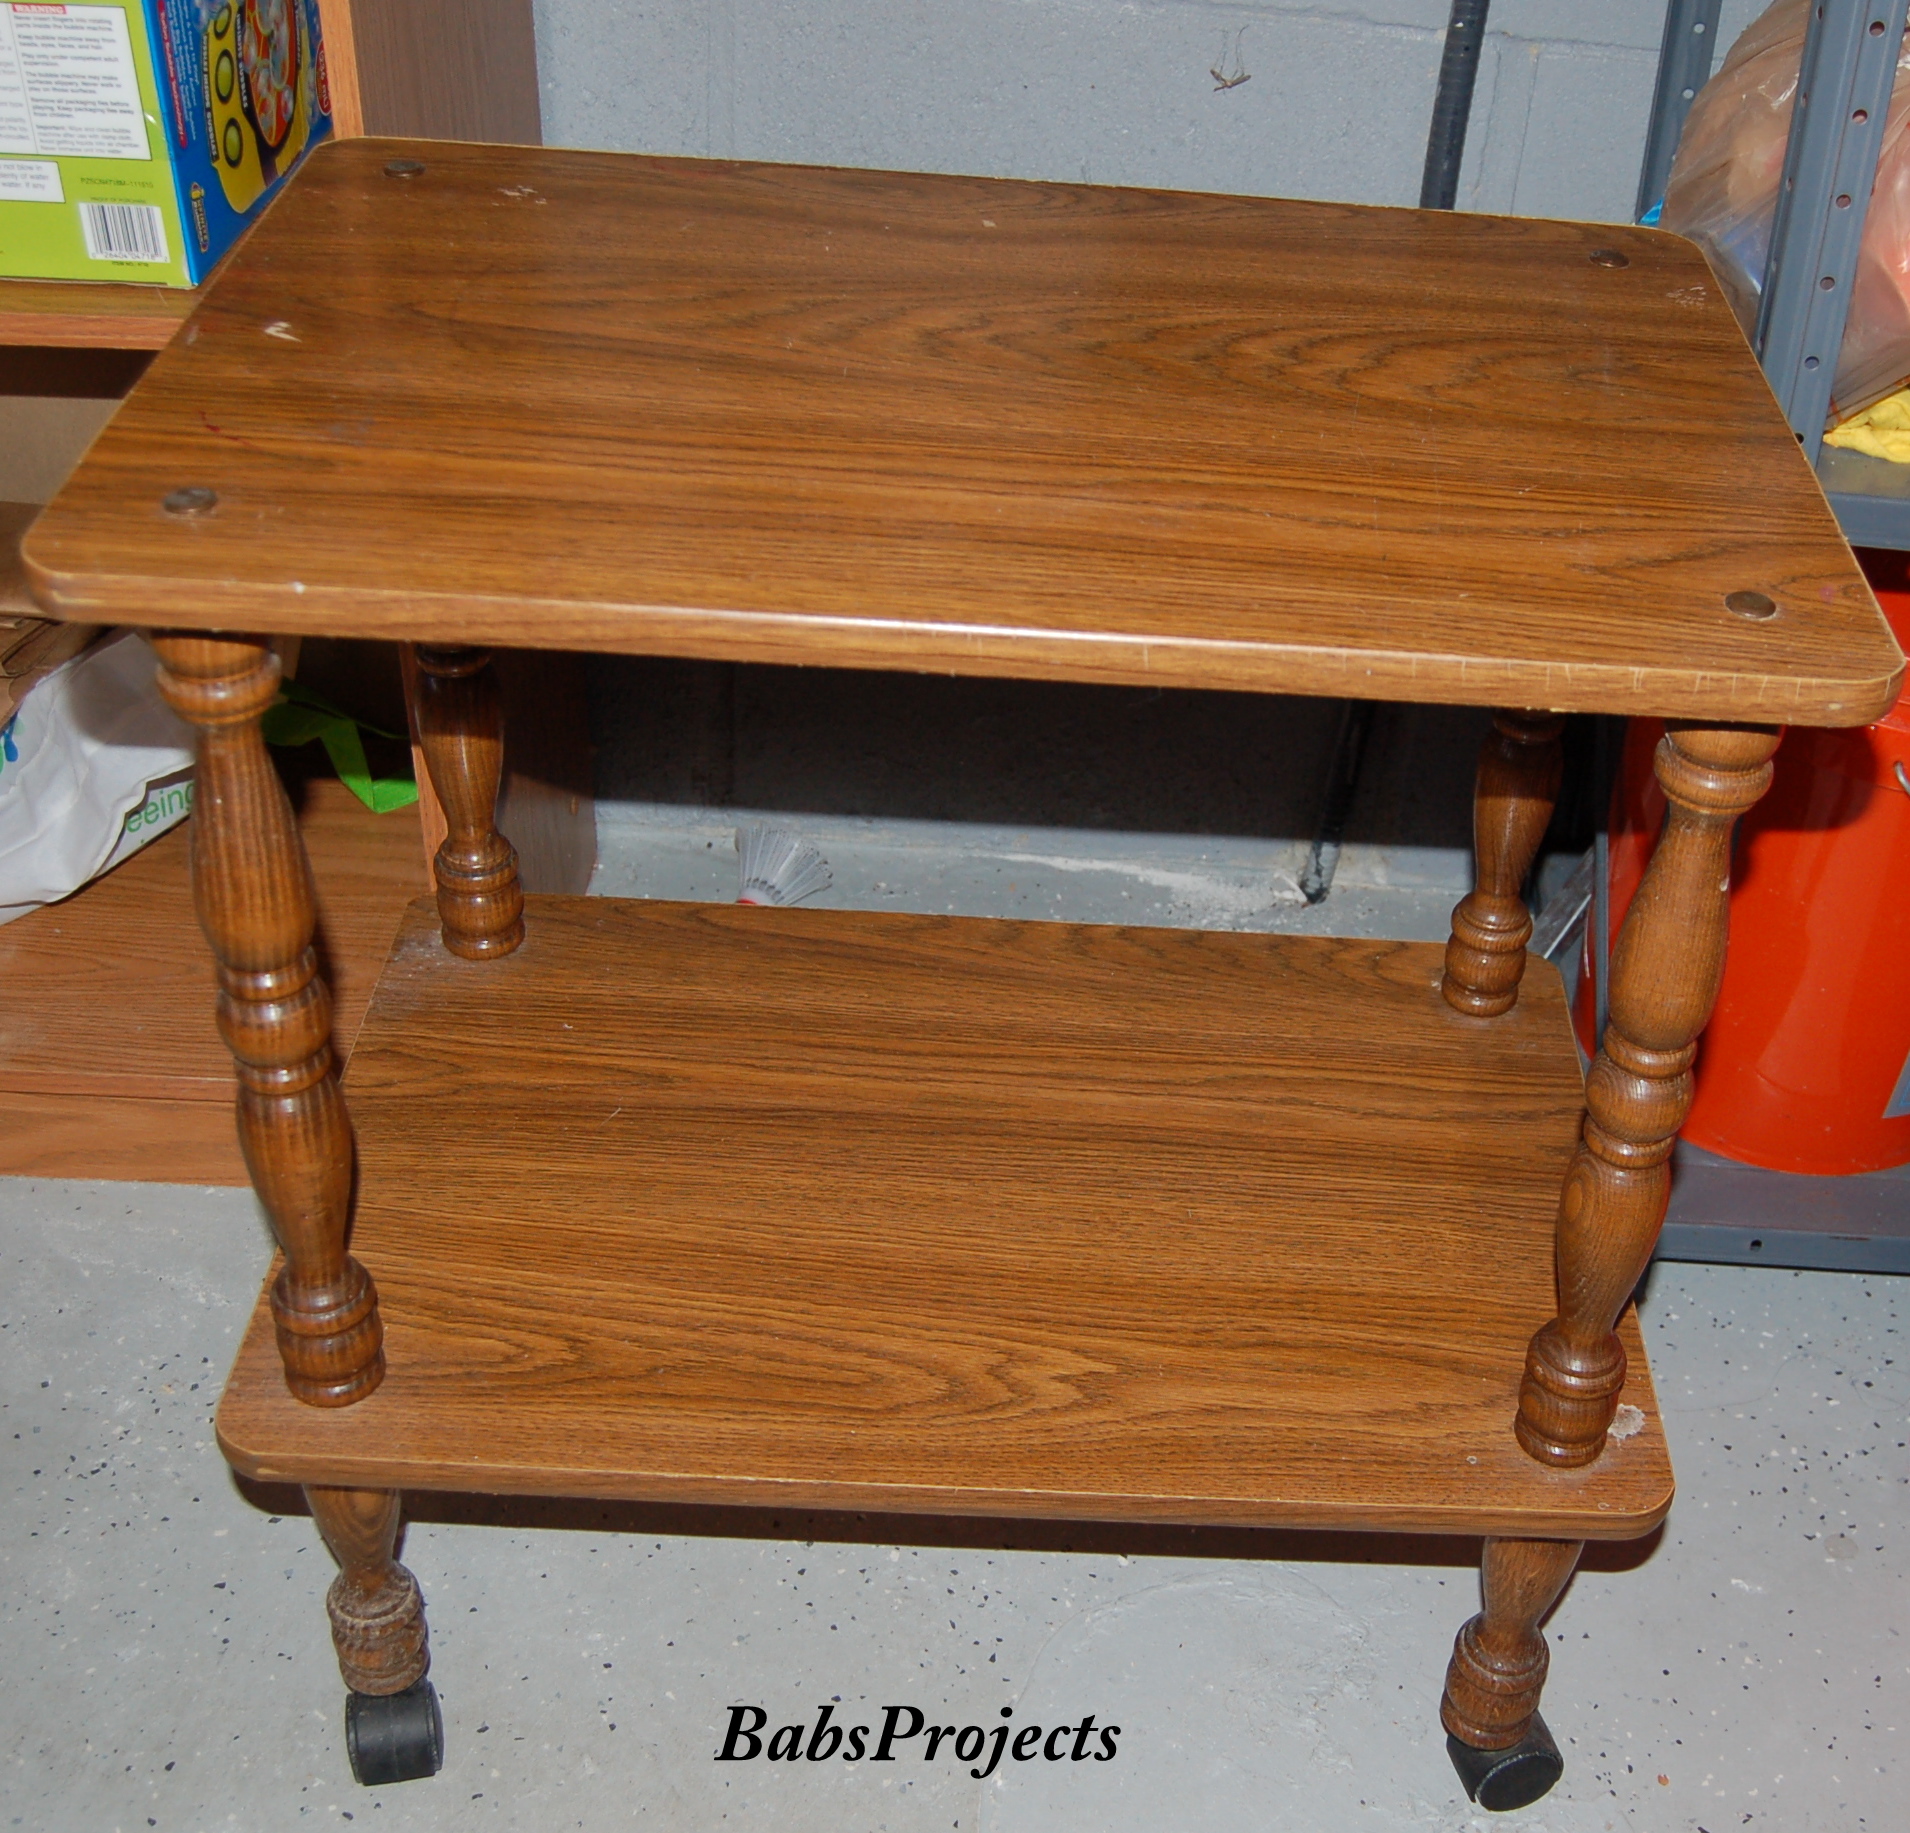
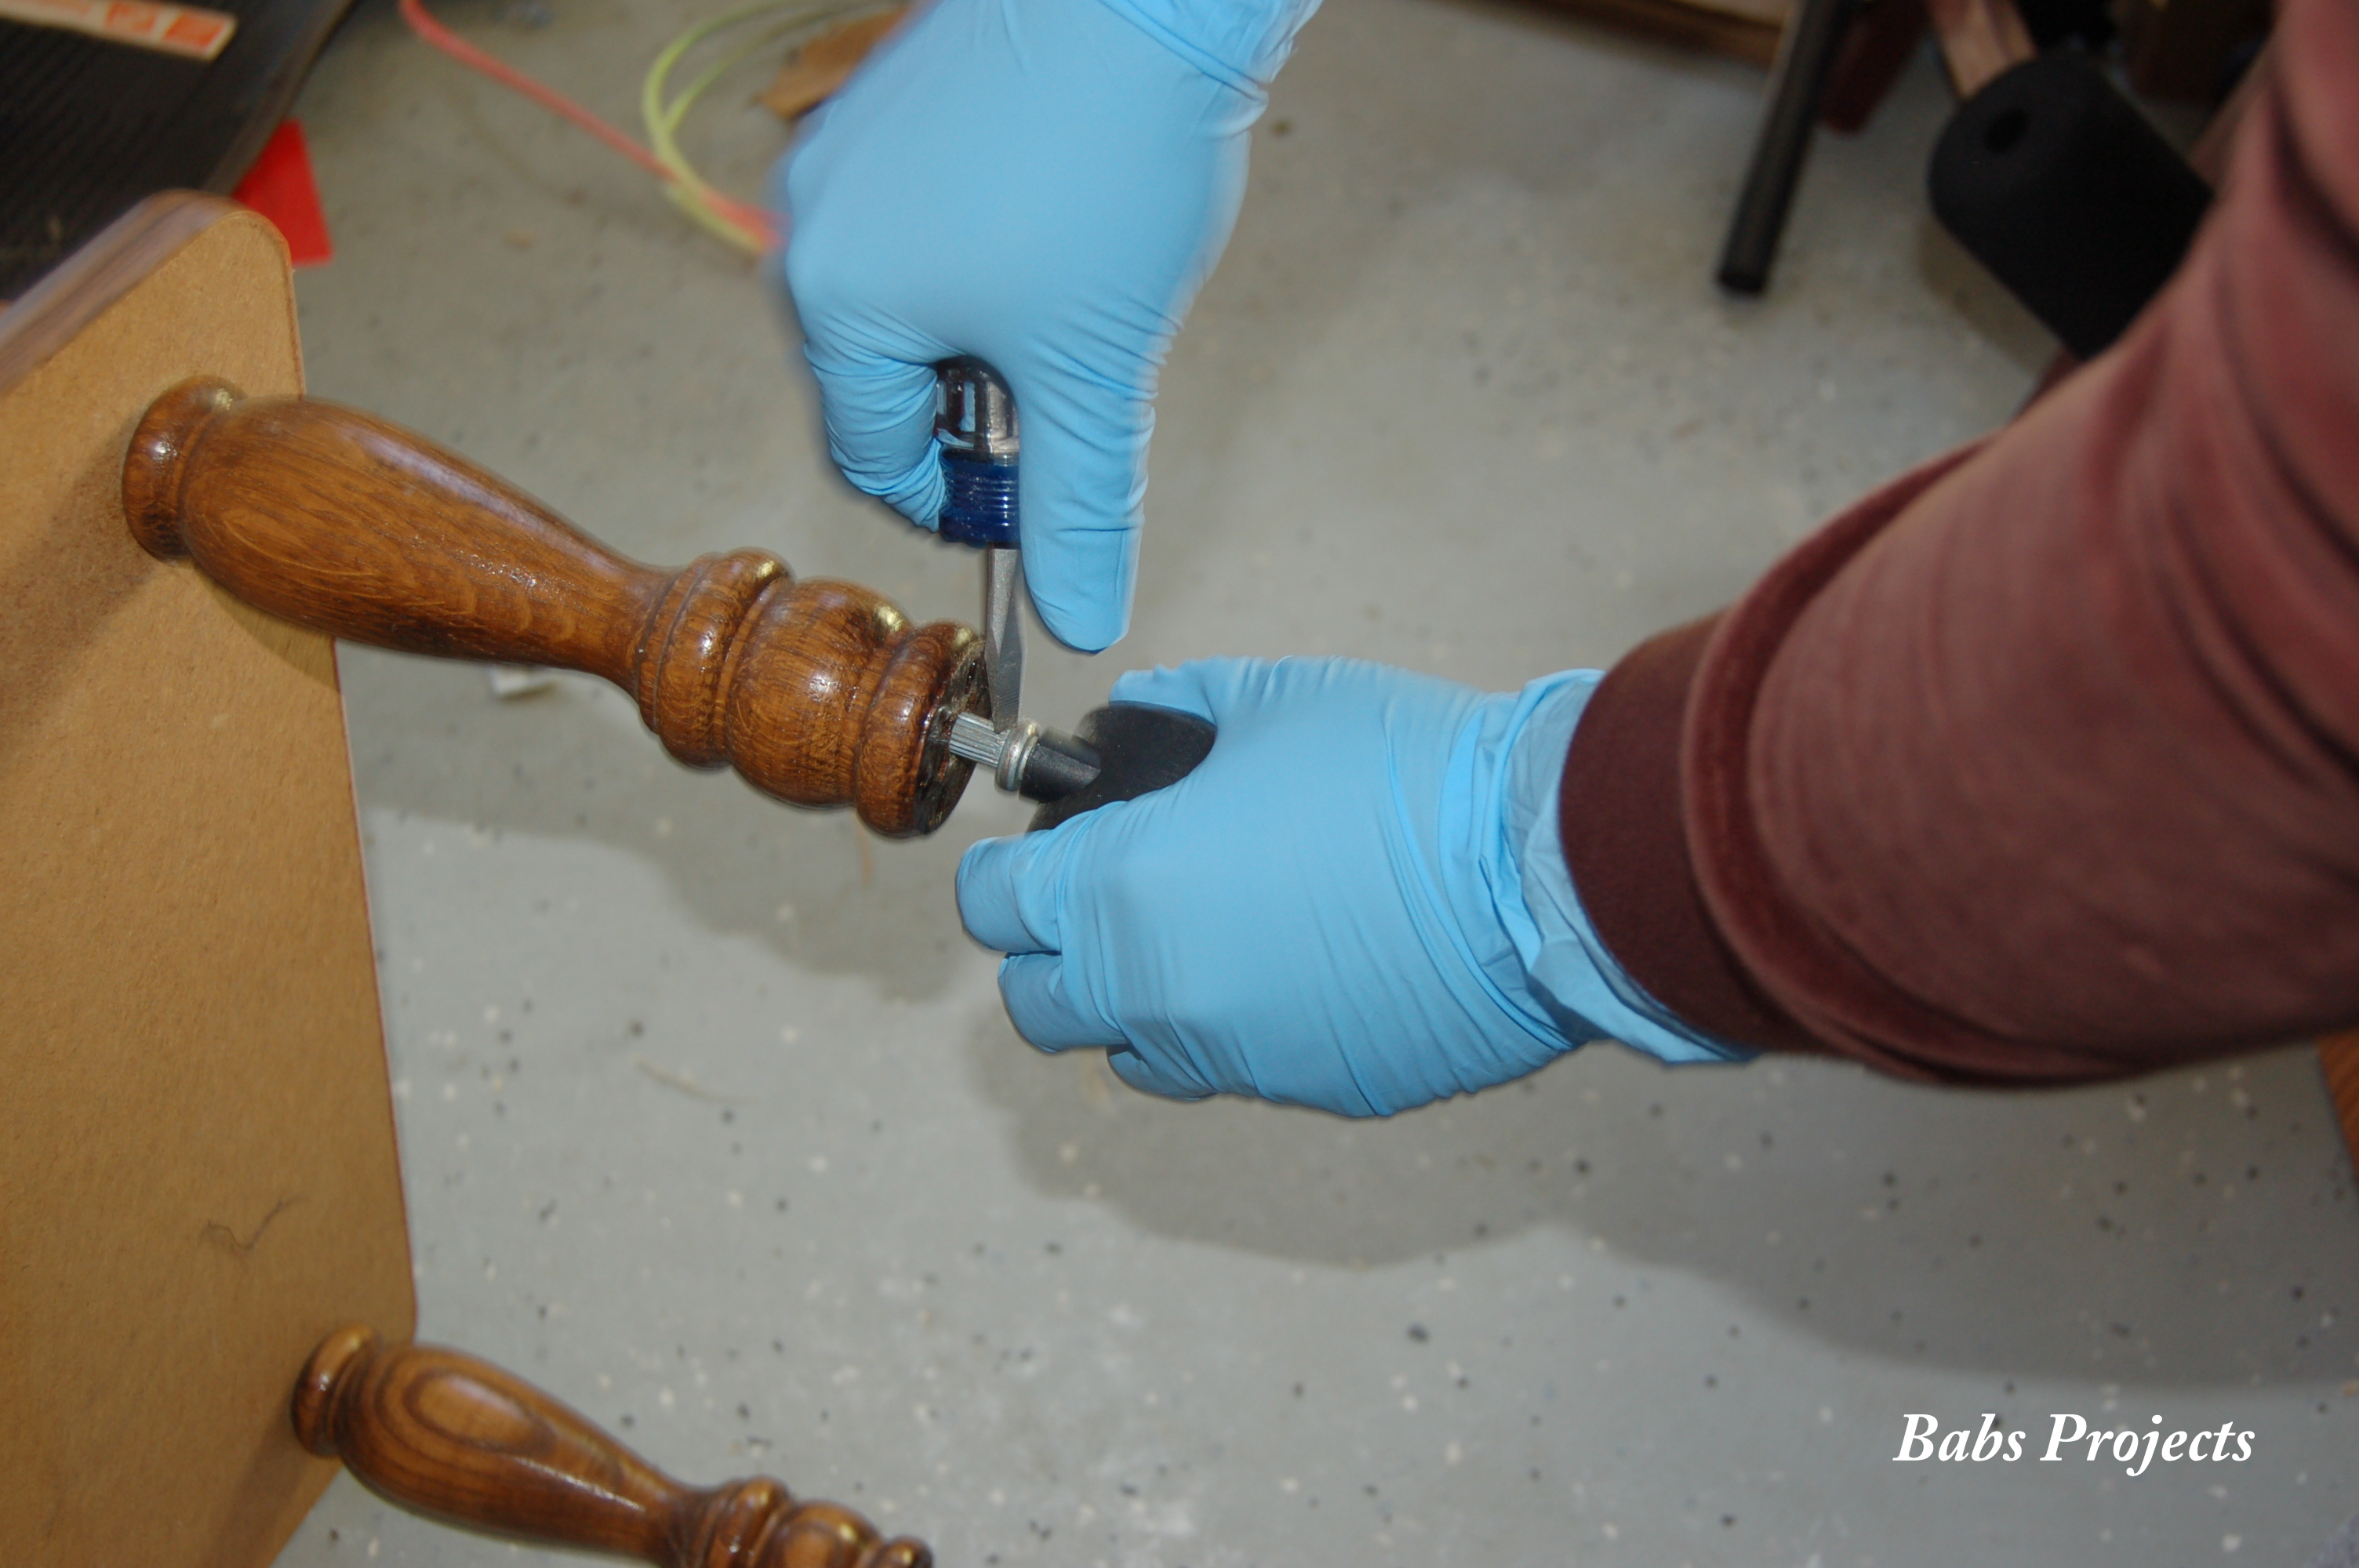
One of the first thing I did was to clean the cart with a dry cloth, just kind of dusted it off. Since I did not want the wheels anymore, I forced them out with a hammer and screwdriver.
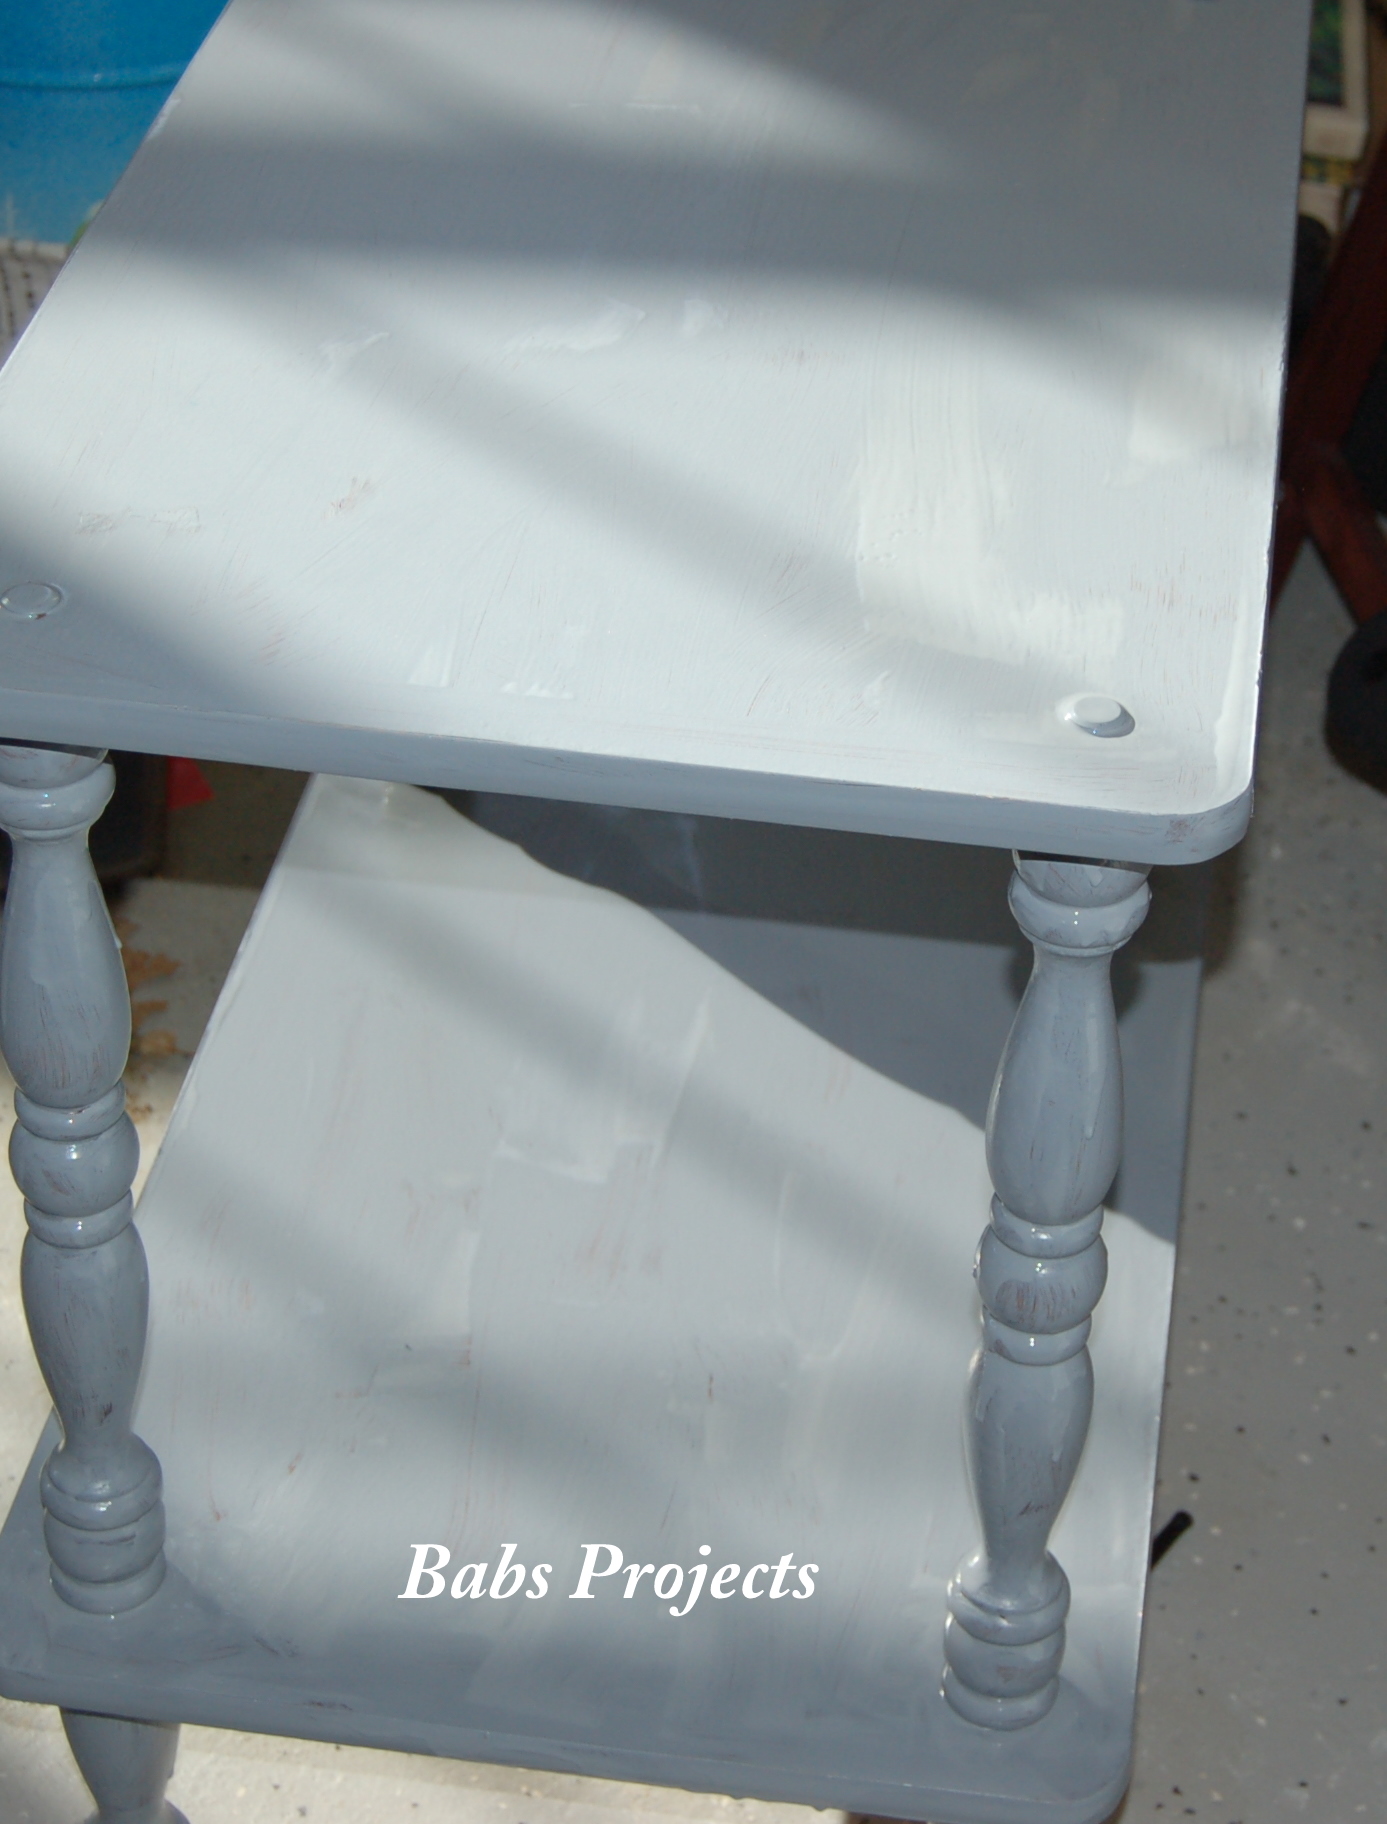
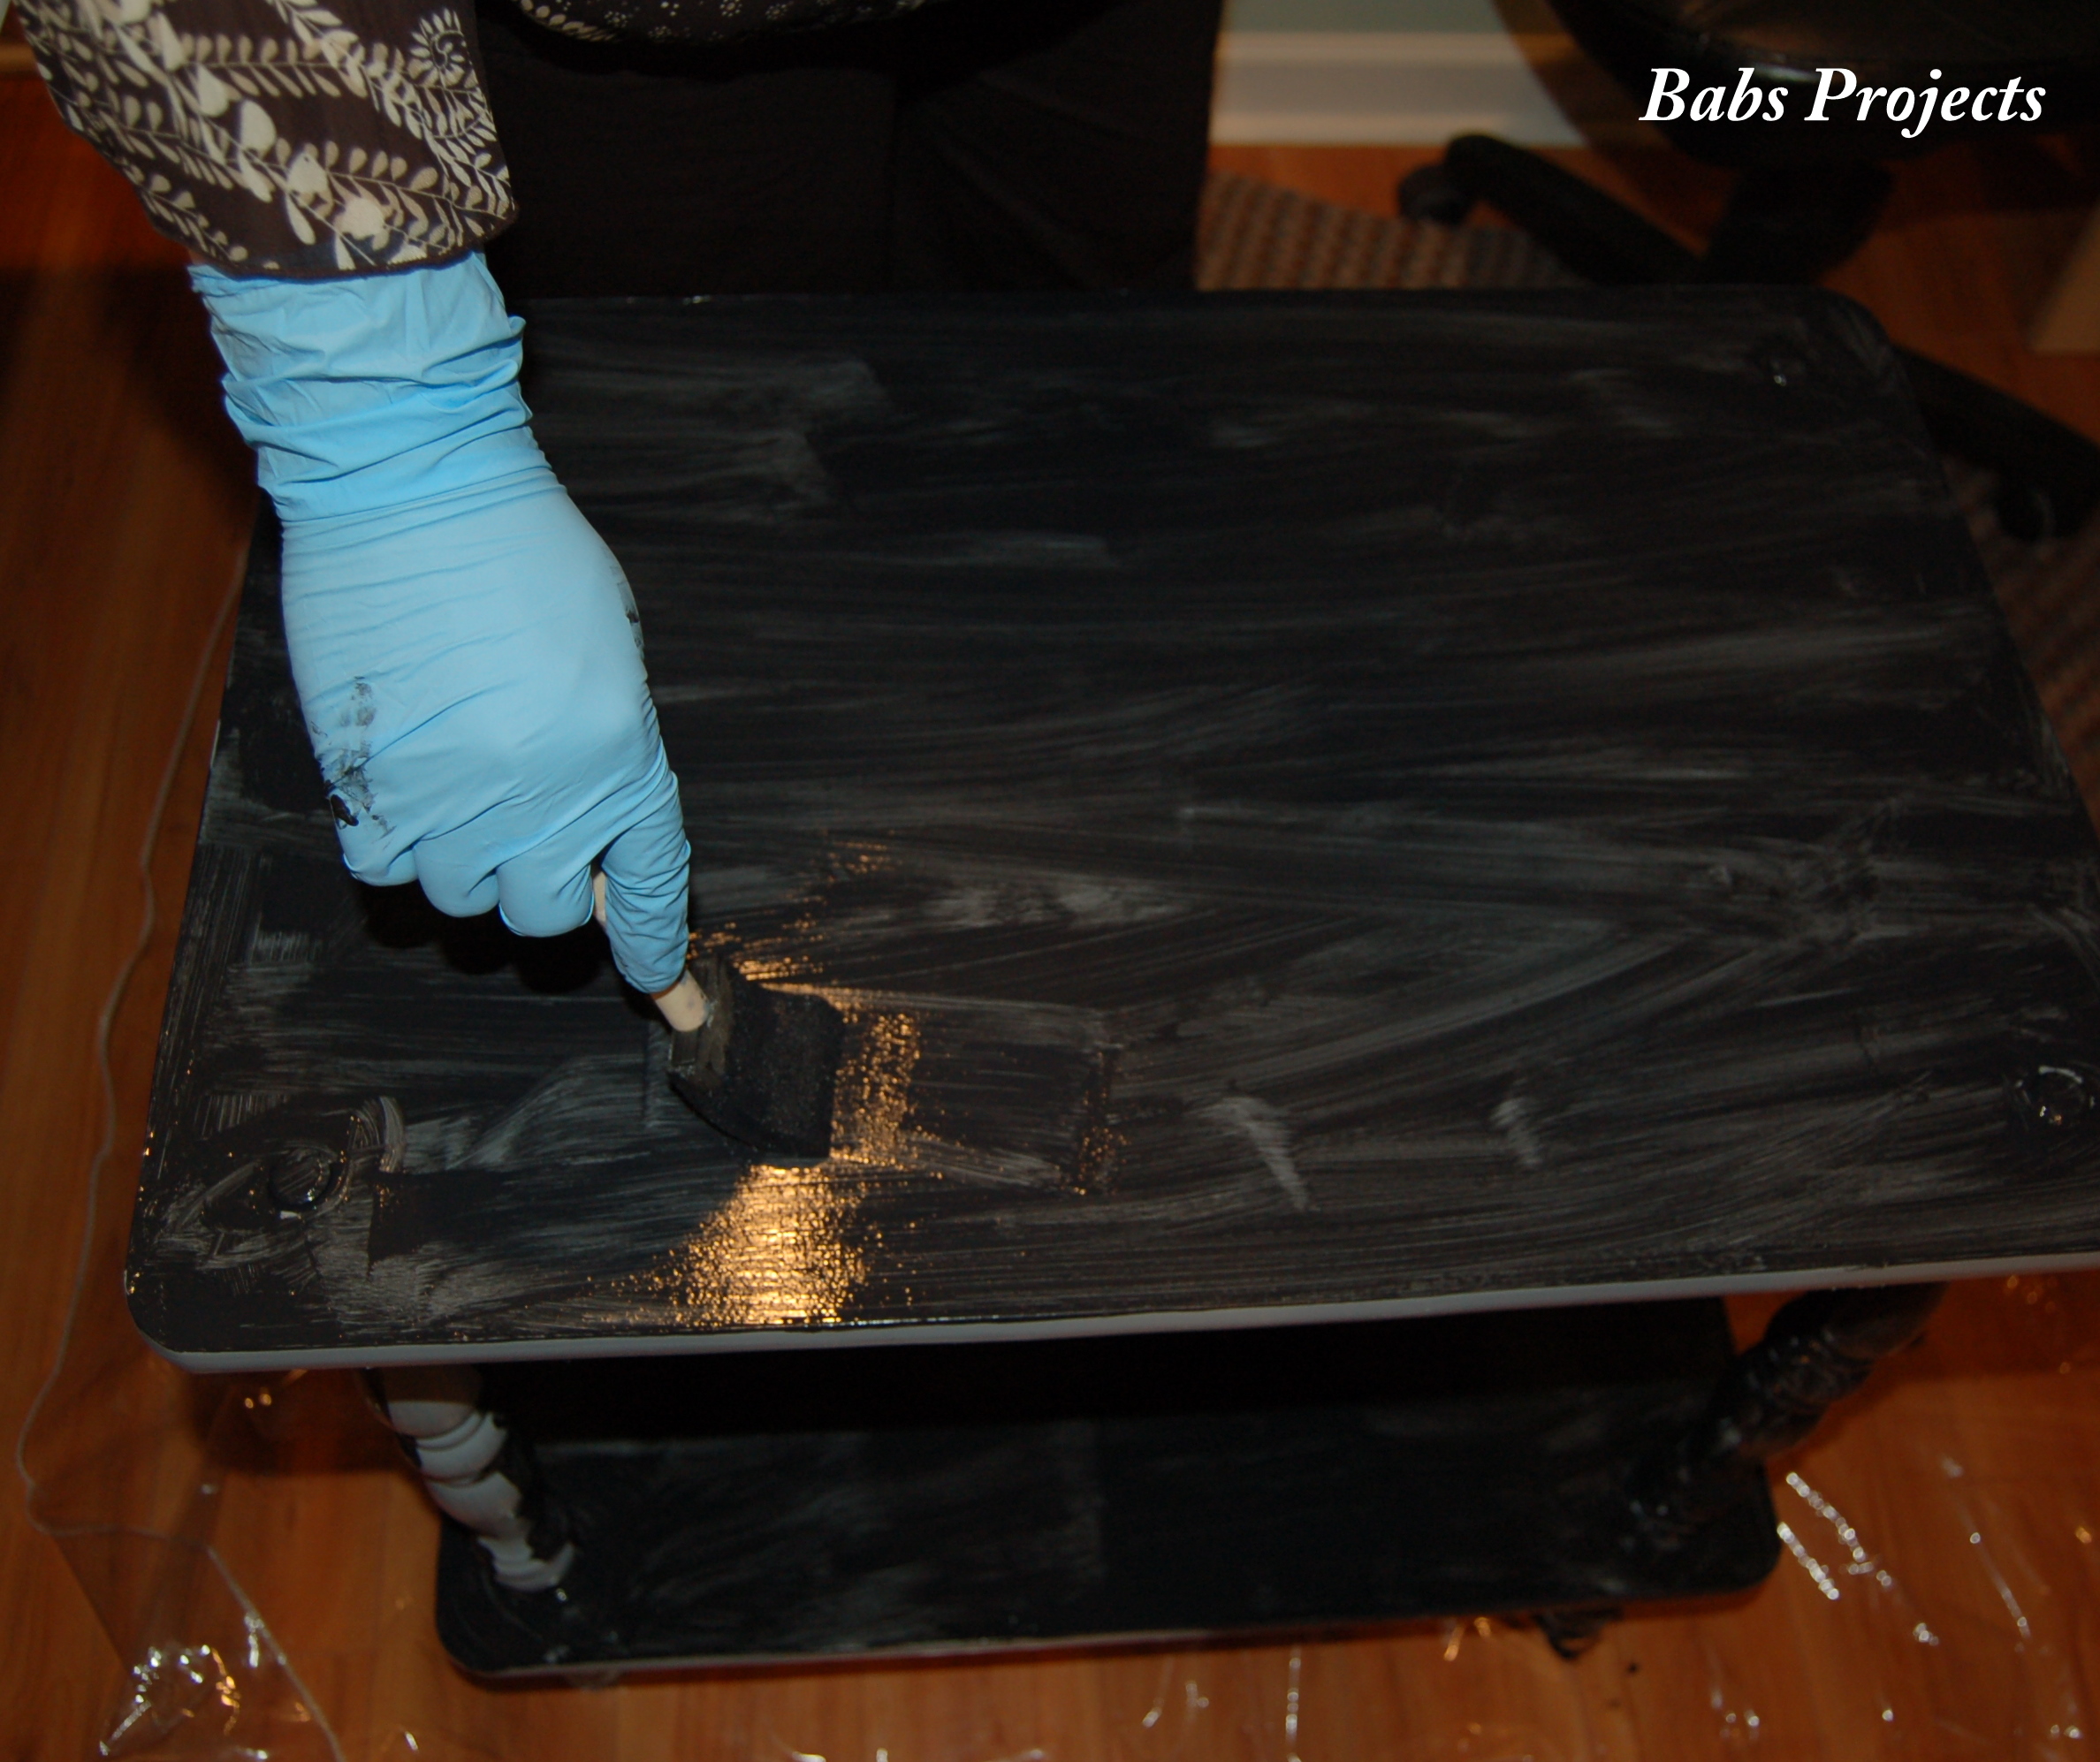
Next, I applied a coat of Zinsser Bulls Eye Interior/Exterior primer. This was suggested to me by the sale associate in Home Depot . I was planning on painting the cart black. So the associate suggested that I use a grey primer, as it would allow the black paint to adhere well. Once the primer was applied, I allowed it to dry for about 2 hours (although one hour would have been enough).
Once the primer had dried completely, I applied a coat of BEHR Premium Plus Semi-Gloss Interior Enamel black paint. I repeated this process three more times allowing it to dry between coats.
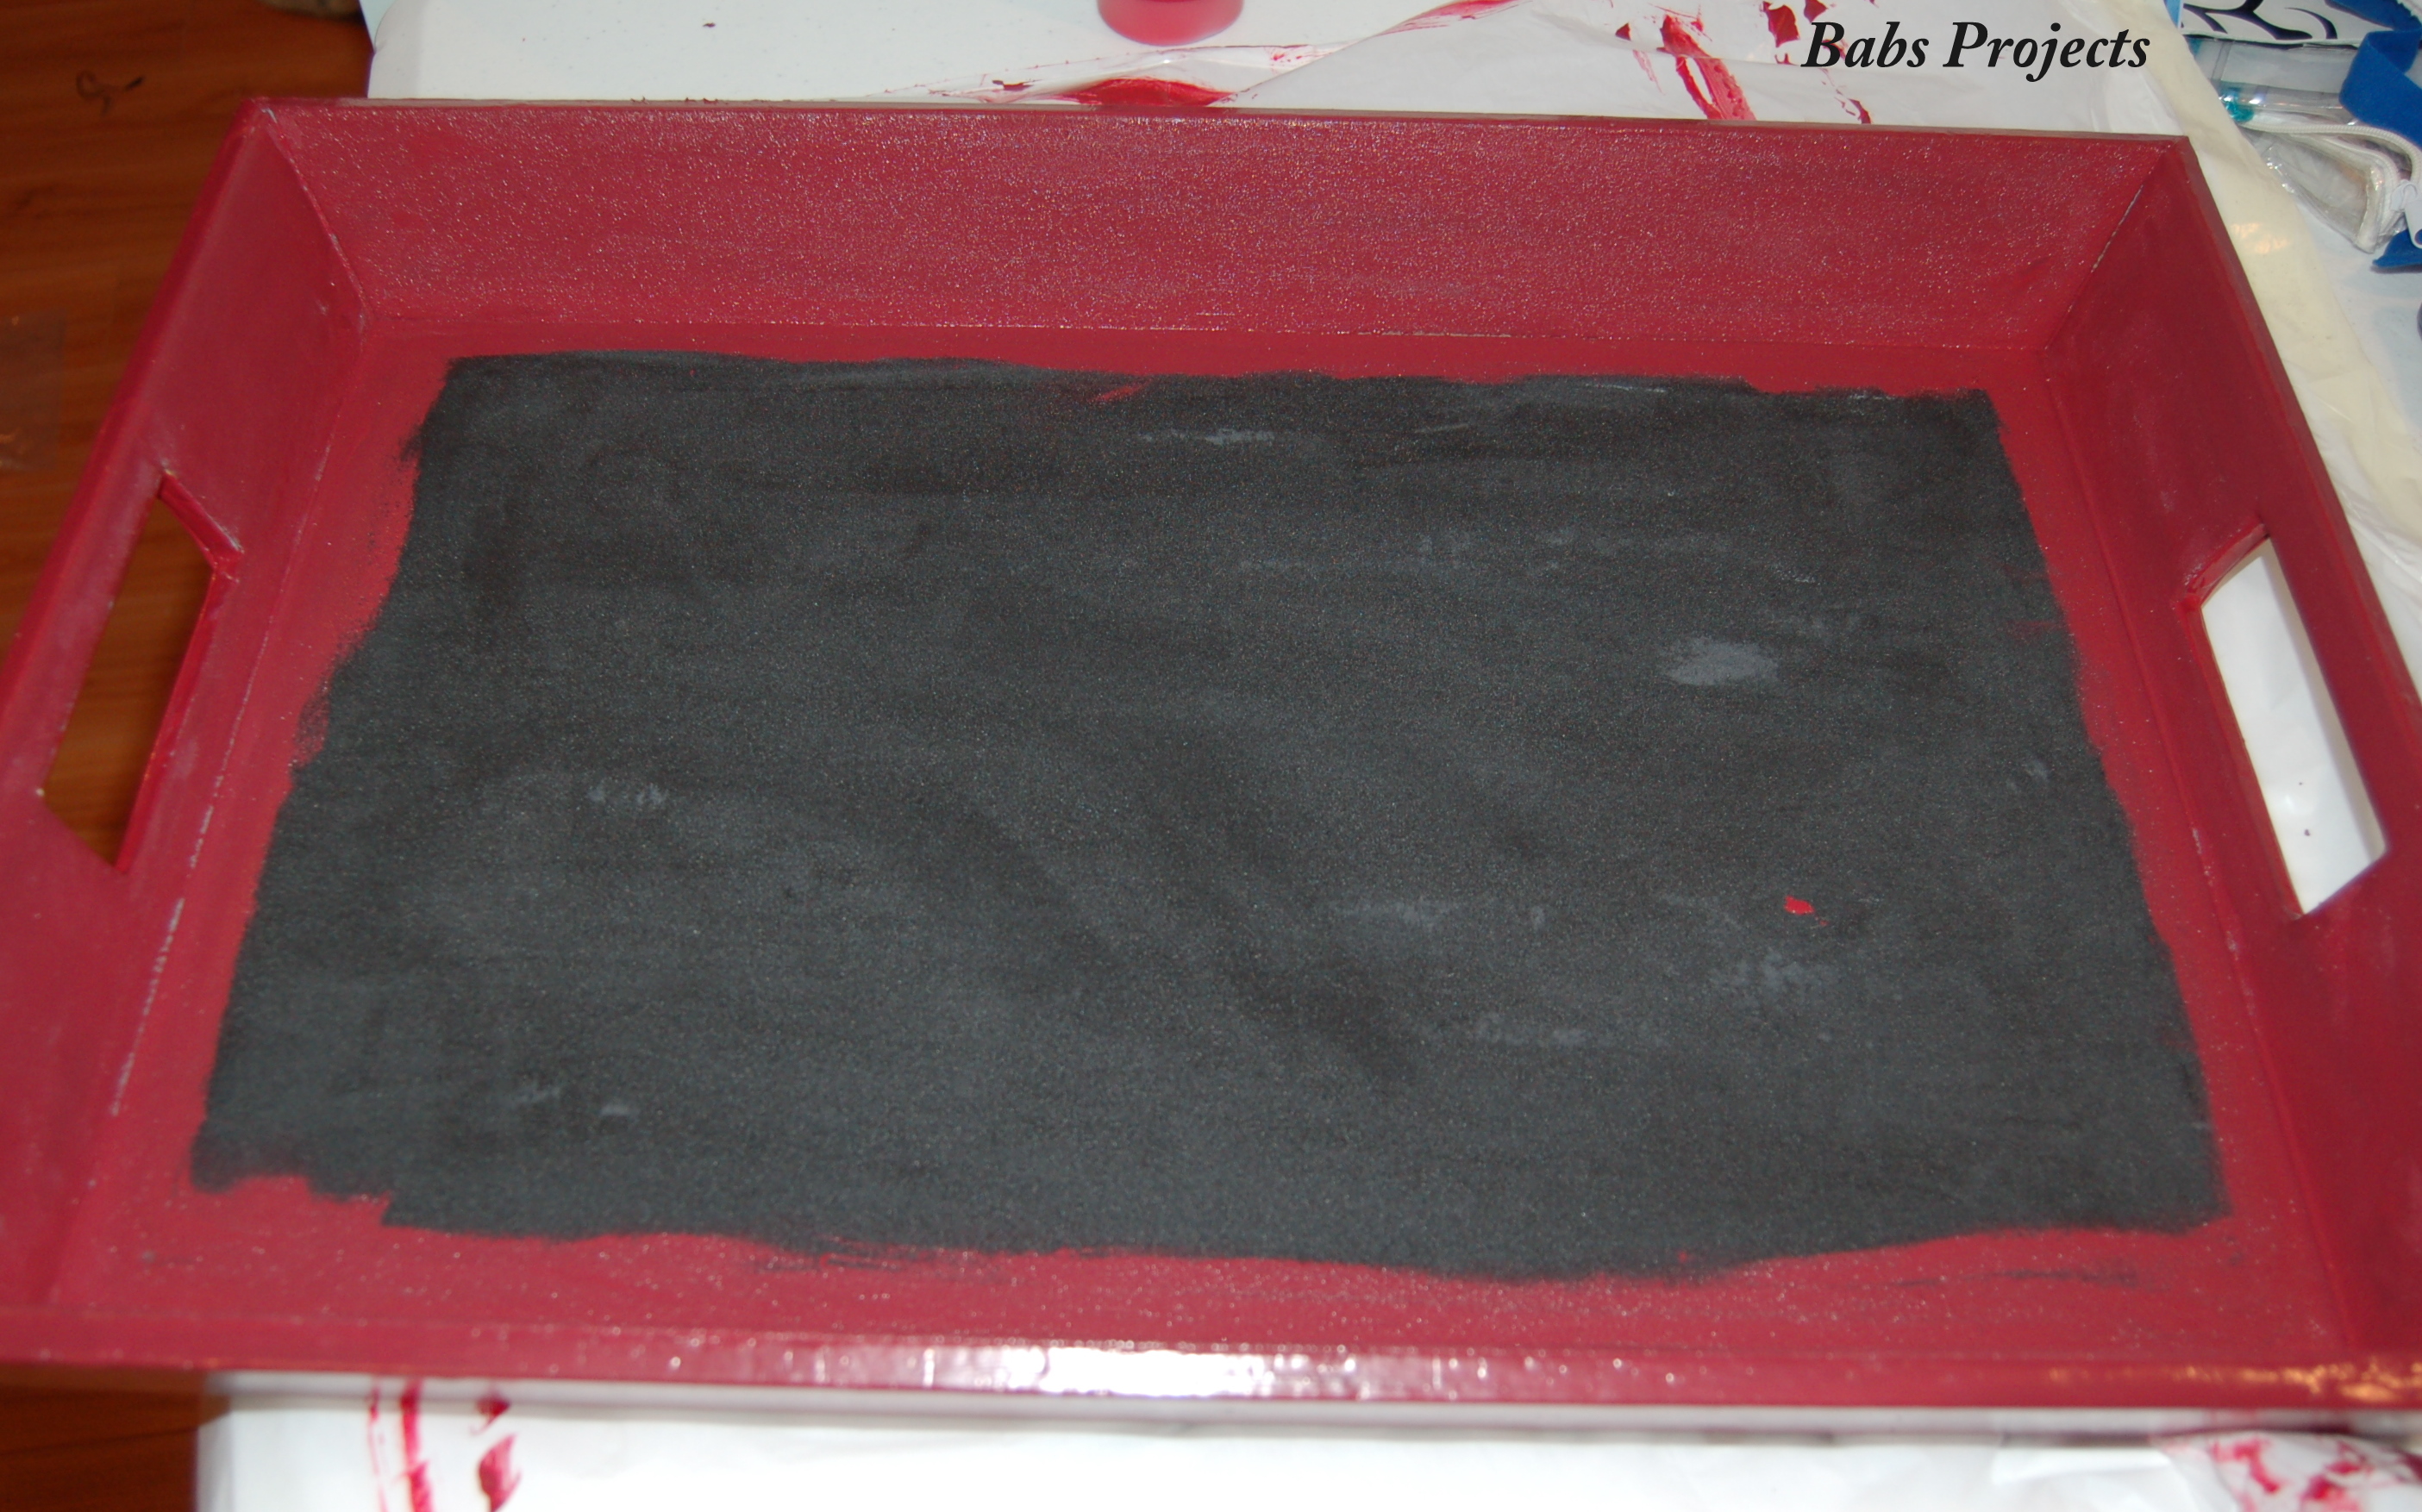
Part of my plan was to install a wooden tray on top of the cart. After a lot of searching and shopping I found a perfect faux leather and wooden tray in T.J. MAXX. Since I did not like the original color of the tray, I mixed up a batch of red and black acrylic paint and colored it deep maroon. I applied two coats of this paint, allowing for a dry time of 30 minutes in between each coat. Finally I sealed it with an acrylic sealer.
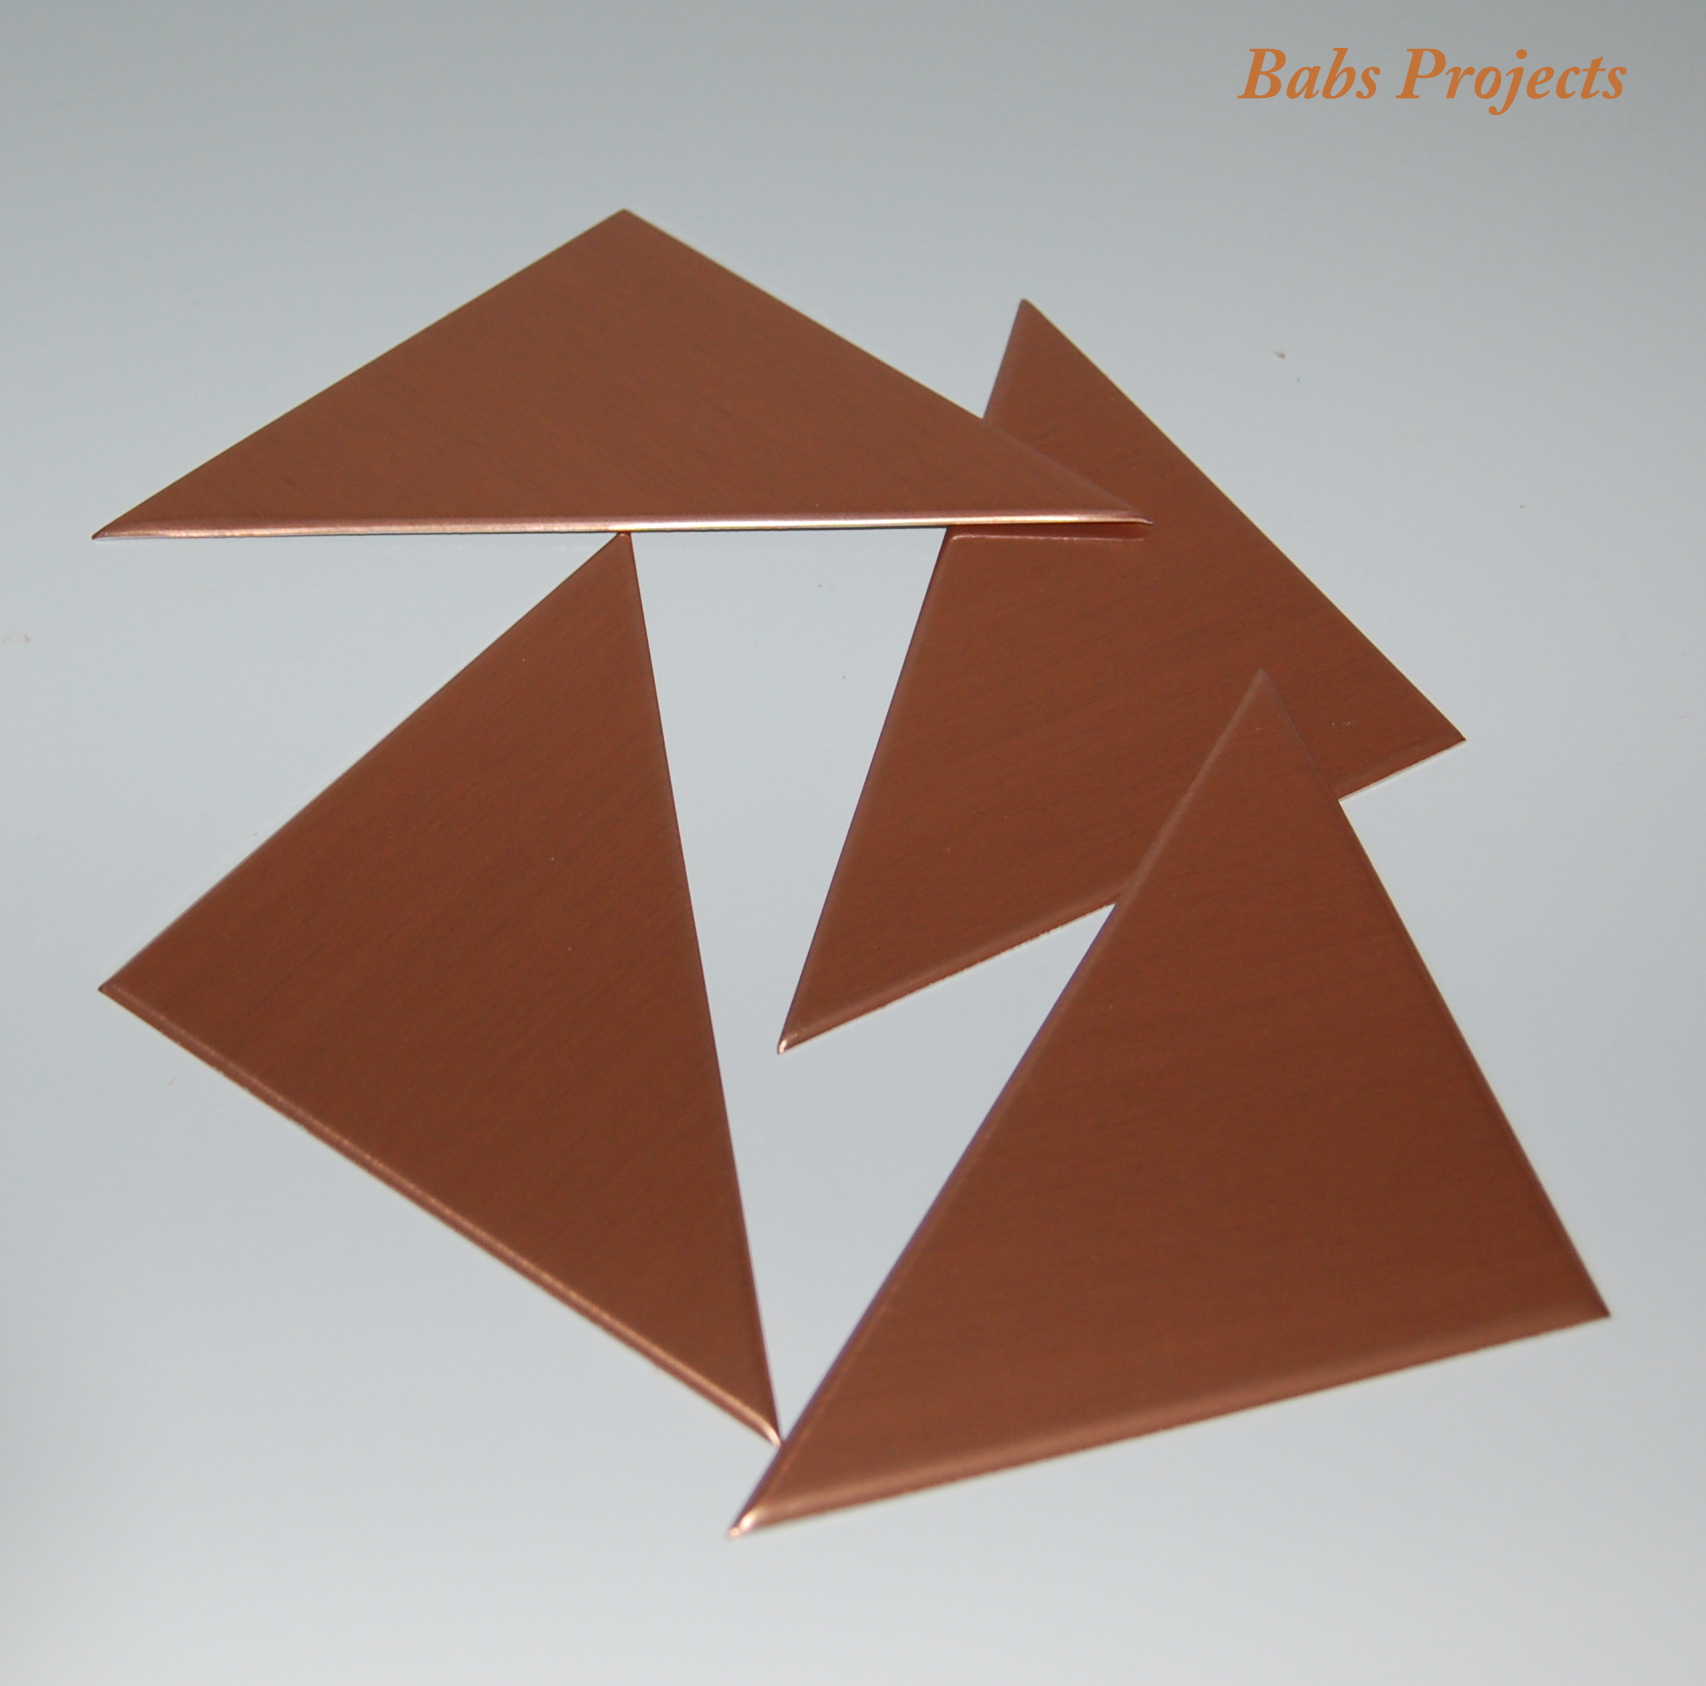
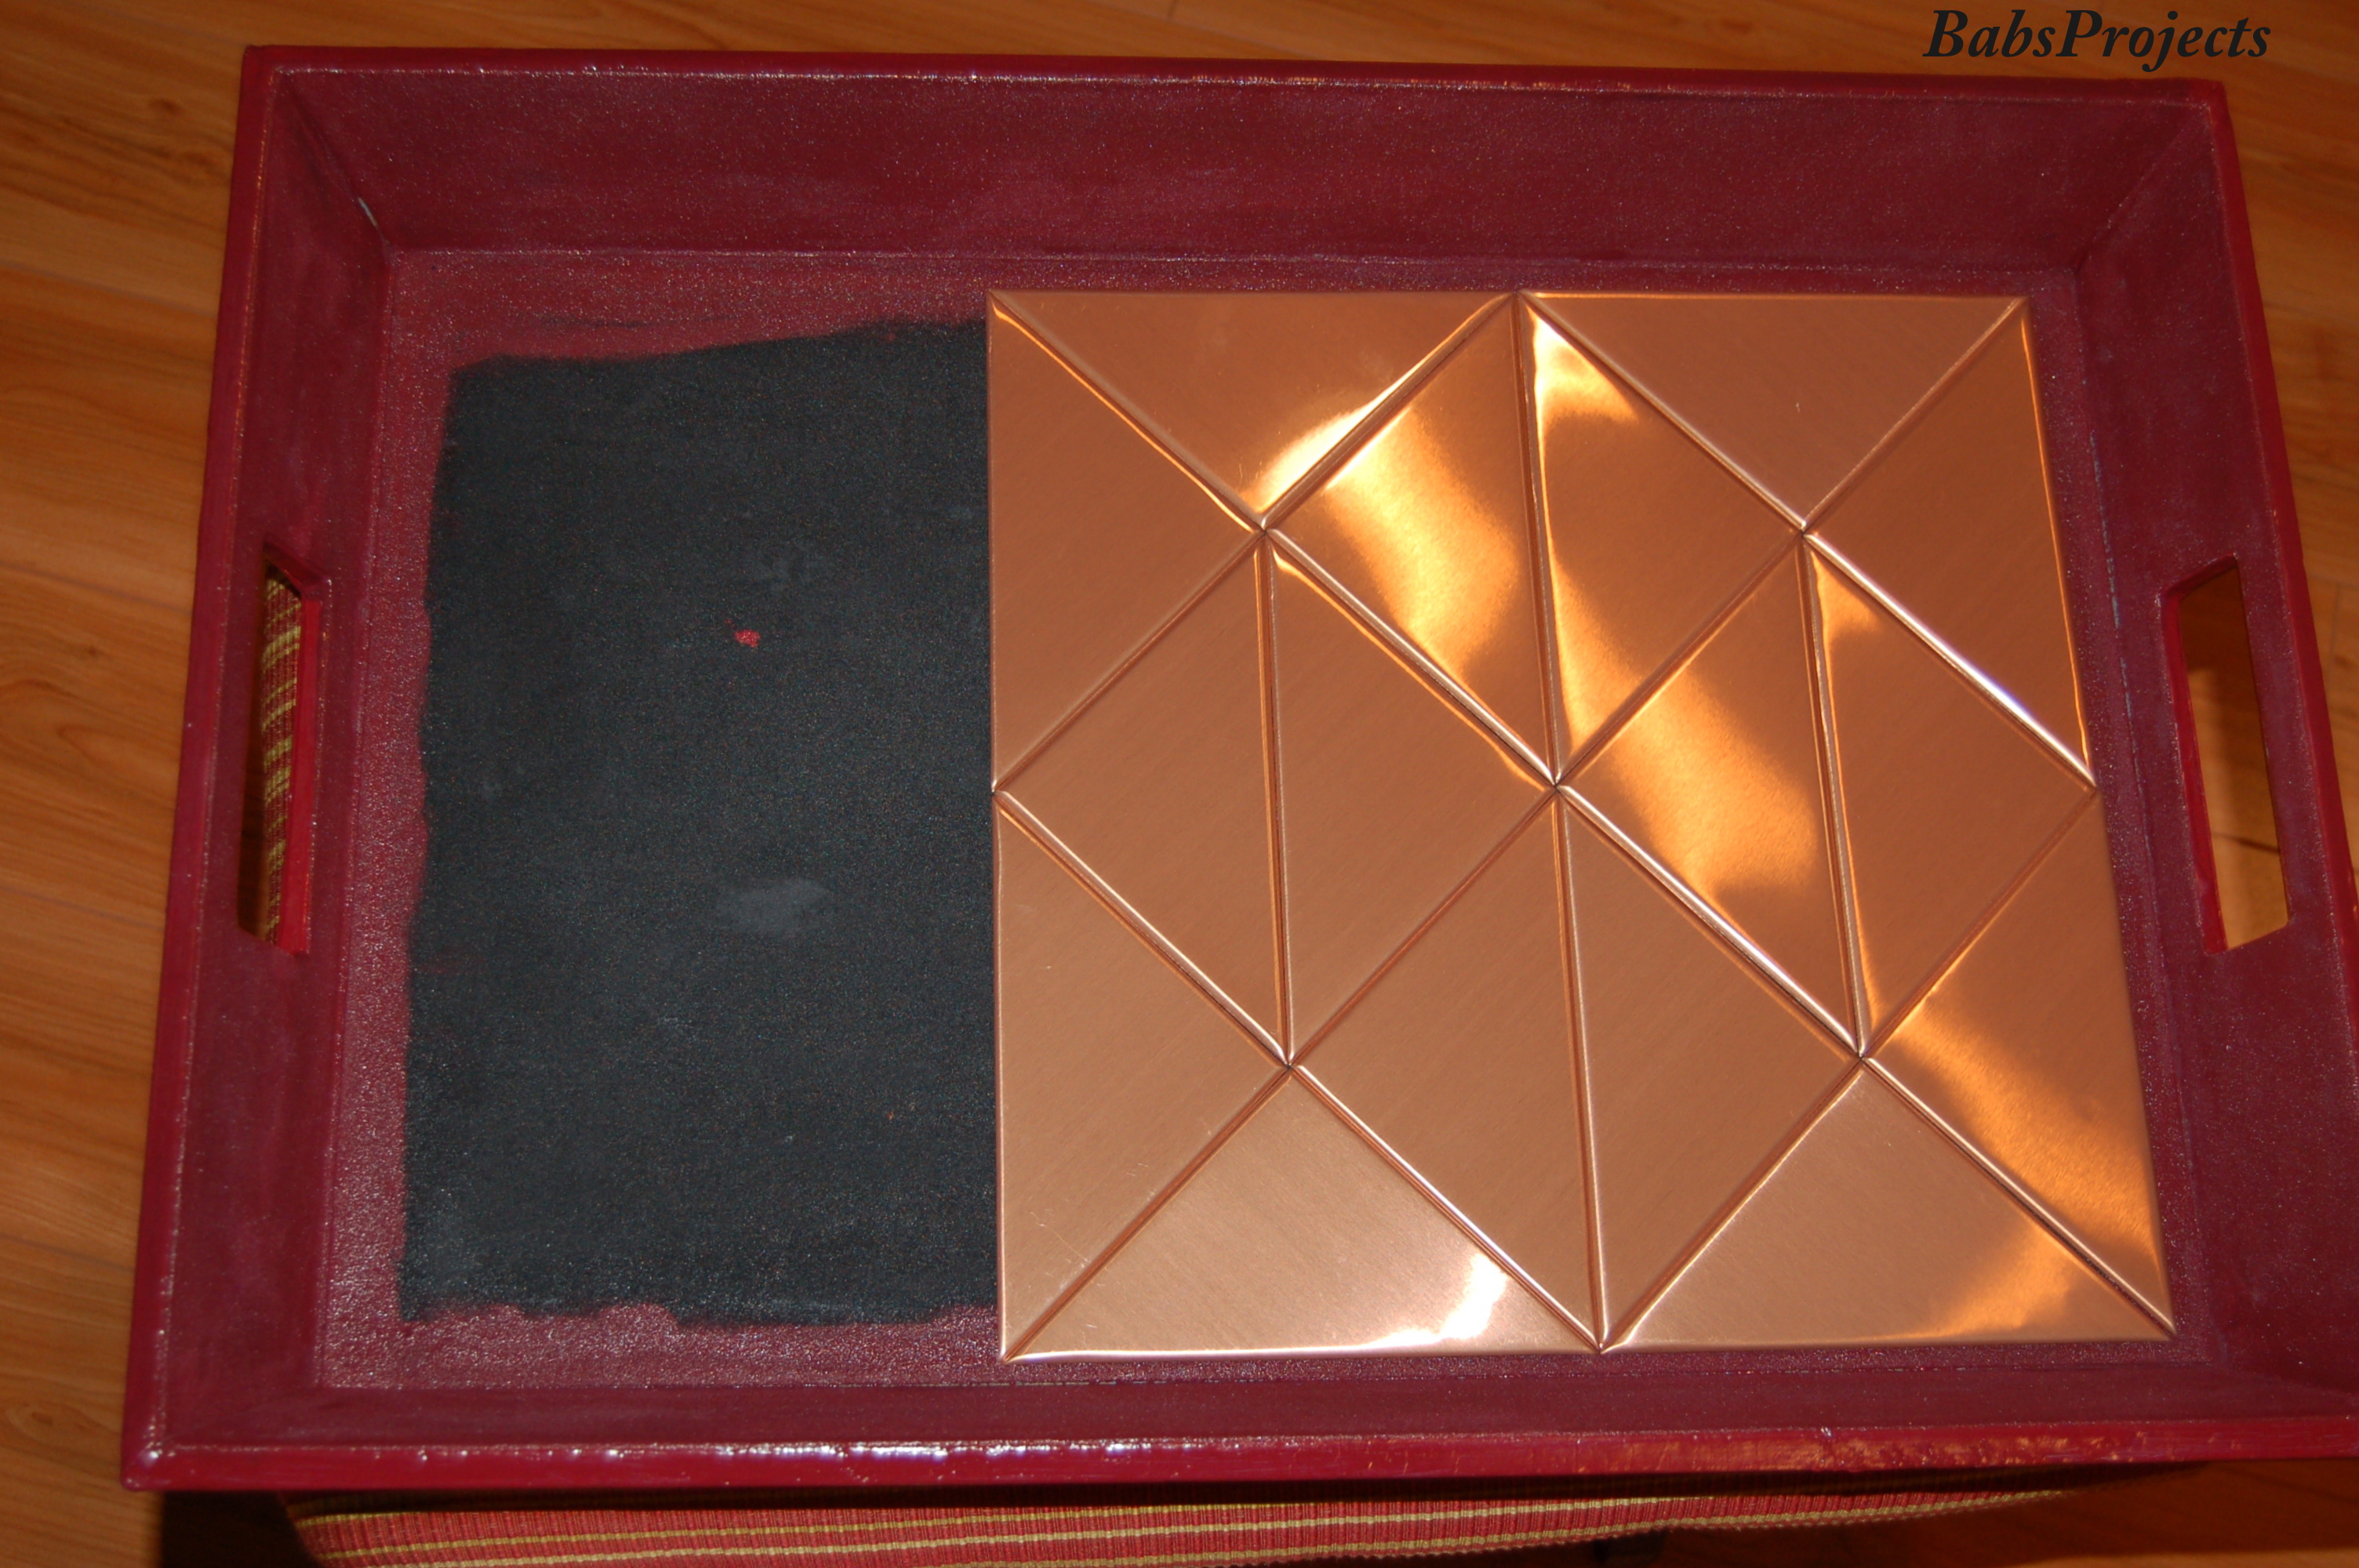
After I was done with the tray, I still was not happy with the result on its interior surface. I was planning to cover it with a drawer liner, when my husband miraculously came up with a suggestion. He reminded me of the copper tiles I had in my crafts supply bin. I had order these triangle shaped copper tiles from Amazon.com a couple of months back for a project and never used it. It made perfect sense to use them over here.
I wanted to fit the bottom part of the cart with under cabinet wine bottle holder and glass rack. By the time I made up my mind, they were all sold out at Walmart and Target. Luckily I found the Spectrum under cabinet wine rack at where else but Amazon.com . It came equipped with four screws. Fitted the rack on the the cart and it was ready for staging.
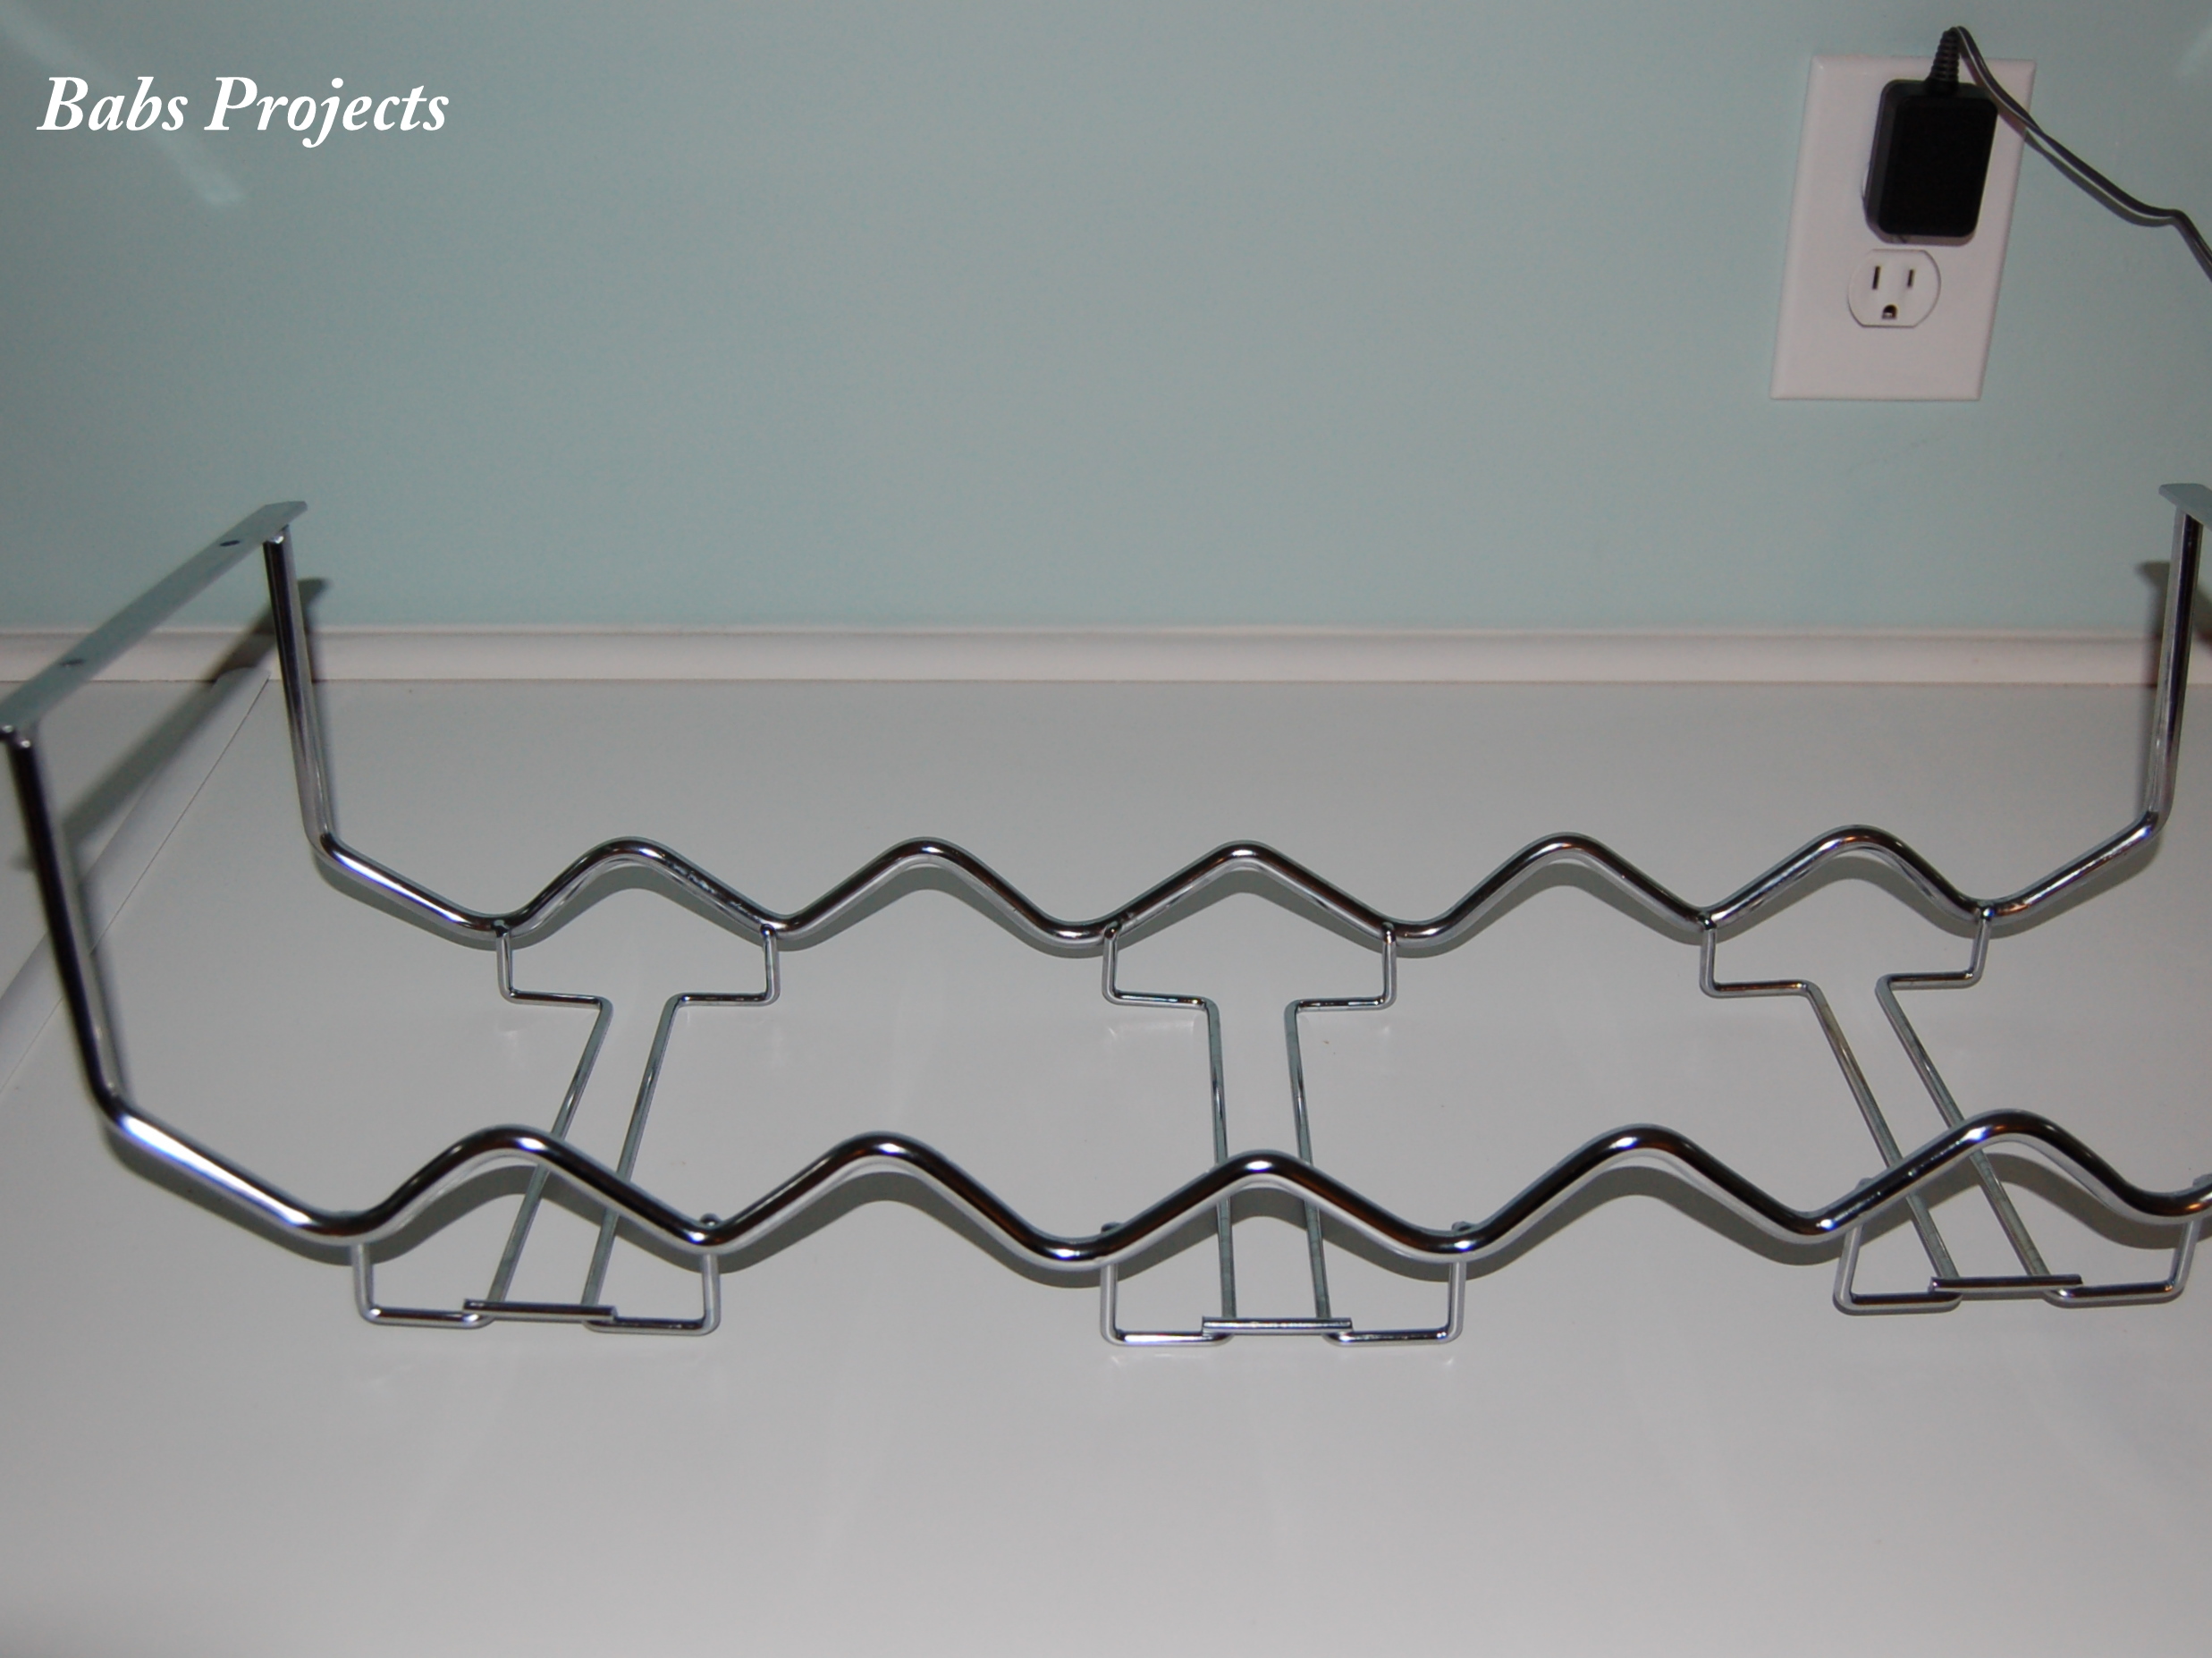
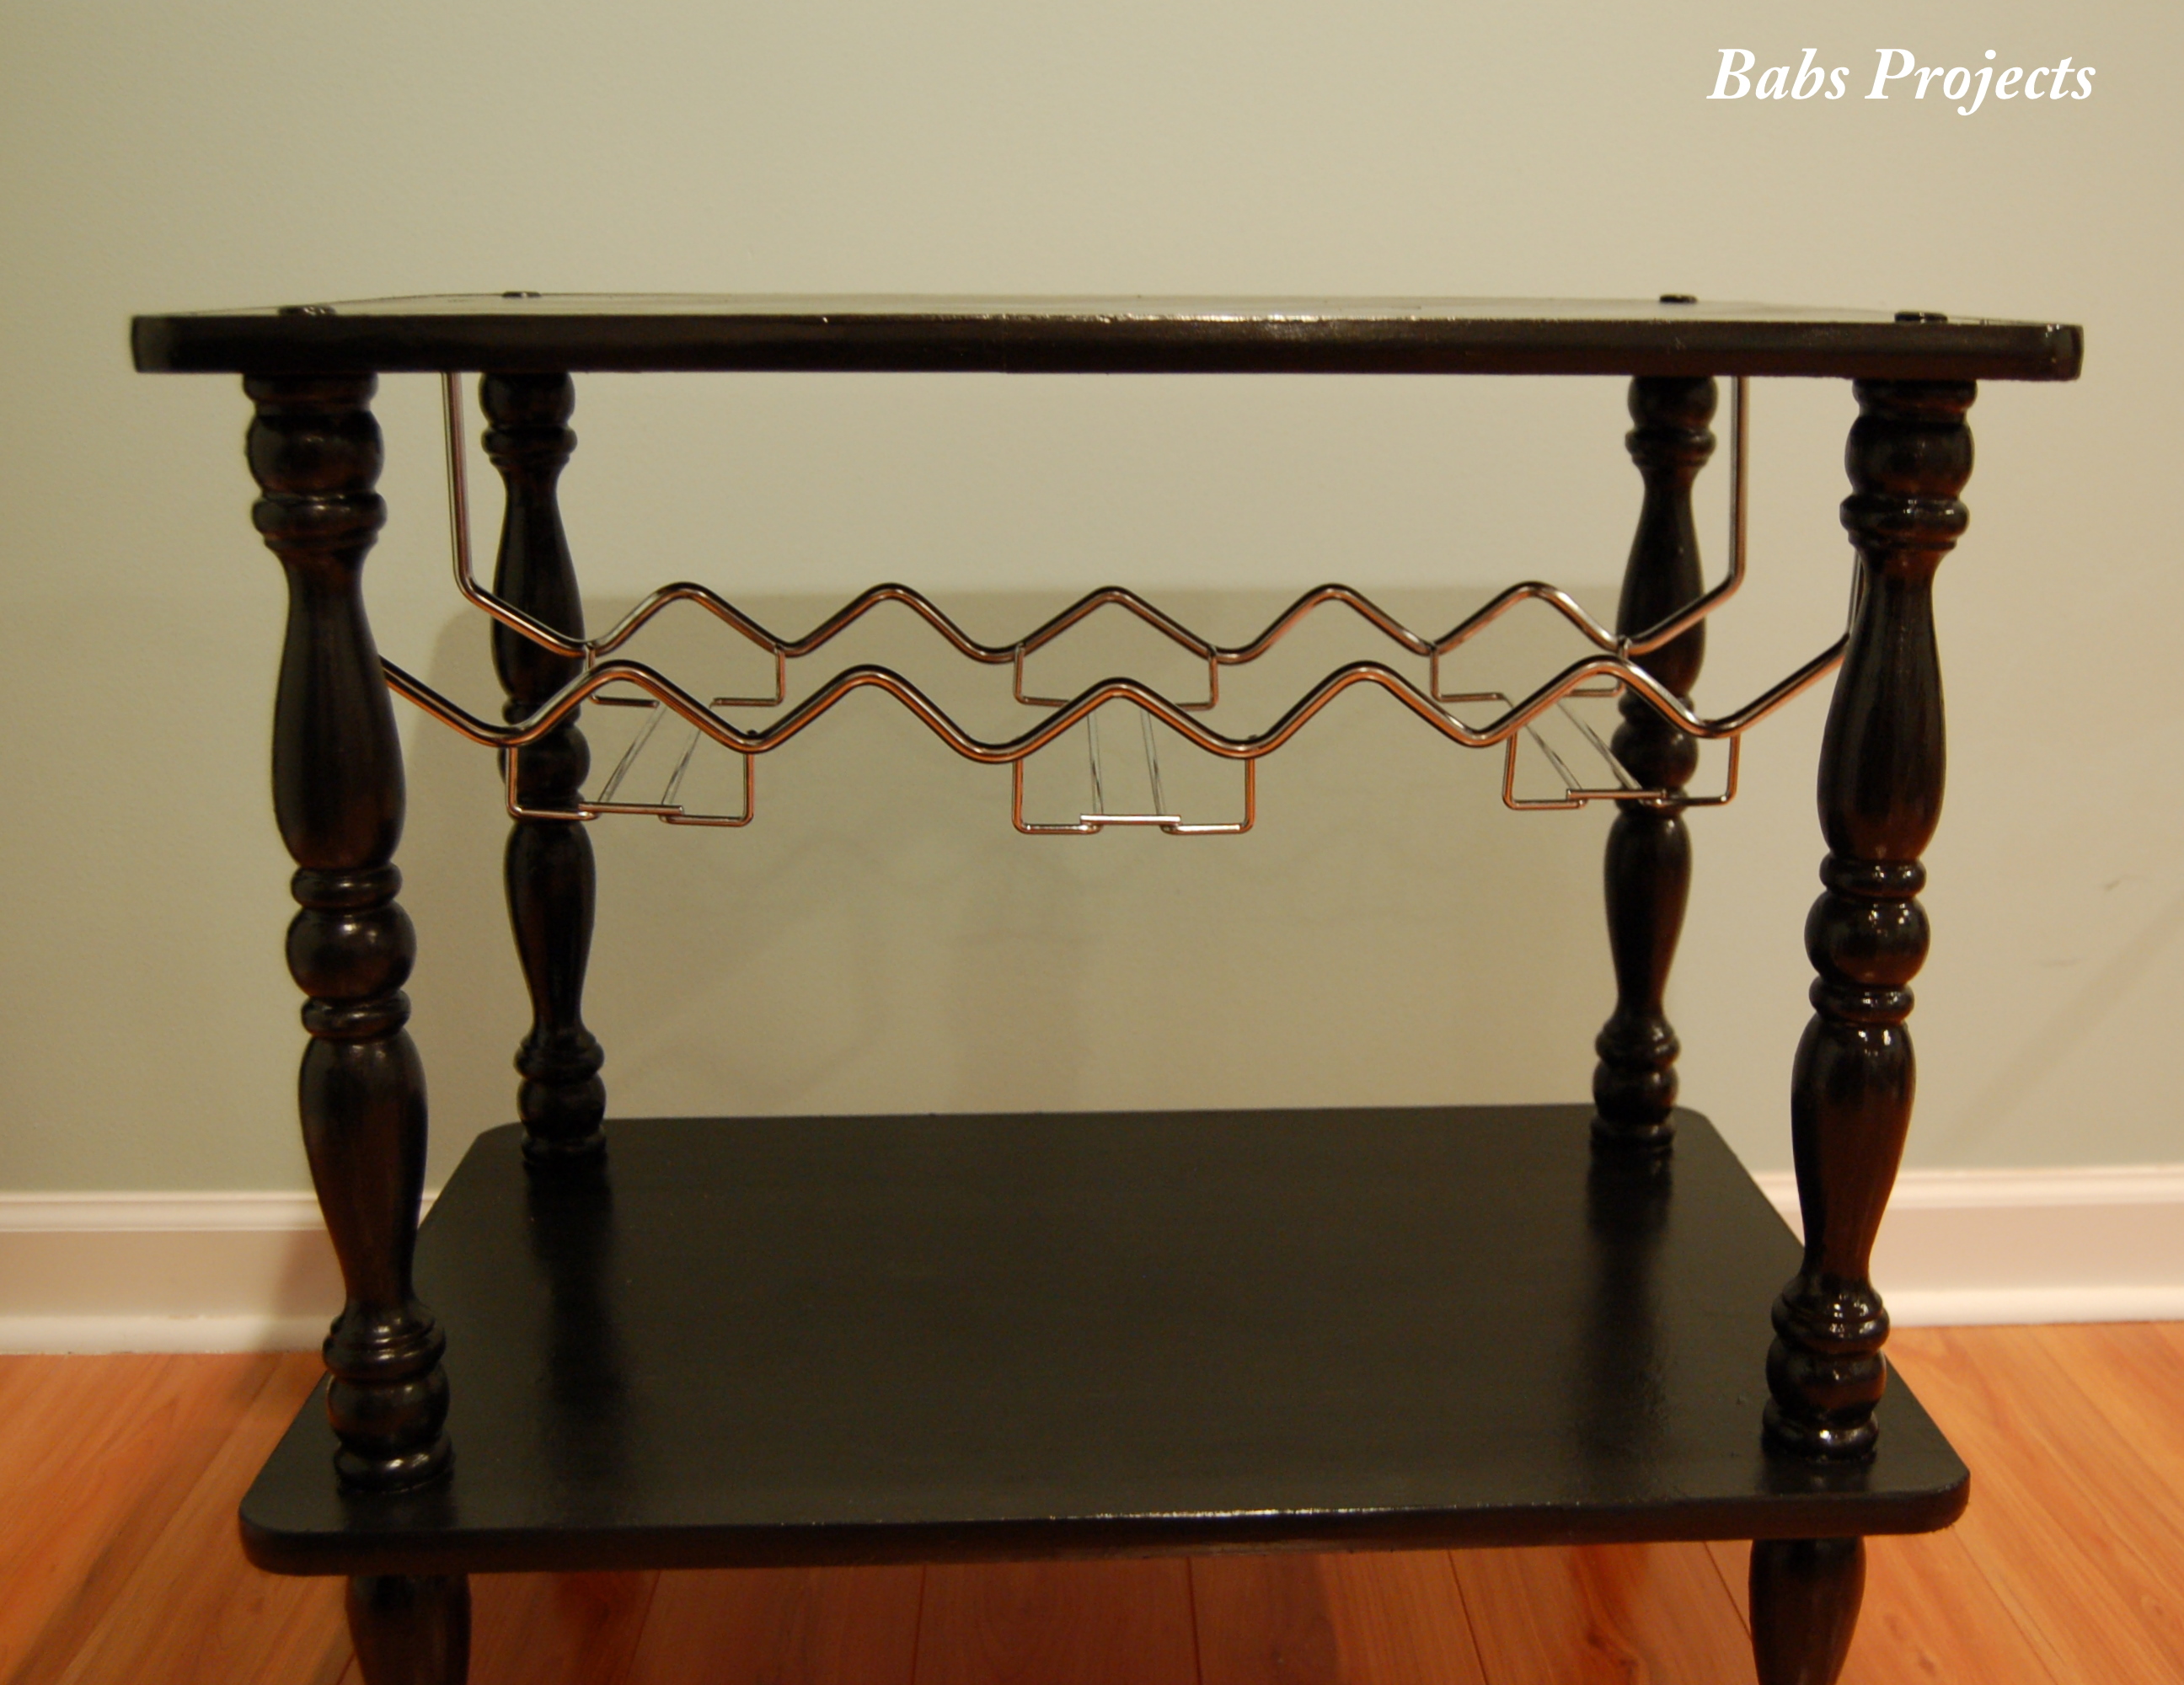
The only thing left to do was to glue the tray on top of the cart to make it appear as once piece. Although I was not familiar with the kind of glue to use and did not have enough time to make another trip to Home Depot, I used the industrial strength glue to attach both of them together. So far it has held up well.
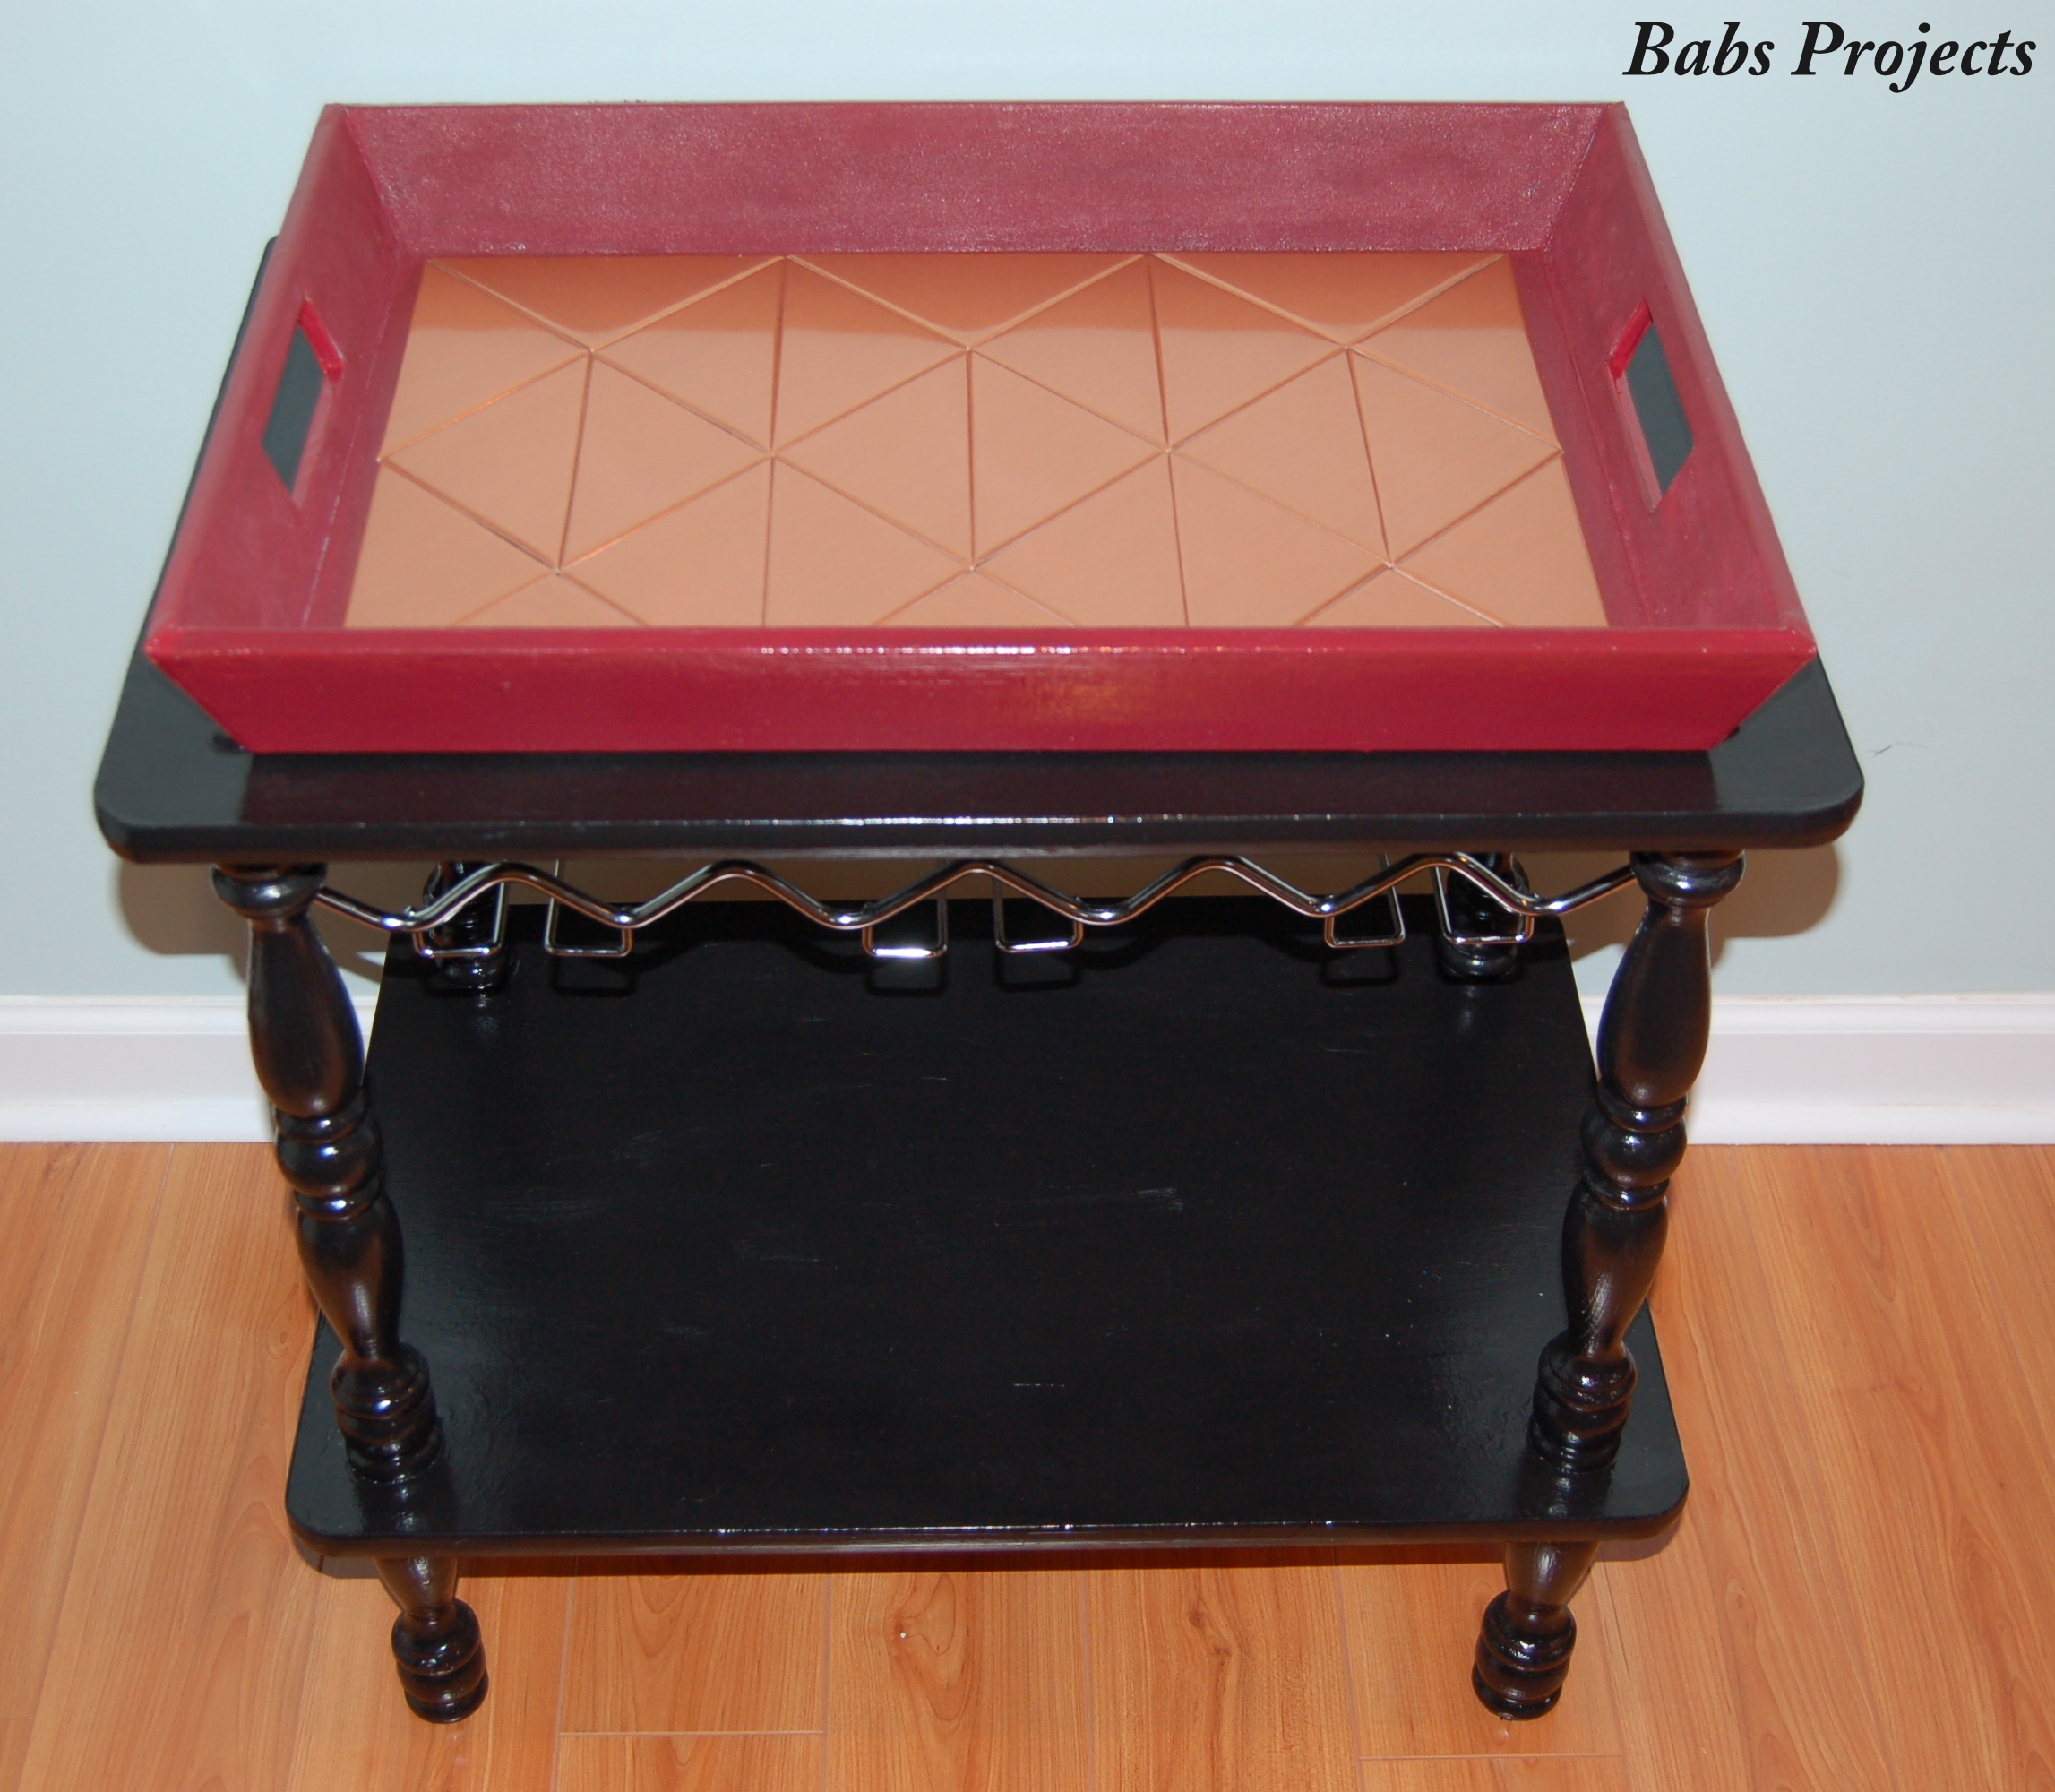
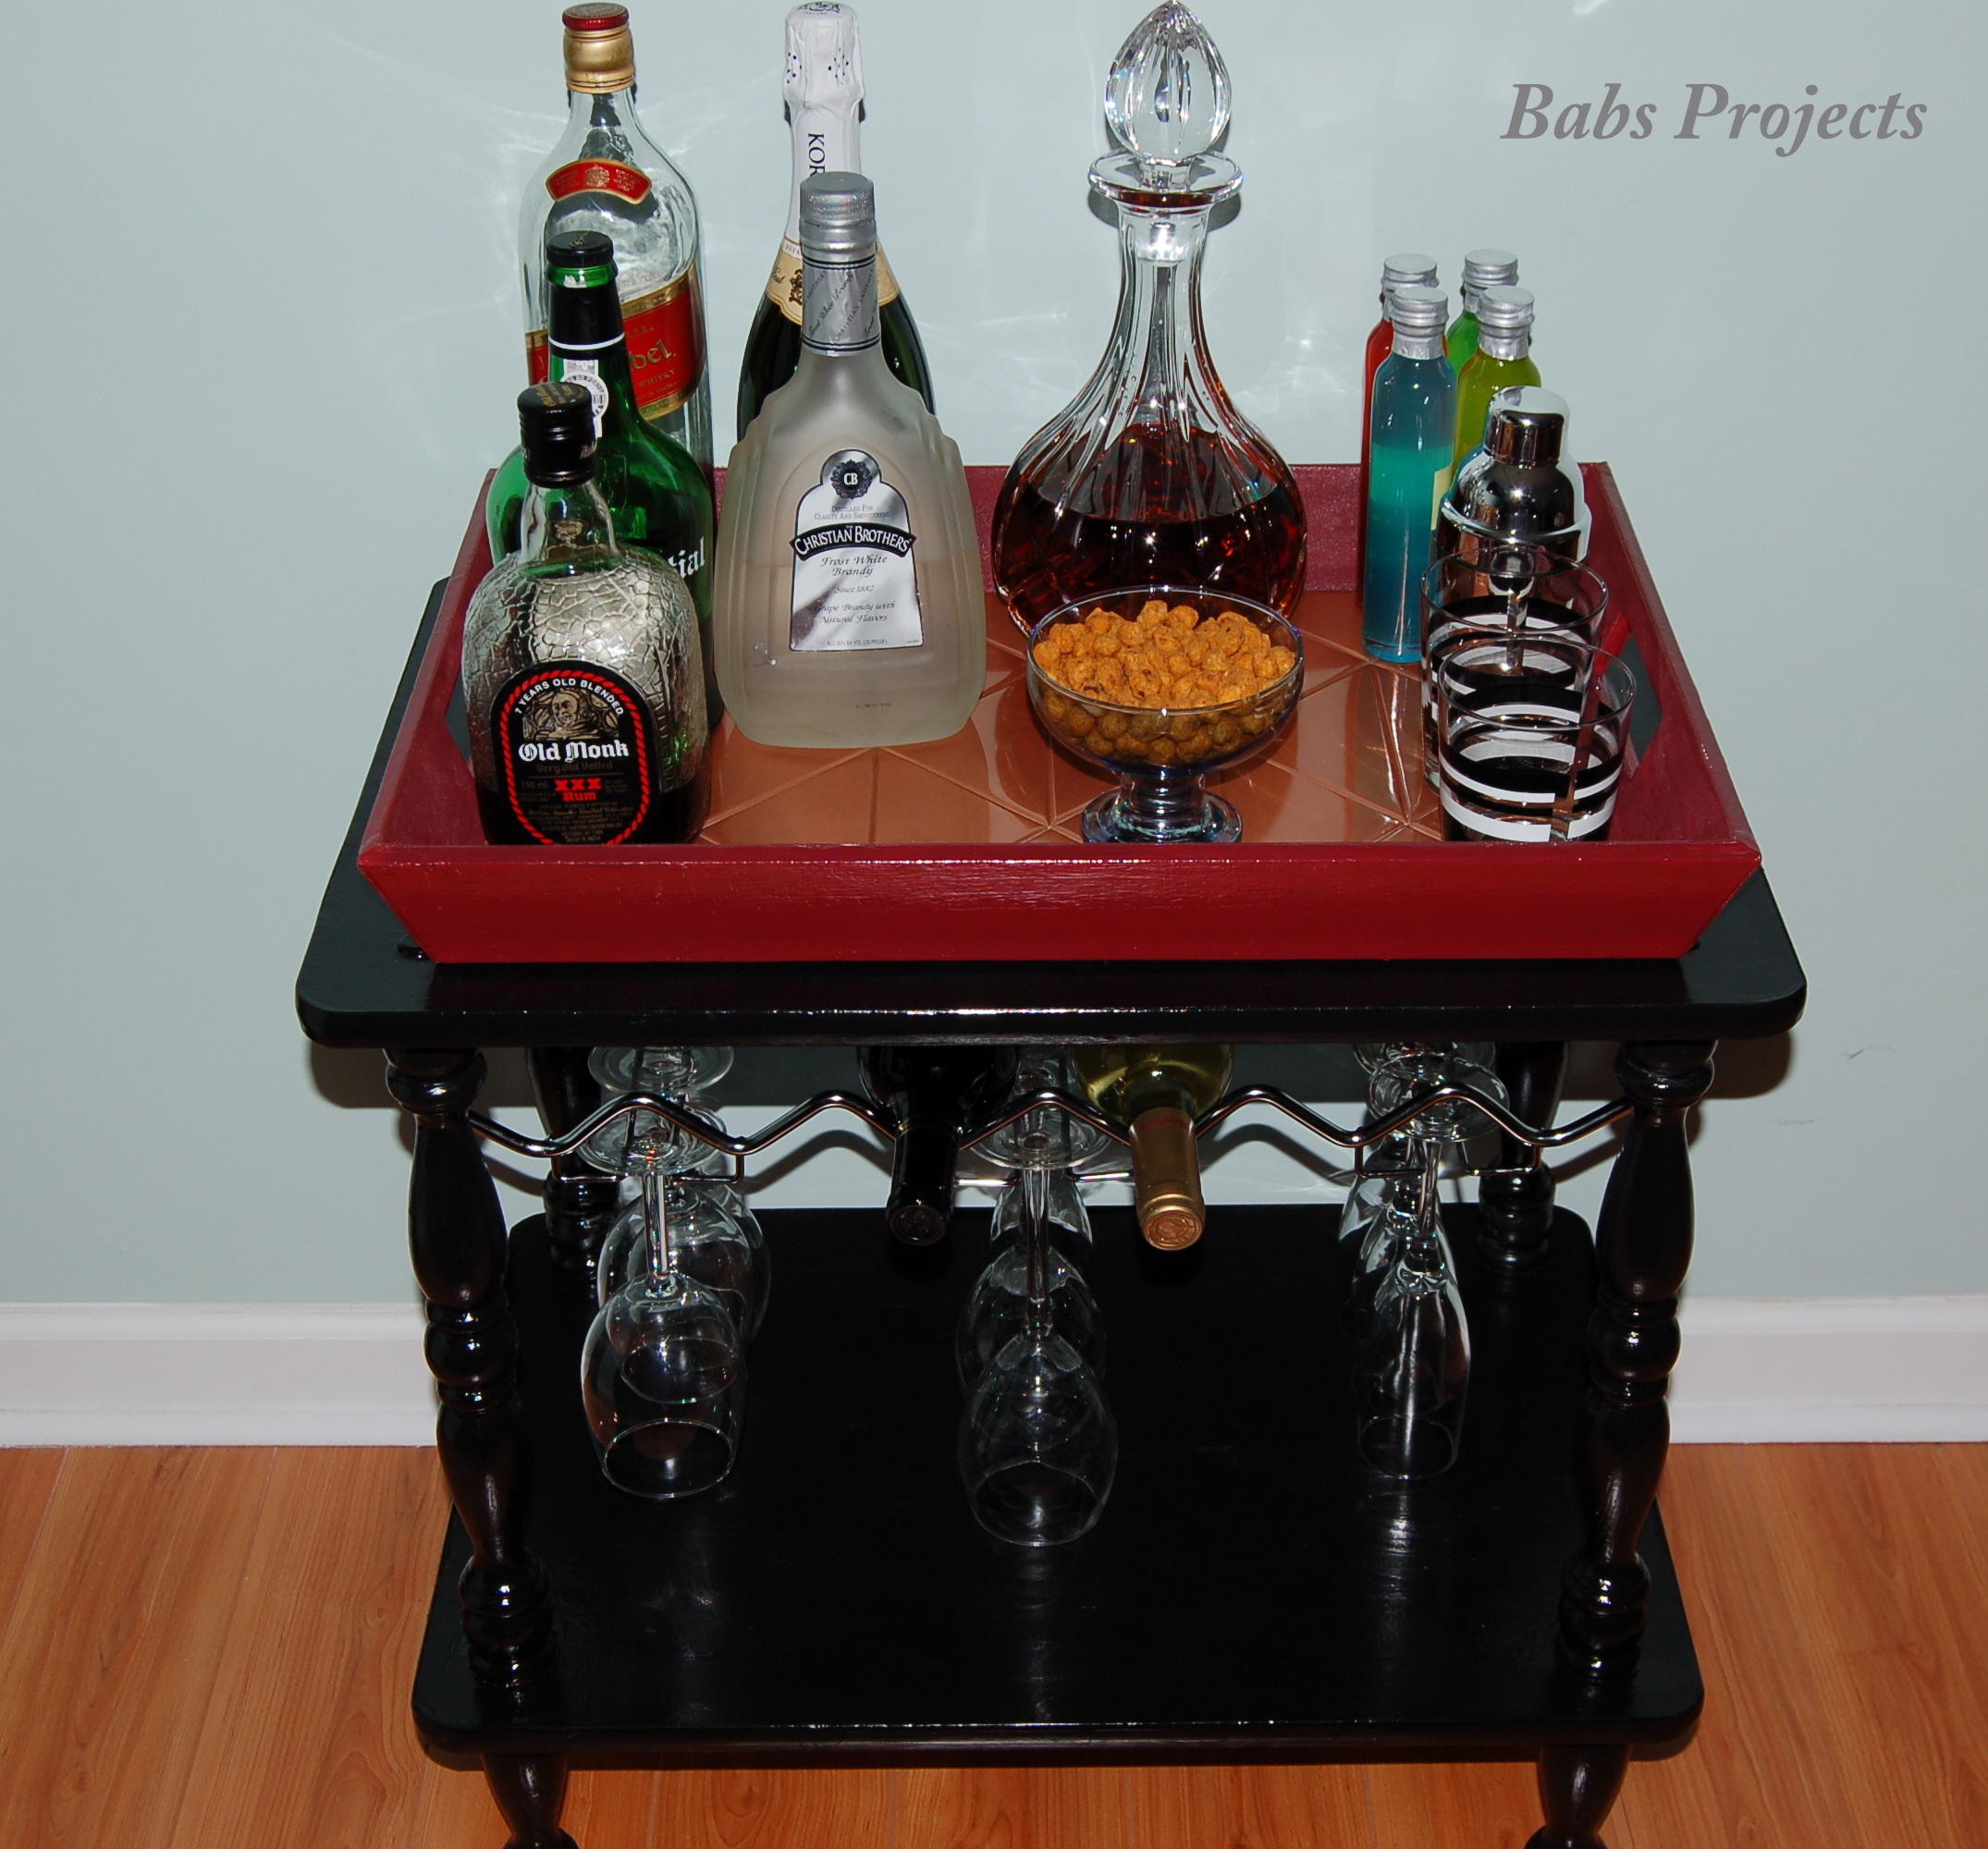
Here it is, all completed and ready for use. The best part of this Mini Bar is, if we decide to entertain in our living room instead of our basement, we can always carry it upstairs. In fact we can use it anywhere we want. Cheers mate! Drinks are on the house!

 Crockpot Lamb Stew
I just want to give you a hug right now! What a fantastic, affordable, and practical idea. You’ve given me some inspiration, for something to make for my dad. And if I don’t finish it in time for Father’s Day, no worries! 🙂
Thank You Ann!
Nice bar Babita party man!!
Super dear very thought full
Bottles are ready…
Best of Luck
I am on my way to ur place….time to party ;-)))
Thanks Arti.
Amazingly creative Babita…. Just love it.