Last Updated on April 8, 2013 by Babita
This is my first giveaway and as much as I am excited about it, I am more keyed up about the product itself. The product I am blogging about is IdeaPaint. What is IdeaPaint? Well it is environmentally complaint and virtually odorless paint that turns any surface into a dry erase or white board. As per their website, “it can be used on most sealed, non-porous surfaces, including stained wood, painted drywall, plastic, metal, aluminum, chalkboards, and whiteboards”. Exciting right?
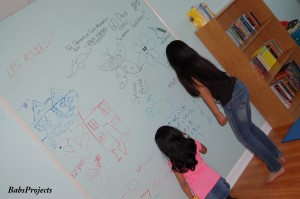
For the longest time I wanted to transform a section of my girls’ play area wall in my basement into a whiteboard surface. My little one has a habit of scribbling all over the walls and I felt it would be great if she and “T” would have their own large space where they could doodle, pretend to play school, or write down their menus for their imaginary restaurant. I wanted them to have a space where they could let their imagination run wild.
After a quick google search I decided on IdeaPaint. The people at IdeaPaint were happy to oblige and work with me in return for an honest review and giveaway for one lucky winner. Check out my IdeaPaint Whiteboard Project below and stay around till the end to win some goodies for yourself.
I received the clear IdeaPaint Kit which by the way is also available in classic white or bold black . I started off with wiping the wall surface with a damp cloth to get rid of dust or any other marks. I also opened the windows for ventilation. Below is the before picture of the play area.

After clearing out the furniture, I had my husband and ‘T” help me. With their assistance I glued and nailed two strips of mouldings on either side of the wall. This was actually my husband’s idea. He thought it would be great if there was a kind of separation that gave it a school board kind of feel. Look at “T”. Doesn’t she look happy to help 🙂

Check out the kit IdeaPaint sent me. As you can see it is a Clear Dry Erase Paint which can cover about 50 sq. ft. The kit had an instruction booklet, a wooden stirrer, a can of “THAT” and a bottle of “THIS”, and finally a roller. All I needed from my my end was a paint tray and a roller handle and I was all set to begin.

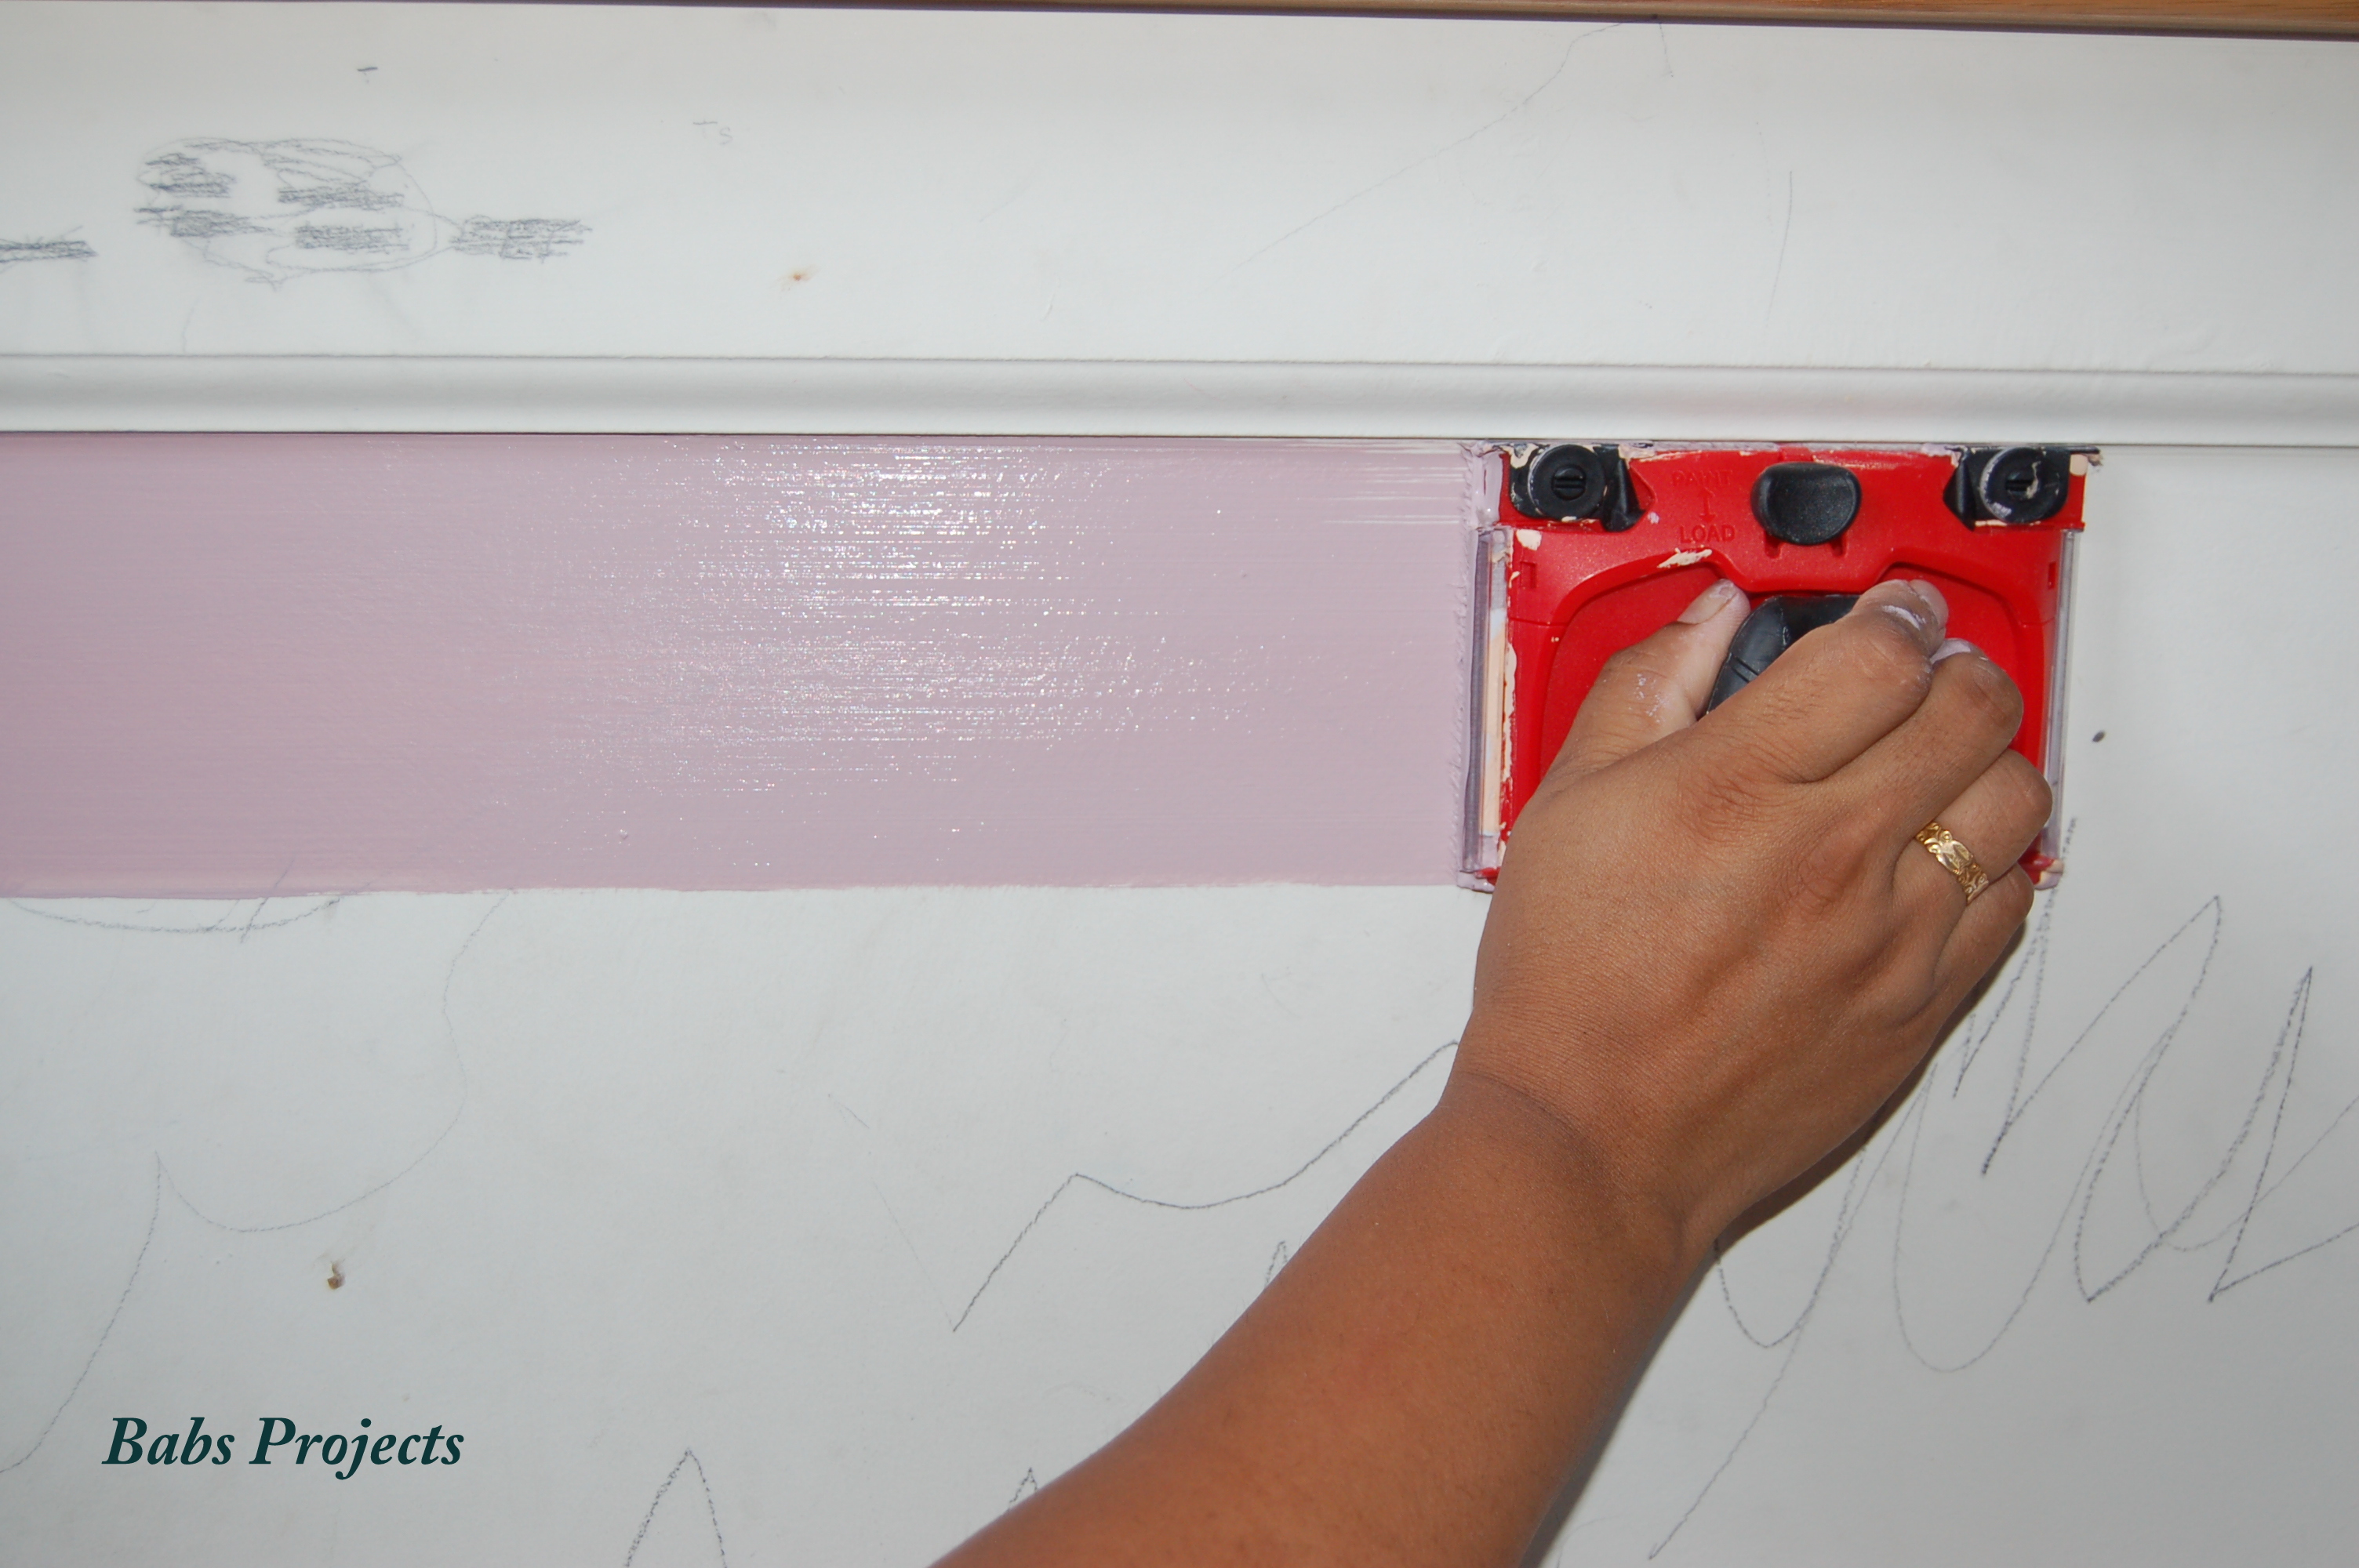
As per the instructions, I mixed “THAT and THIS” together. Poured it into a painting tray. Loaded the roller with the paint and started applying gently, without much pressure over the wall. Since this paint was clear, I could see the painted surface look wet and glossy. I loved the fact that it was clear and my existing paint color still showed through it.

Within minutes I was done painting the whole wall. If I was worried about the paint not being enough, I was totally wrong. This small container not only was enough for my 6′ x 5 ‘ wall, I was able to paint both the sides of the bookcase as well as create a whiteboard near my workspace (I will post those pictures in my next blog post).

The instructions were very easy to understand. As per the instructions I waited for 4 days although when I checked the painted surface the next day it was dry. Let me tell you it was a very long wait. I am not saying this as a negative of the product, but as a mom of two girls, I had to ward off their constant queries regarding when they were going to be able to use it.
Finally after four days I let my girls loose. What can I say. There was a lot of doodling mixed in with jumping, squealing, twirling, arguing and constant compliments of “You are the greatest Mom ever”. Their enthusiasm towards the whiteboard was beyond belief.

IdeaPaint had also sent me their accessories package which included four IdeaPaint markers, 2 microfiber cloths, 8oz. spray bottle of wiping solution and a wall decal. My daughters tested those out for me. “T” used regular EXPO markers while “S” played around with the colored IdeaPaint markers with excellent results.

and the doodling and sketching continued………


My husband couldn’t resist jumping in on the action either. Although he did have some difficulty coming up with some worthy doodles and had to settle for his generic mountain sketches. “S” continued twirling with excitement 🙂


And now for the part all of you have been waiting for. IdeaPaint has offered my readers a 15% discount on all their purchases on the their website for the next two weeks starting today. Click on the IdeaPaint website and enter the promo code “IDEAPAINT15BABS” at the time of checkout. Your discount will be applied to your purchase.
As for the giveaway, don’t worry I am not going to make you jump through hoops for the win, although it would be great if you LIKED my BabsProject FB page or followed me on twitter @BabsProjects. It is entirely optional. You can also like the IdeaPaint FB page and follow them on twitter @IdeaPaint. Again it is entirely optional. However, you will have to comment on this page to be entered into the giveaway. Fill in the form below as per instructions to be entered into the IdeaPaint Giveaway. Goodluck!!!
Disclaimer: For this project I received free products from IdeaPaint. However all the opinions expressed here are my own.
 Shur Line Edger v/s Frog Tape
I am giving dry erase paint serious consideration but I am concerned with how well the dry erase surface will hold up. I’ve invested in dry erase boards in the past and have taken great care of them, only to have the finish dull over time resulting in the markers not coming off so easily.
Could you please tell me how easy are the markers to erase after a year of use? It looks like you did this project last April. I’d really love to hear your feedback.
It has been more than a year now and I have to say IdeaPaint has held up well in our house. The cleaner that is available with their accessories really helps a lot. Amazing the one bottle of cleaner is still going on.
I love this idea. I have a whiteboard in my computer room, but I love the idea of having a whole withe board wall!
I loved the project you did! I’d be selfish and use it in my own room I think! I am a Physician Assistant student – would be great for study notes 😉
I’ve mulled over the idea of either chalkboard paint or dry erase and after reading your pst, dry erase seems much easier to apply and maintain. I would love to paint my girls walls and let them go creatively crazy!
For me it was an easy decision as I did not want to deal with chalk dust. Dry Erase is much better to maintain and my girls love it, at least I don’t hear a lot of arguing going on.
This is waaaaaay too cool to pass up! I see why the kids called you the best mom in the world! Flaunt your cape momma, because this is pure awesomeness!
Thank you Christy. Will definitely flaunt my cape:)
very cool
Would like to mention ….this giveaway is open to US residents only…