
Last Updated on March 28, 2014 by Babita
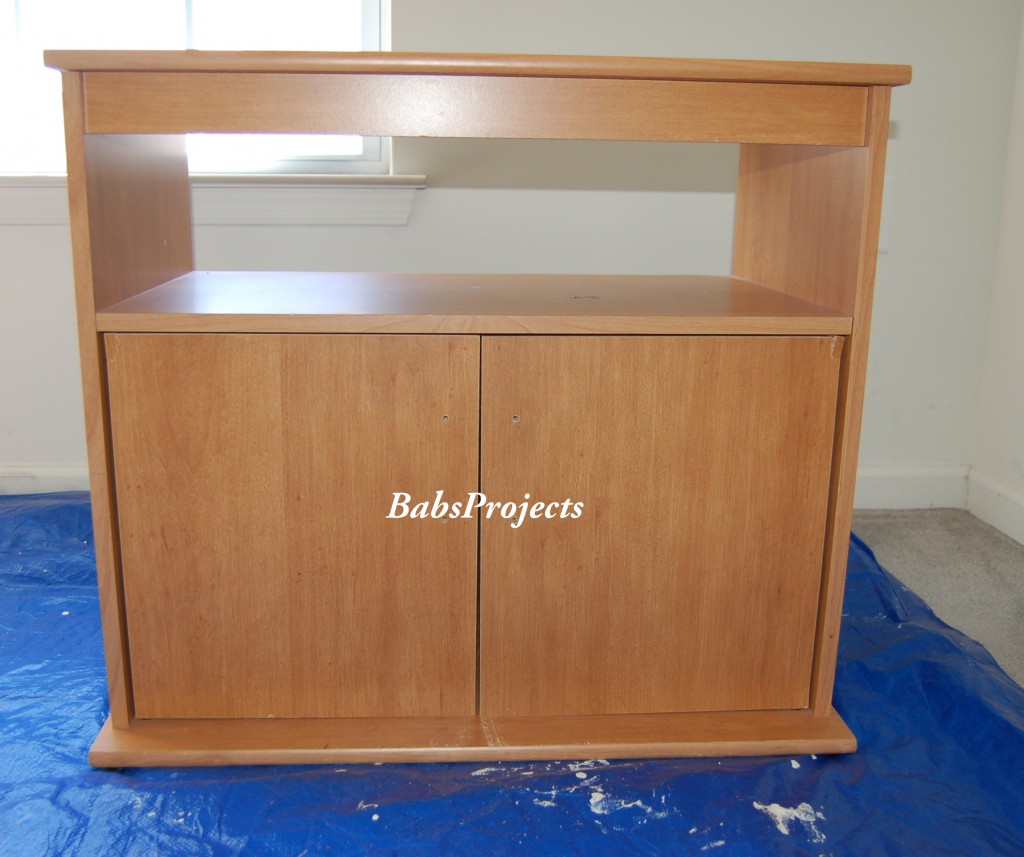
I bought this base cabinet from a garage sale a couple of years back. I was using it as a storage solution wherever or in which ever room it was needed. It is one of those IKEA cabinets which is not fancy but served its purpose. There was nothing really wrong with but I wanted to re-purpose it because I had this idea in my head and it would just not go away. Check out my project below and let me know what you think.
This is how it looked before I started my project. My goal for re-purposing this base cabinet was to use materials which I already had at home.
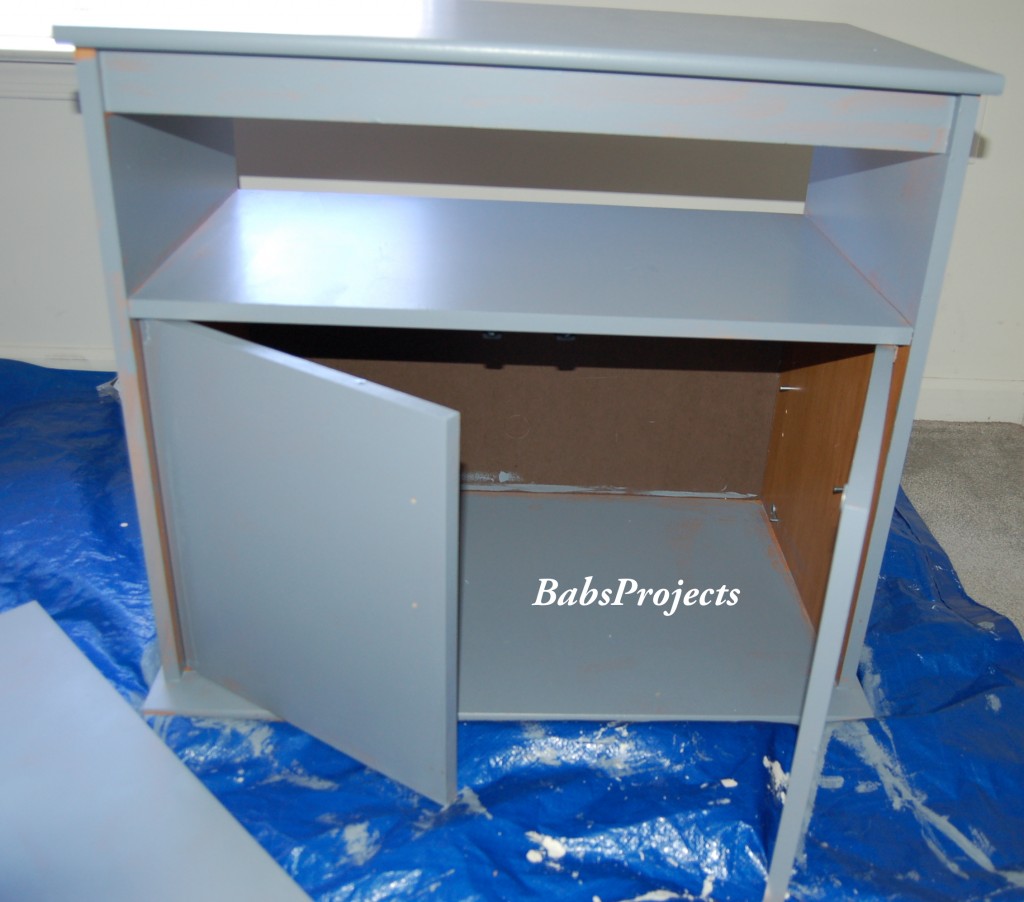
I started with applying the primer. I know I would have had a better effect if I used a white primer, but I used the grey one because I had some leftover from my previous project. I applied it with a roller brush for faster coverage.
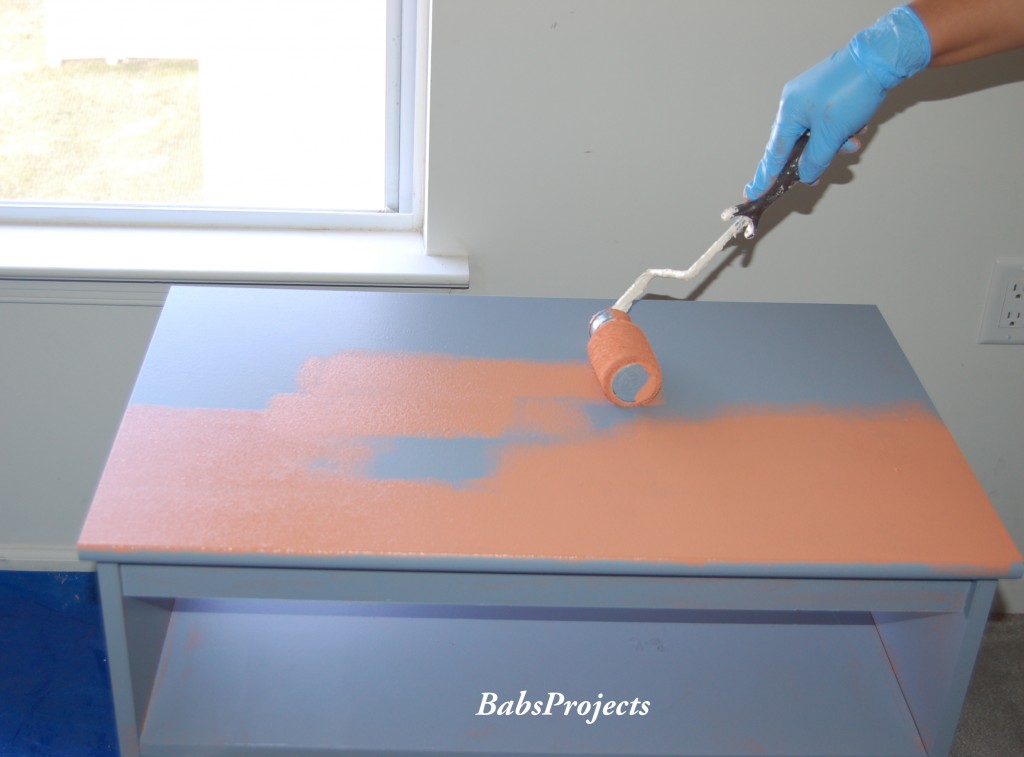
Next I applied Behr Ultra Indoor/Outdoor Paint, Miami Spice color. Again I had some leftover paint from when I painted my living room.
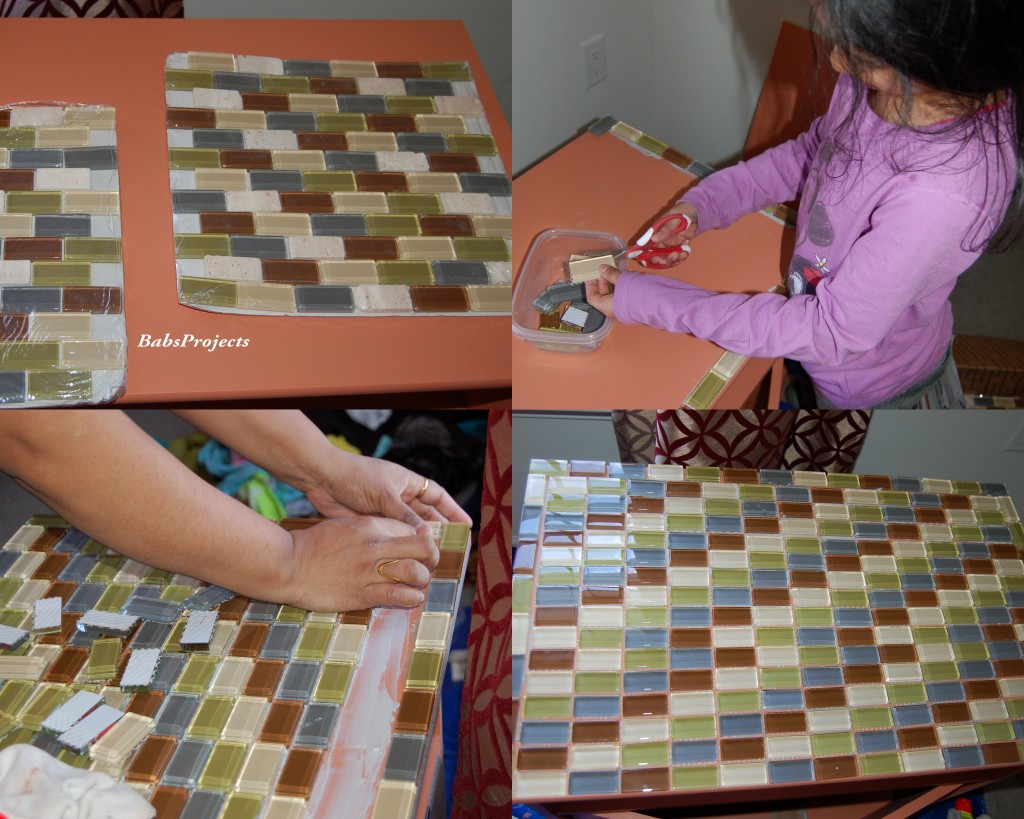
The next step was a bit tedious. I bought this sheet of glass tiles from Home Depot. They were on clearance and I bought about 5 sheets. My plan was to use them over the top of of the cabinet to create a counter top kind of effect. If you see the first picture in the collage you will notice that at the end of the sheet there are gaps. So if I laid them over the base top I would have to use a tile cutter to perfectly match up the tiles from the next sheet. To avoid all that I decided to cut off the tiles individually and glue them over the top of the cabinet. I asked ‘S’ for help and she willingly agreed. She cut out the tiles one by one very patiently. I was glad that I had her help otherwise I would have ended up spending more time with this next step.
Once she was finished with cutting the tiles, I glued each and every tile individually with some tile adhesive, first finishing the outer edges and then filling up in between. It took me about three hours to get this whole thing done.
Once all the tiles were glued, I allowed them to dry overnight (don’t know if that was needed, but did it as a precaution). The next day I applied some non-sanded grout. After about 30 minutes of application I wiped off the excess grout and added a grout sealer.
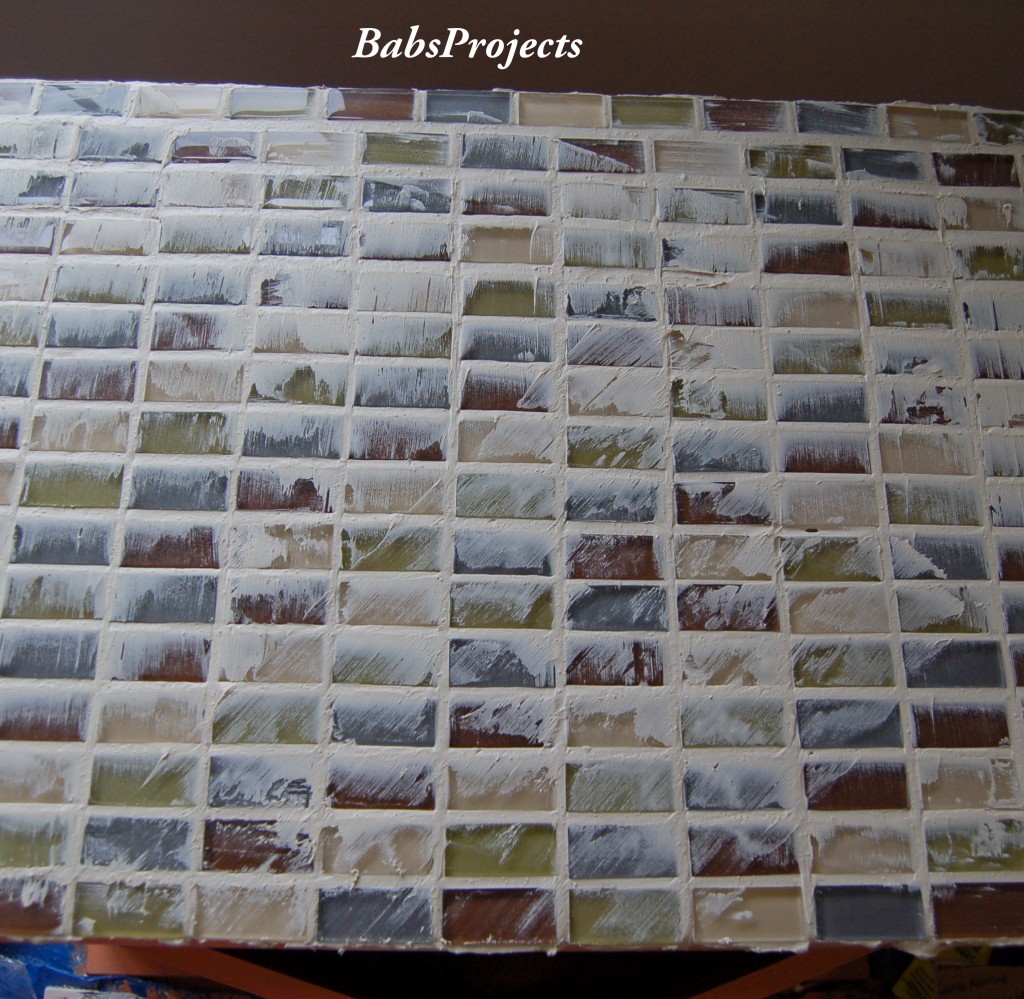
Here is the after picture of the finished base cabinet. I like how it turned out but TEE was a bit unhappy because she felt the tiles did not follow a definite pattern. I admit while I was gluing I was not pay any attention to the pattern. My only objective was to avoid repetition of the color.
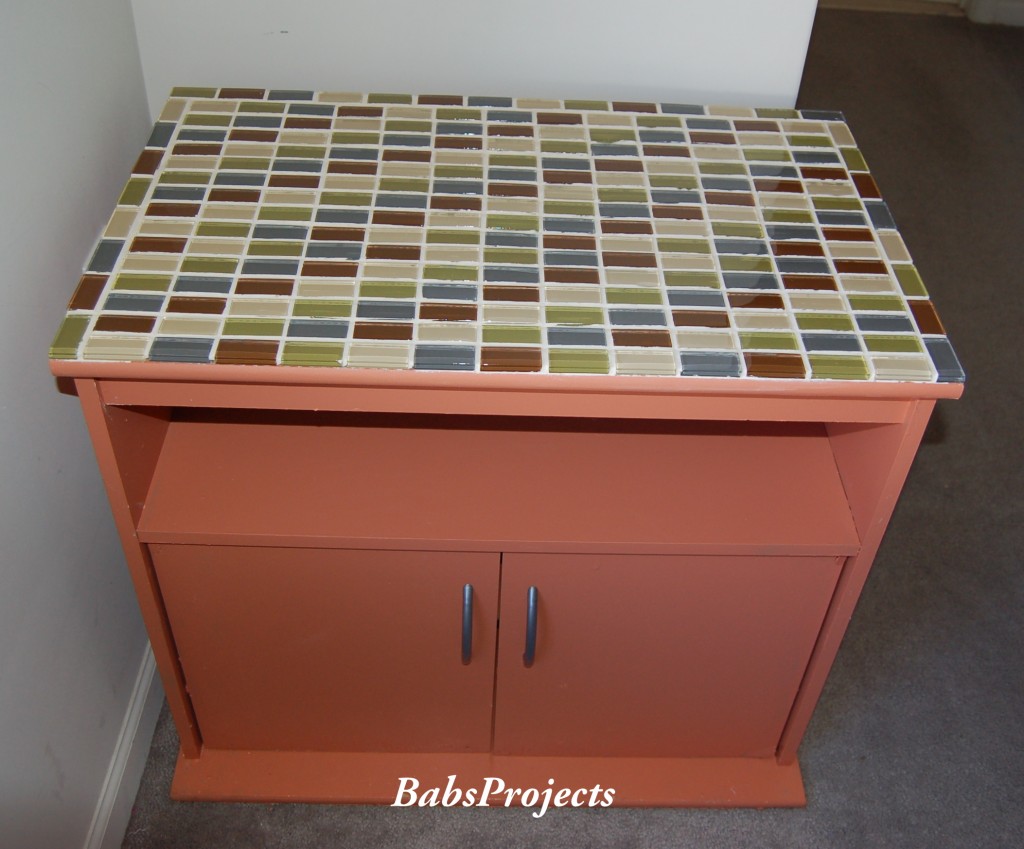
As for what I intended to use it, well you will have to check back next week and see for yourself. Stay tuned !!
 Pineapple Chutney with Only 3 Ingredients
I love the color scheme- great DIY!
Wow, awesome job. Looks like you found a gem at a garage sale and decided to make it look really nice.
I like what you did with the glass tiles on the top. I had no idea you could paint over laminate. I rather figured it would slide right off.
That looks really nice. I could see that being nice as a TV stand, bathroom cabinet or in a kitchen.
This is an awesome upcycle project! Great job! I can’t wait to see what you are using it for!
oh, wow! that is amazing–and what a change! love the tiled top!
Thank you Arti.
It looks amazing Babita. It is really very neat.
The top is waterproof Terry. That was one of the reasons I chose the tiles. The only thing I have to do is apply a grout sealer and then it is all set.
I wonder if I can do it so it is waterproof enough on my bathroom sink cabinet.
Whoa, thumbs up there – that is one big transformation, love the final look!
WOW that is amazing. You are really talented I love the after.
Hi Babs, I think you did a awesome job.I agree with the pattern , it could have being much better but everyday we learn from our mistakes.I am curious to know what u will be using for.
It really looks nice and all the colors go together well. It looks like a whole different cabinet.
Oh I think you did a wonderful job with that! Looks really great!
Man that looks amazing! I have a similar cabinet that I want to paint or spray paint to bring back to life. I’m convinced I shouldn’t get rid of it, I should definitely get crafty with it.
Beautiful outcome! I love doing projects like these. You did a great job!
The pattern still looks fine to me. I think this is a great idea for durability!
Your little helper was fabulous there. I love how it came out, and I’m definitely curious what your plan is for it.
That came out great! It looks so much better
I love the tiles on the top, the entire thing turned out nice but the tiles are my favorite. I just purchased a cabinet and plan to fix it up, I love DIY projects like that.
It looks interesting! I’ve never seen bathroom tile on a cabinet.
Wow!! what a difference your project made to the cabinet. Great job!
So nice! I love the mosaic look to it.
Love the tiled top. The colours are beautiful ! Kim
I love the tilled top on it how nice is that – beautiful x
I love the tile top! You did a very nice job with that!
Love the color choice, very retro! Can’t wait to see its purpose!
WOW! What a transformation! I LOVE the top of it!!!
That is a great project wish i had talent to do these I would love to redo some pieces.
The finished product was so gorgeous! It’s crazy what a little paint and some hard work can do! I love the paint color choice by the way.
It came out really good. My mother always painted and “re-made” old furniture, but it’s not something I’ve done myself.
I wonder how that would work on my bathroom cabinet. I either need to spend a lot of money getting a new one, or make it look nice.